|
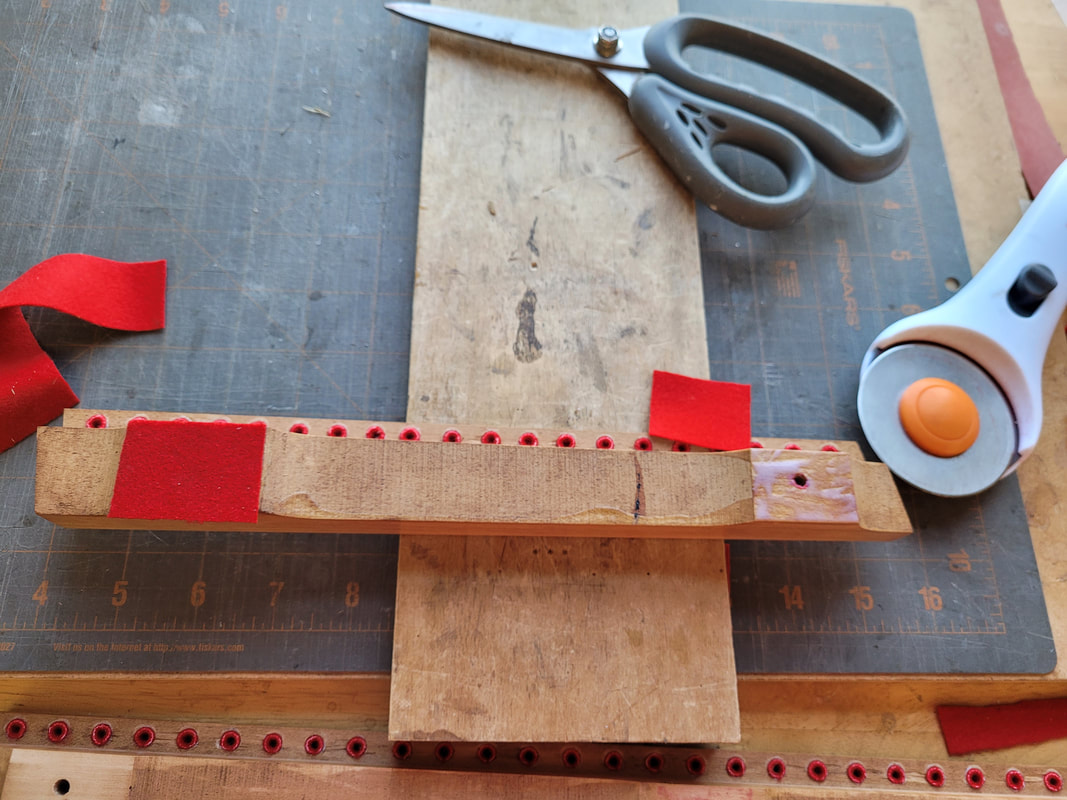
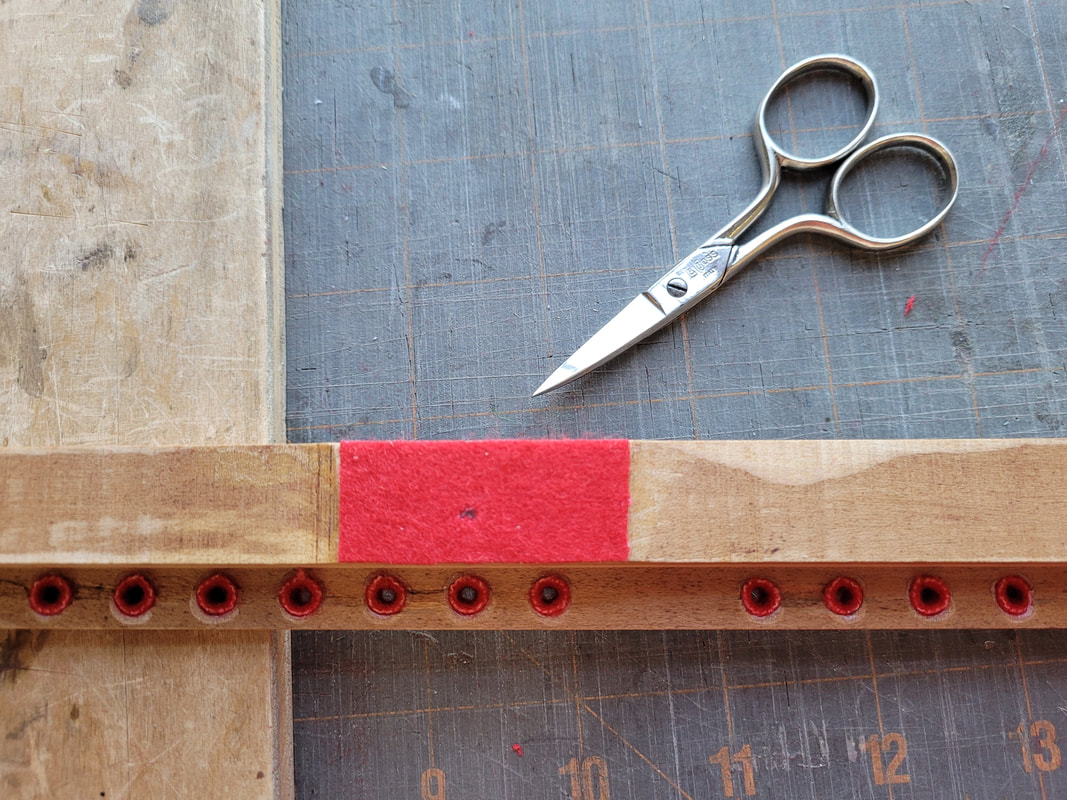
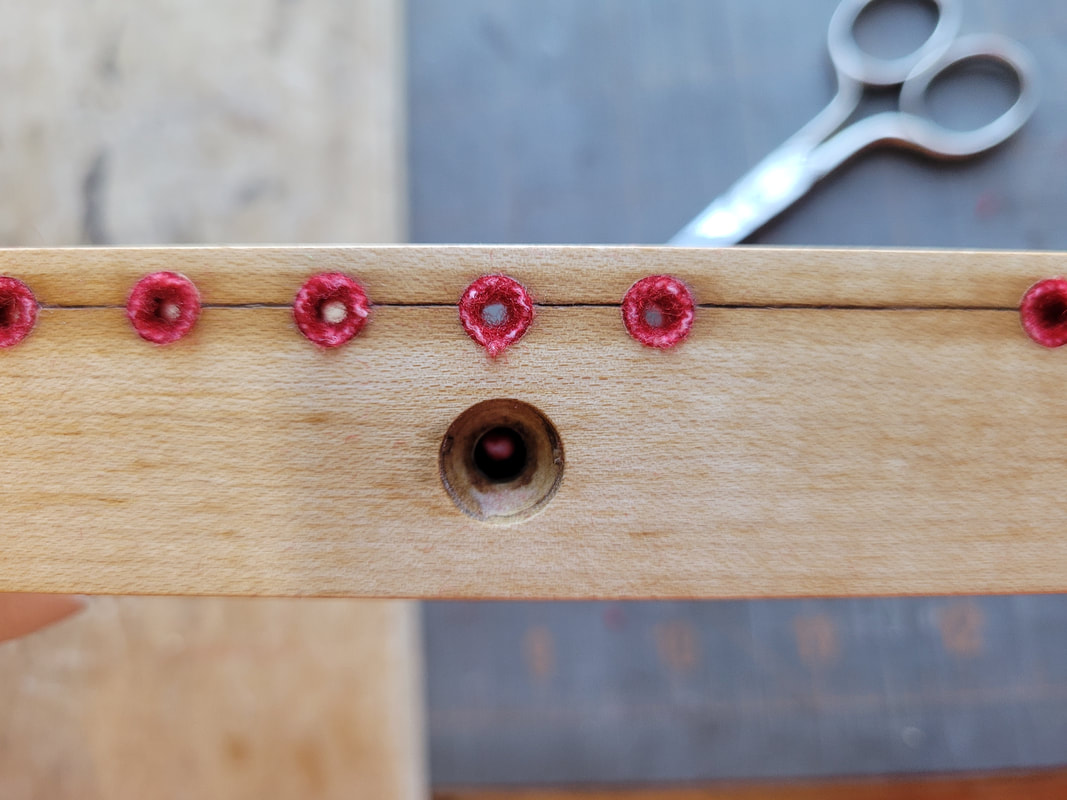
Glue on felt on bottom of guide rails with felt glue. We used Roo Glue here. Trim felt and cut open screw holes. Without cutting the screw holes open, the felt will twist, move or loose it's position when driving screws in later.
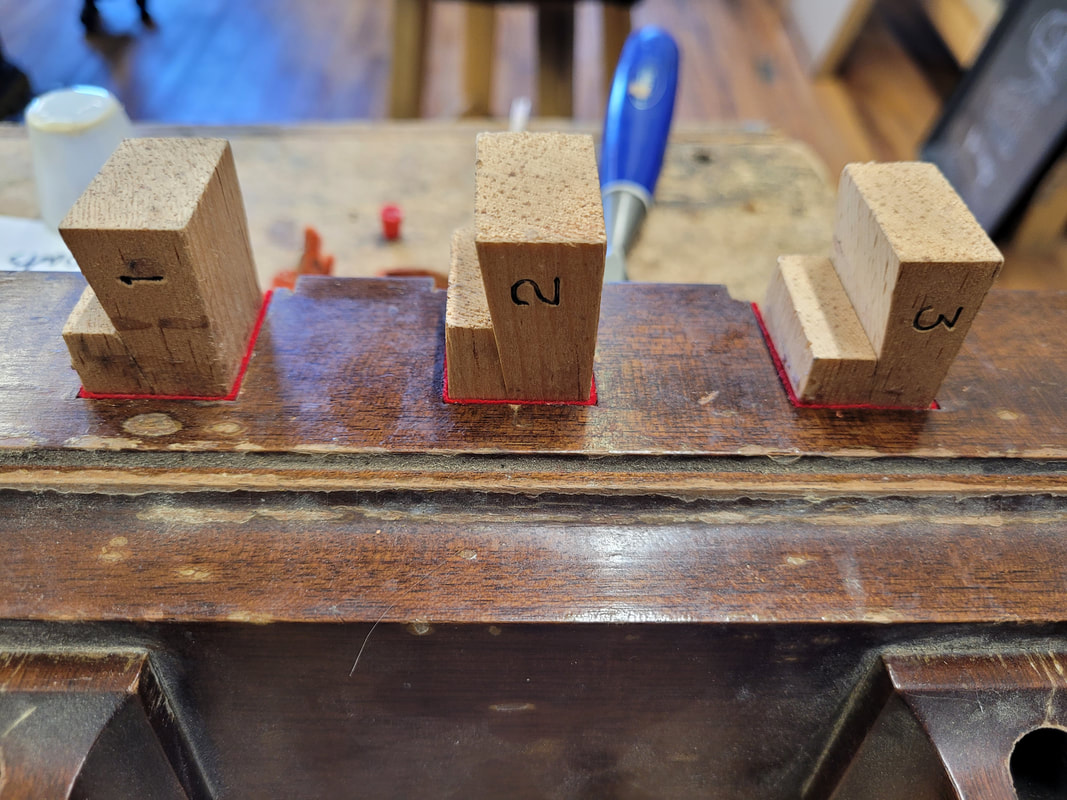
This post tributes to my dearest mentor Mr. David Betts. Trible check that the plate is fully mounted in piano with webbing screws and perimeter bolts, nose bolts and cap tightened together, agraffes aligned, and duplex bar (not shown here yet) prepared. Jack up pinblock with supporting jig.
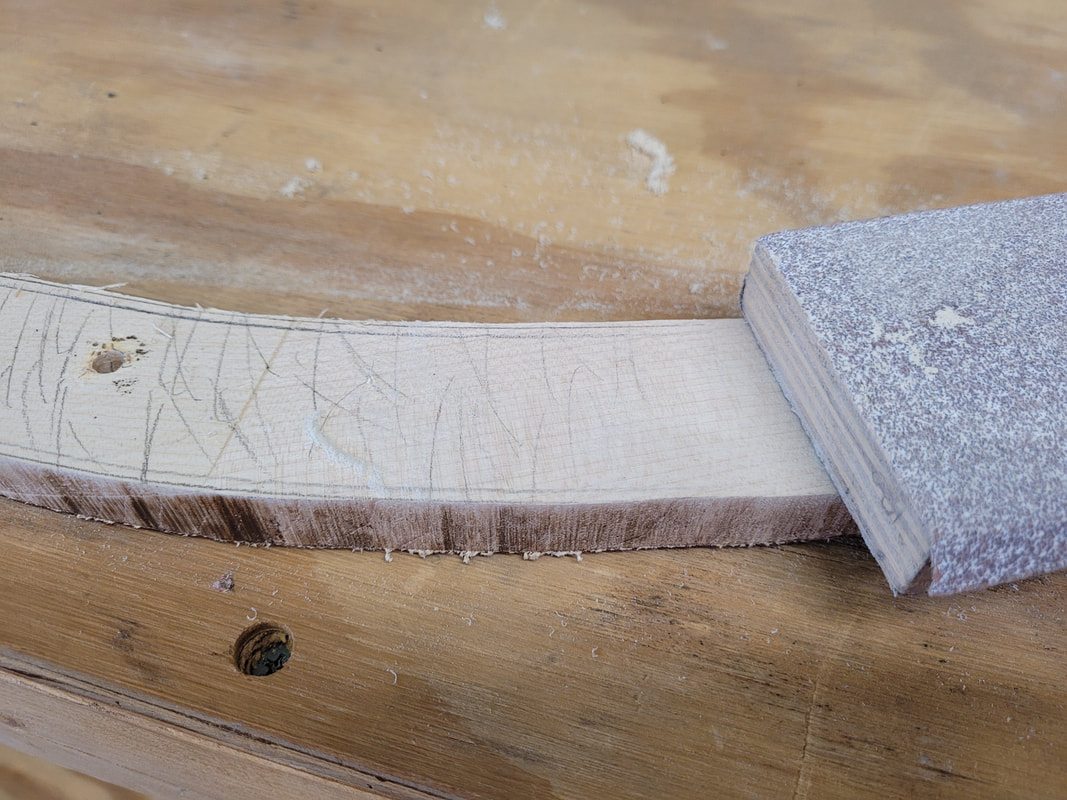
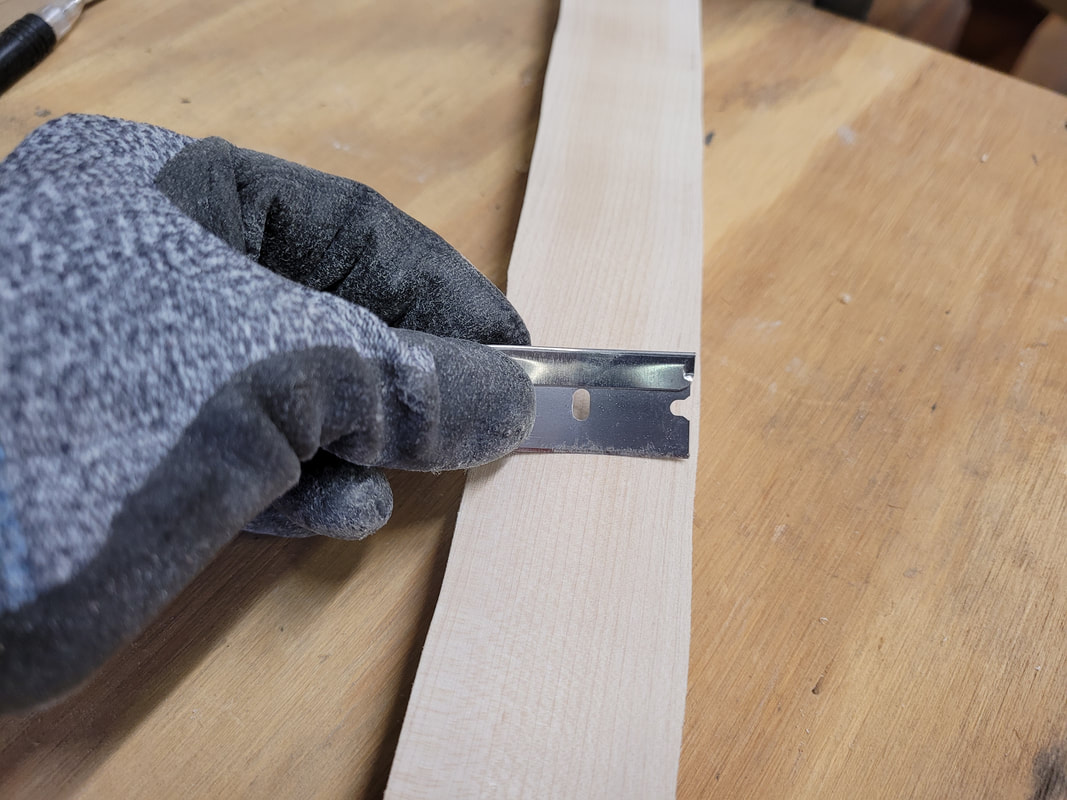
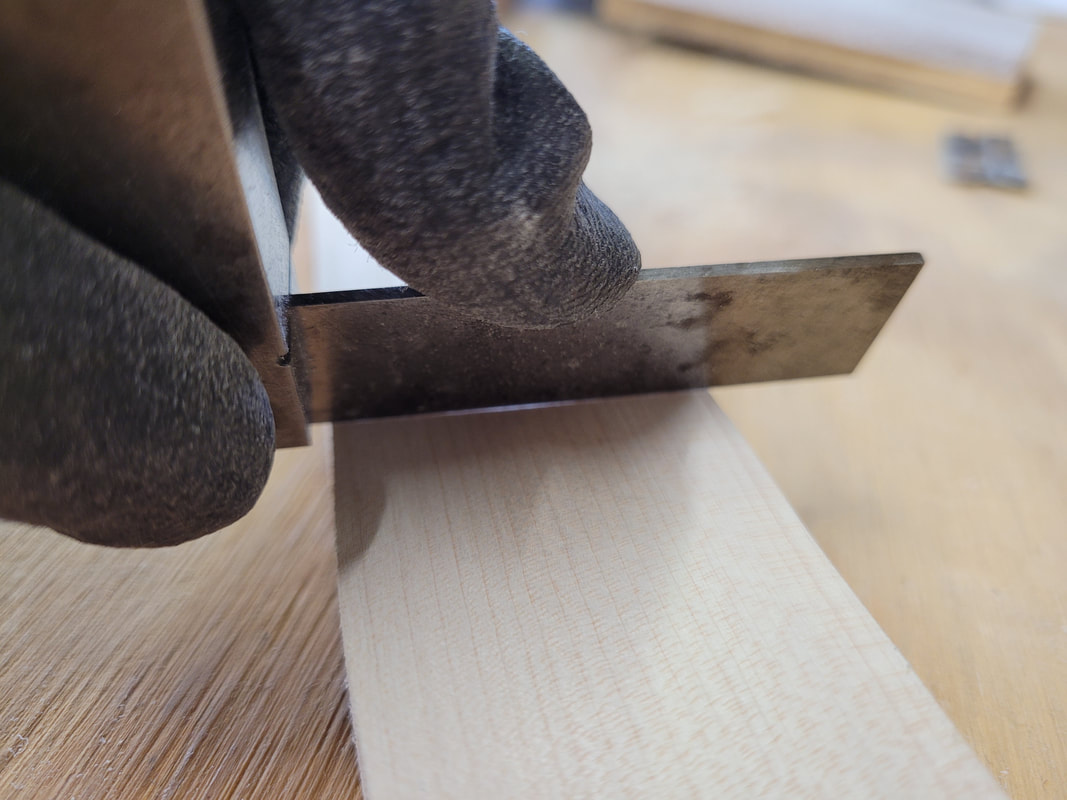
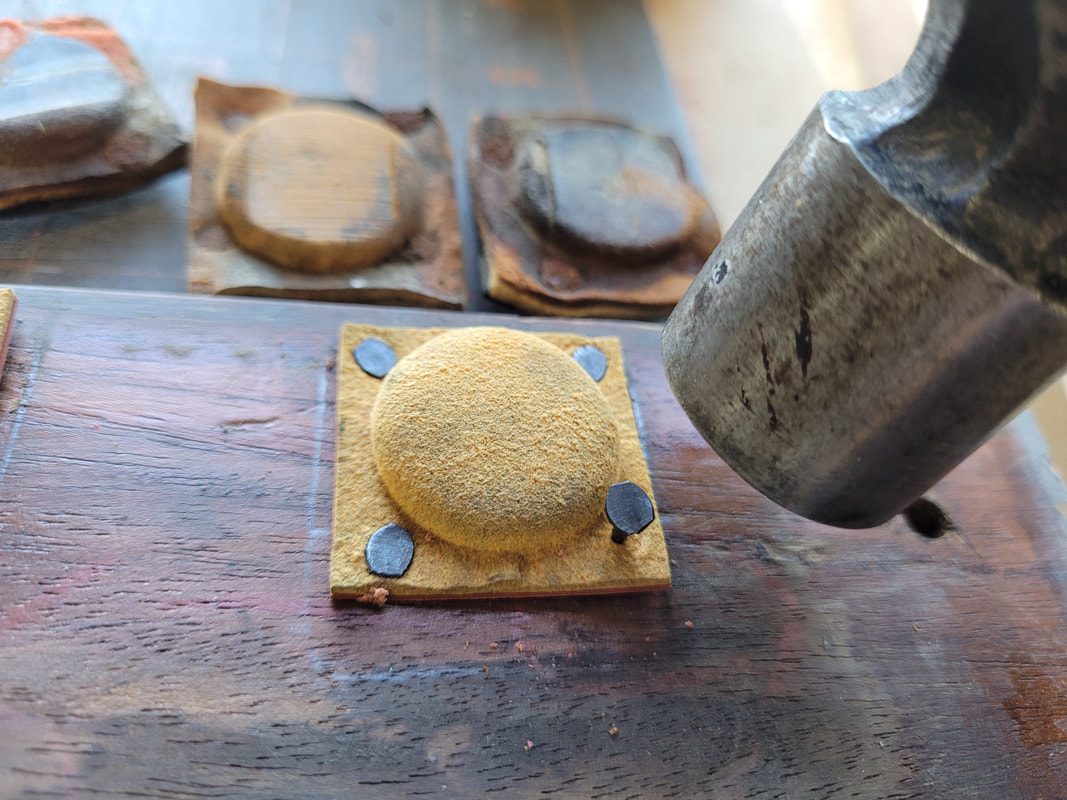
On cap, mark everywhere with pencil then sand down. When all pencil mark disappears, the surface is relatively flat. Scrape with scraper or bent razorblade to create smiling face for glue to stay.
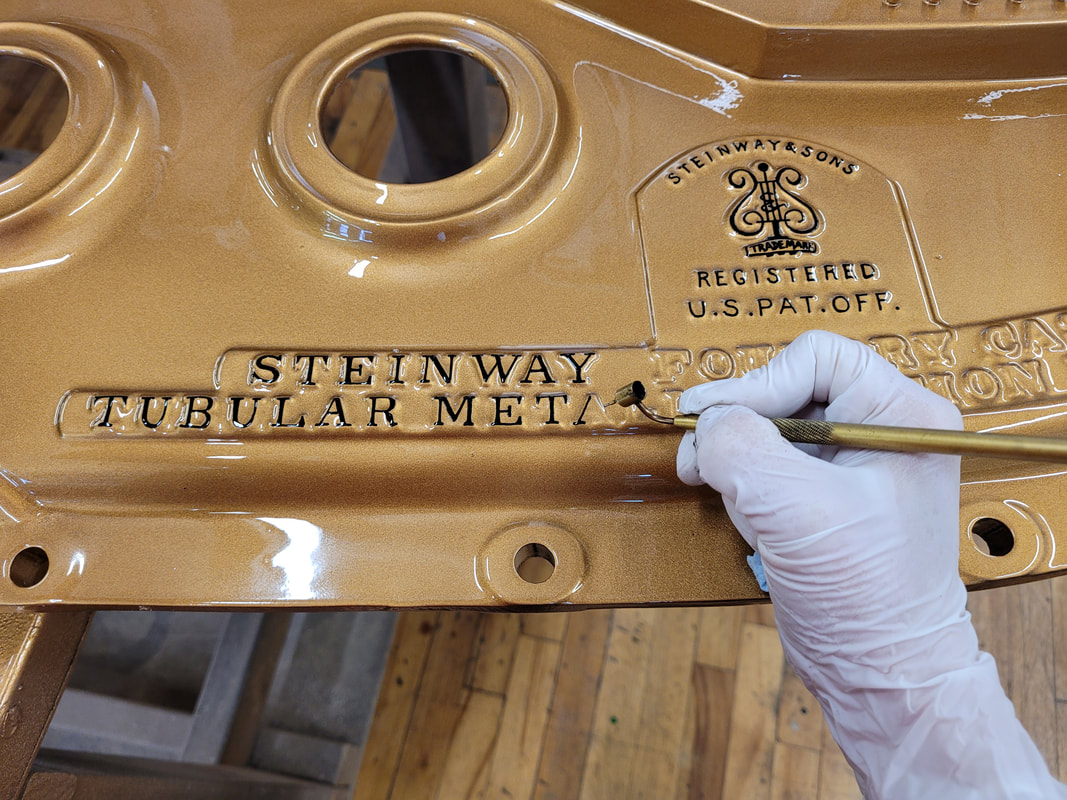
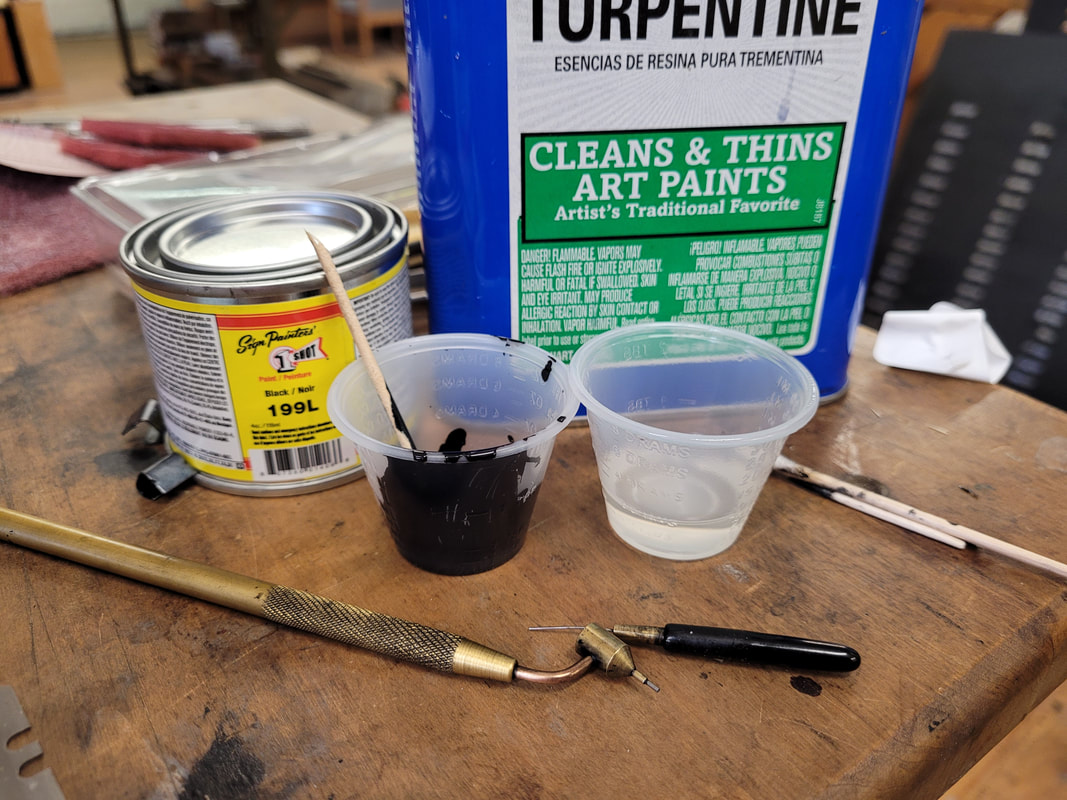
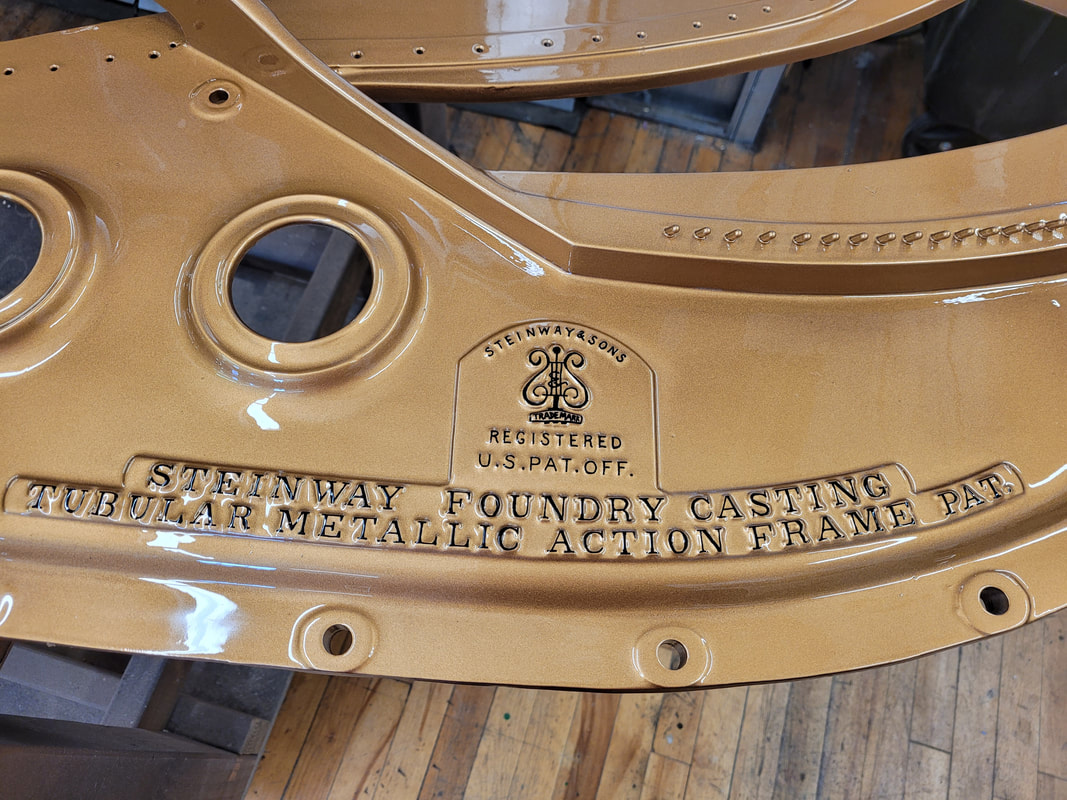
The shop owner has adapted the old fashioned way of lettering the cast iron plate after refinishing. It is made of black enamel and thinned with turpentine. The pen is called fluid writer pen. It takes about 2 days to dry completely, so care is needed in order not to scrape the lettering.
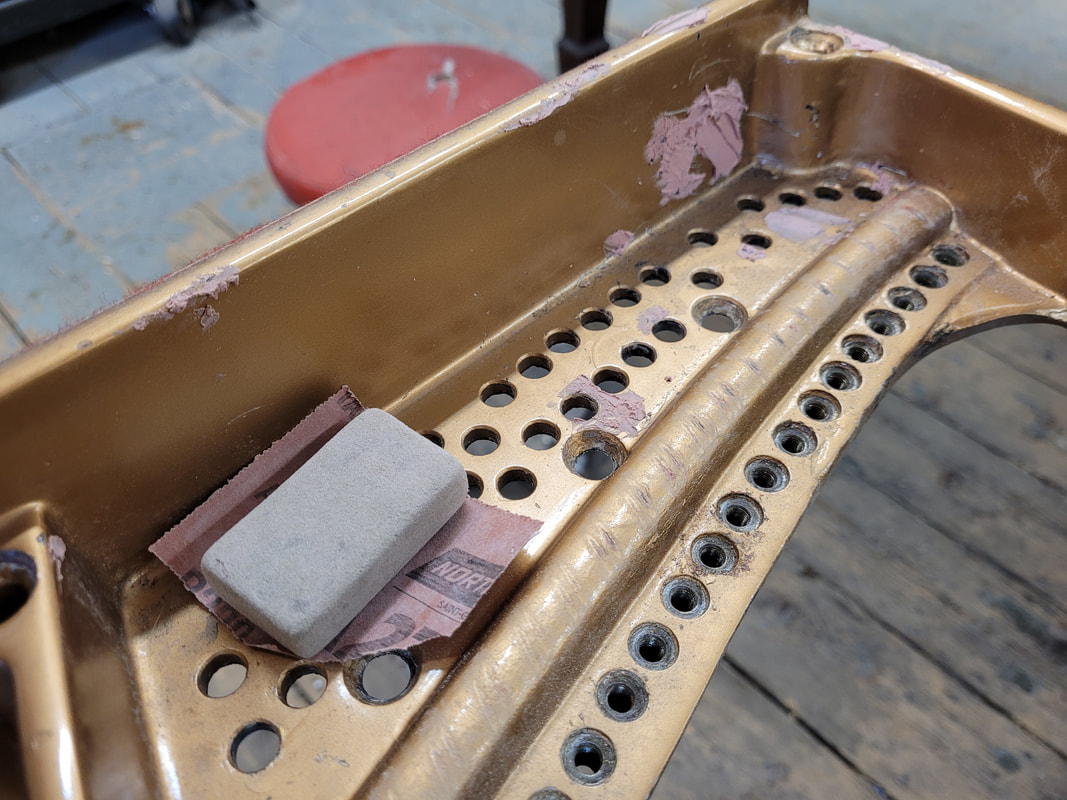
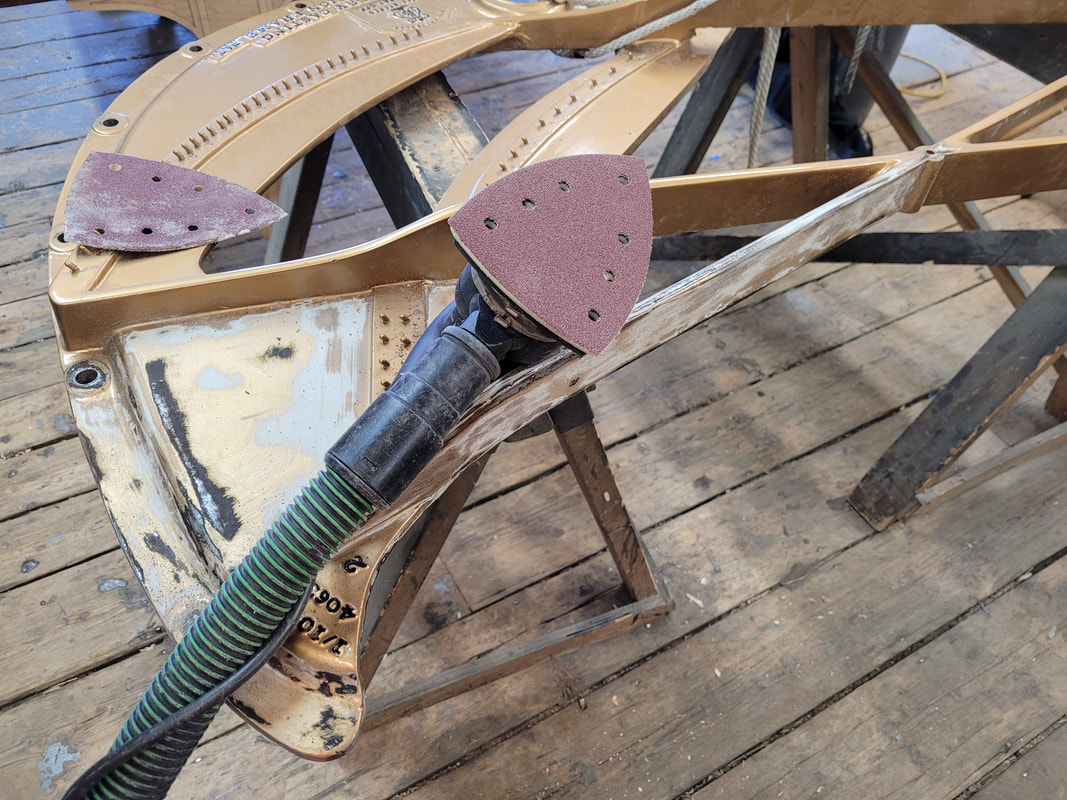
This is a short note on this plate that has been refinished. We needed to sand through the original and previous finish to achieve a smooth surface for the first coat of gold or primer. Sanding by hand was not an option. It was very brutal. Festool with 80 grid sanding pad worked well here.
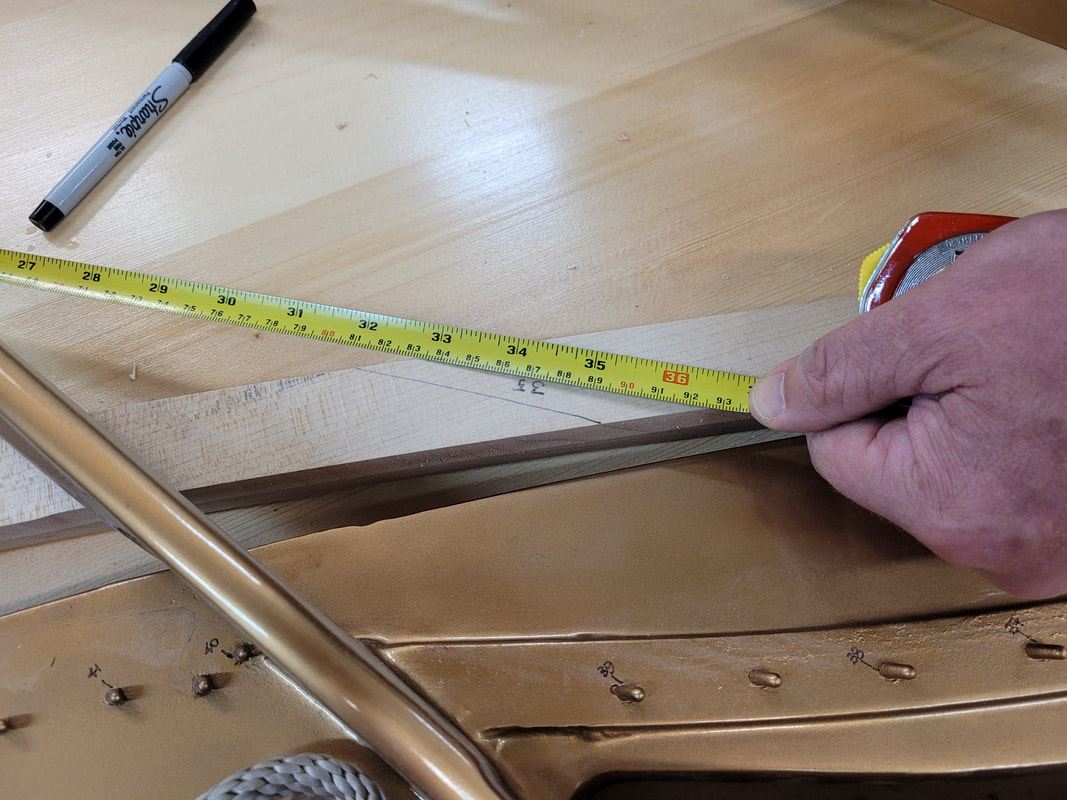
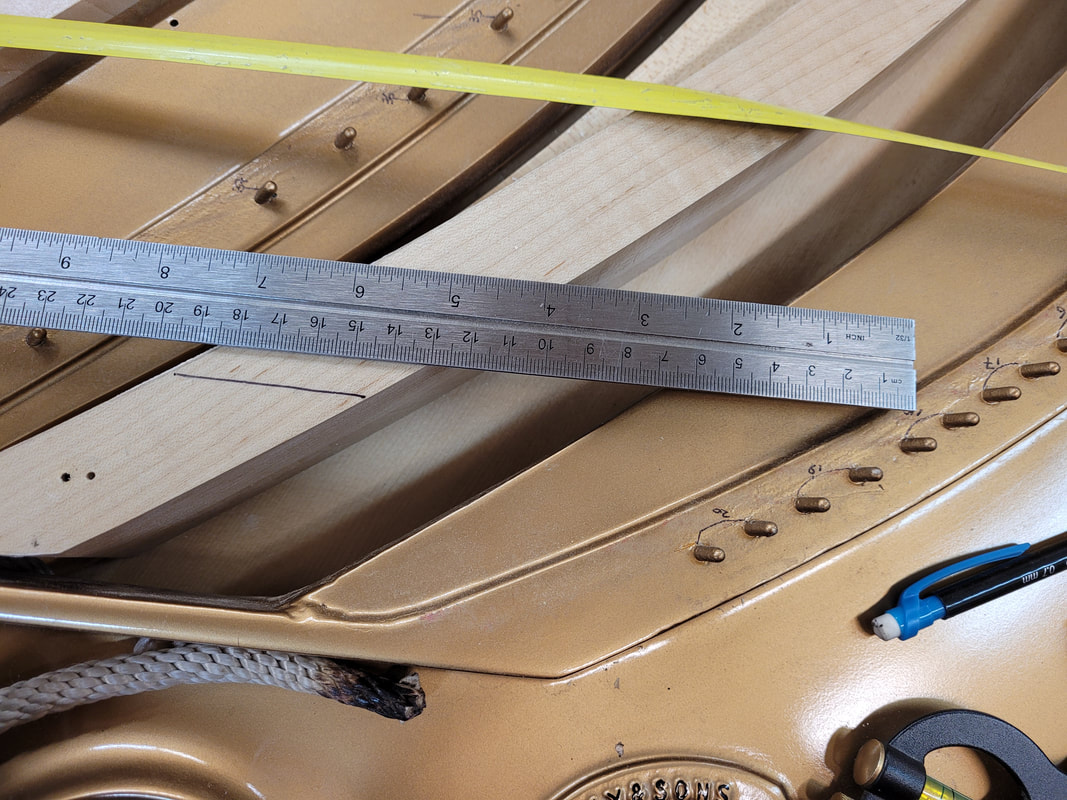
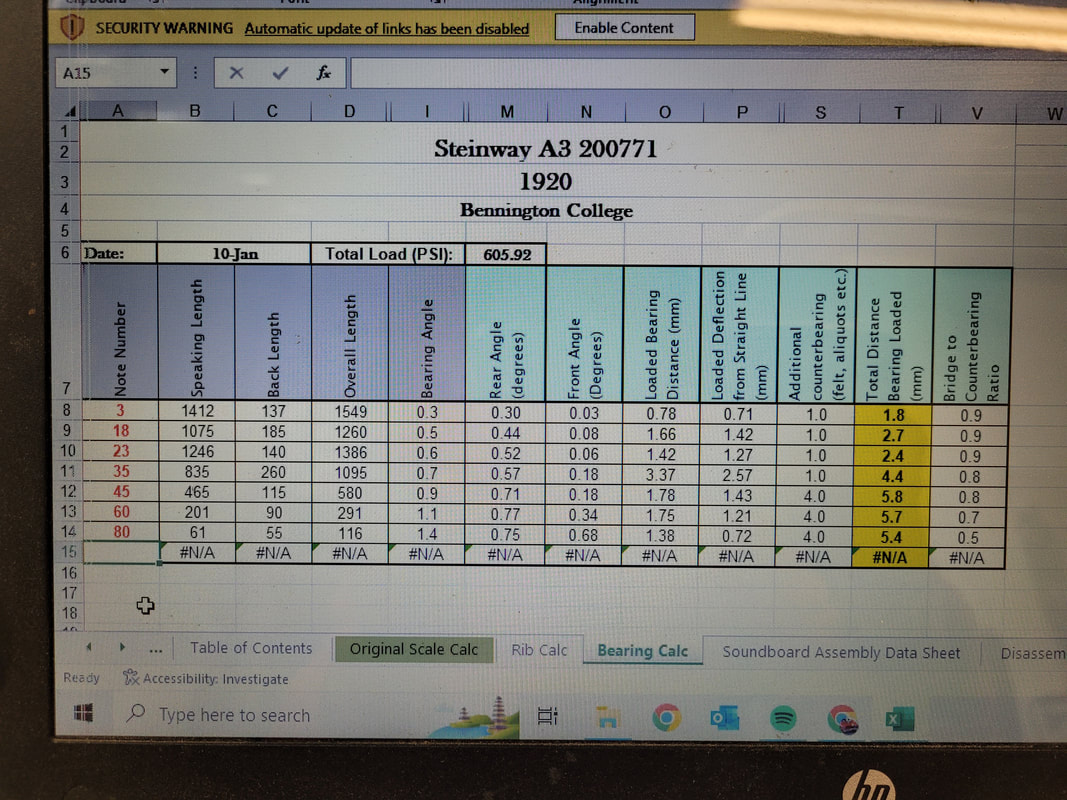
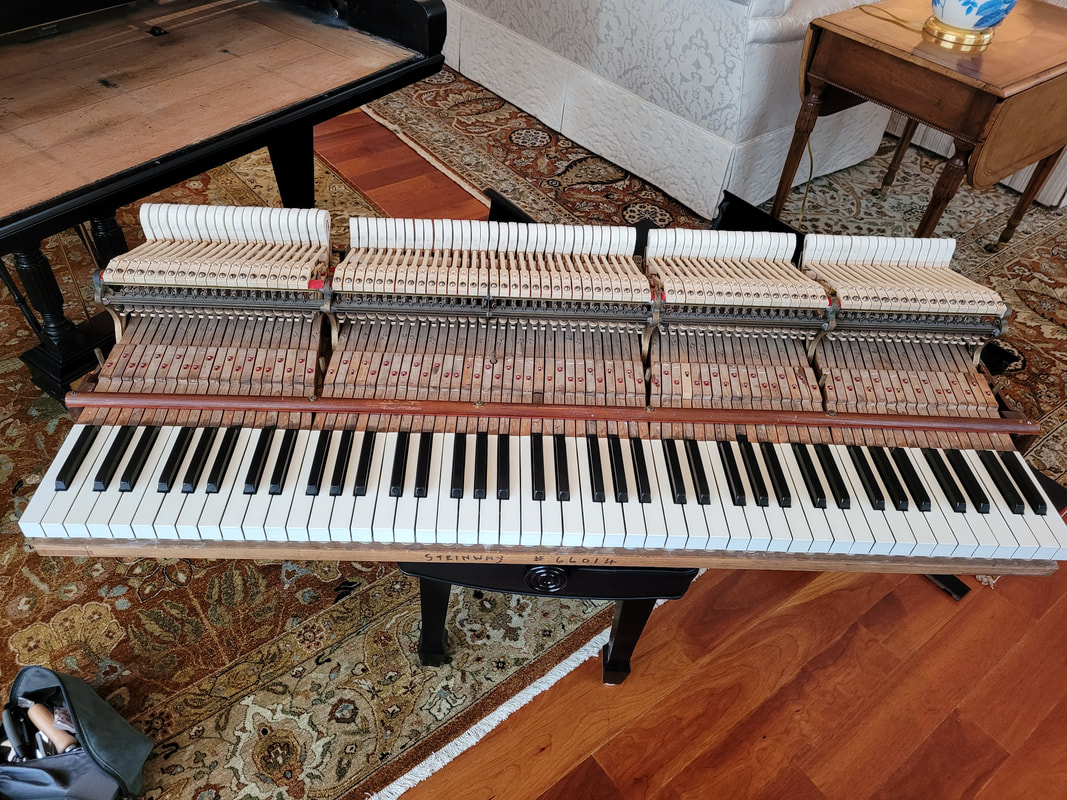
Take 1 sample note in each section, measure from front speaking length termination point to front of bridge, then front of bridge to back termination point of speaking length. Enter to computer program to calculate down-bearing.
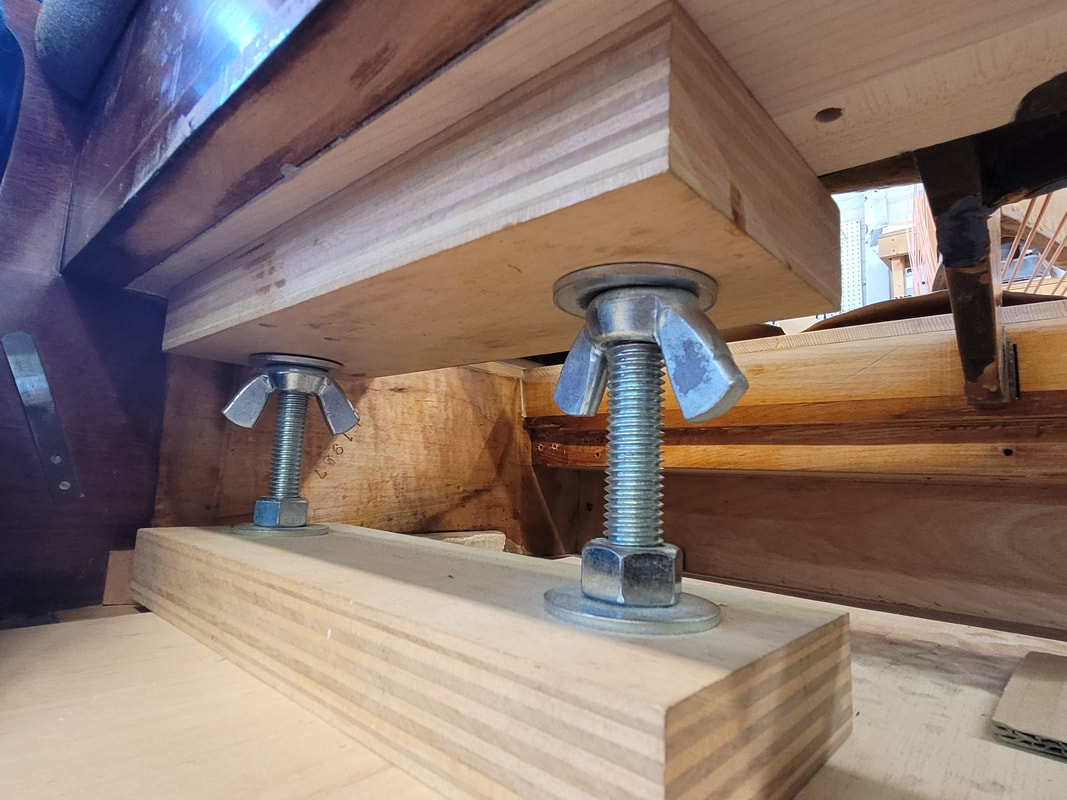
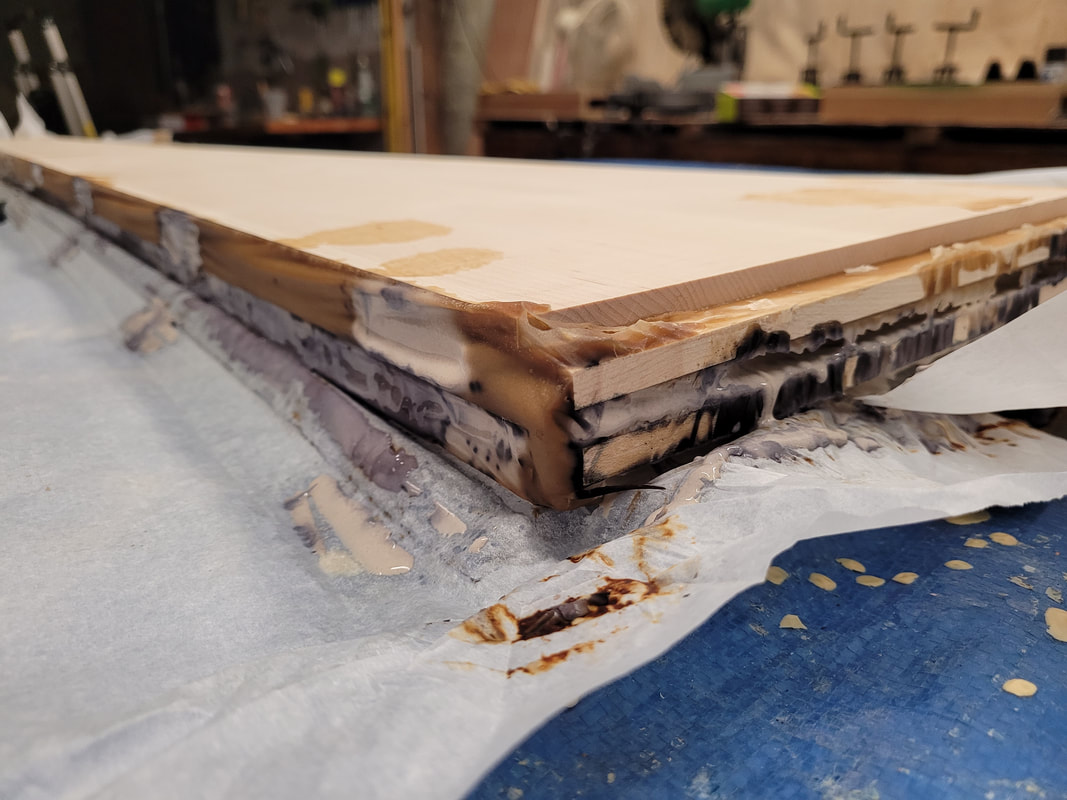
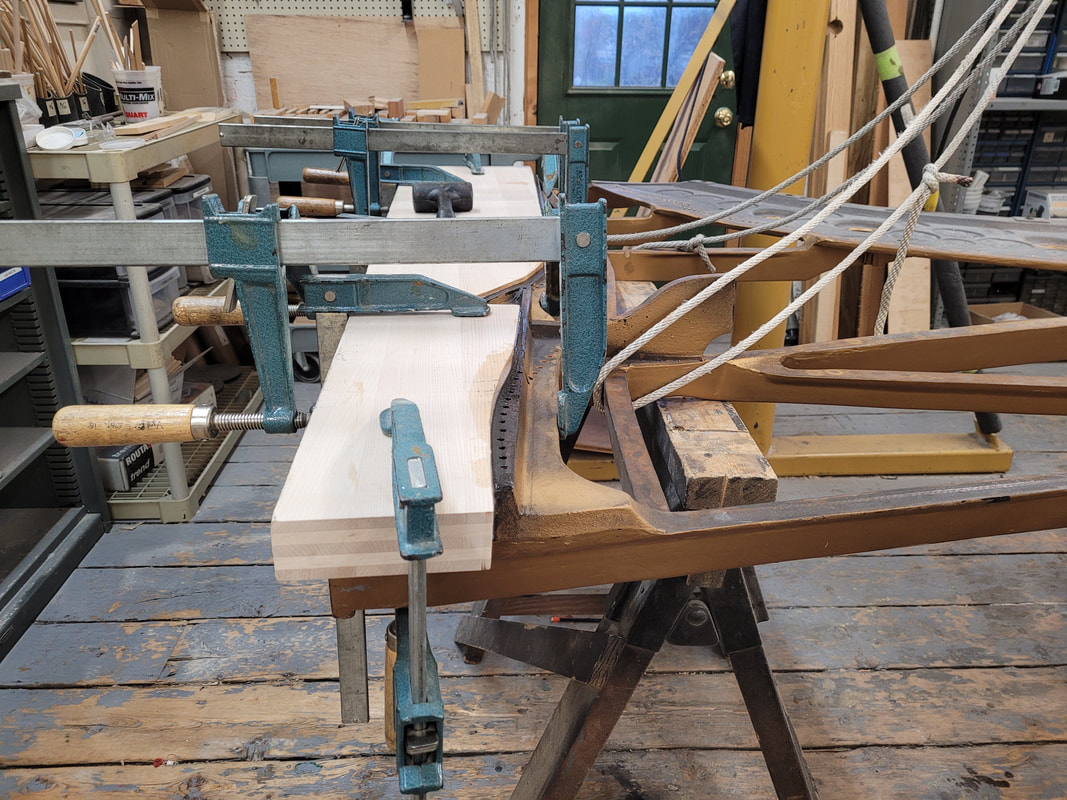
This pinblock has gone through dry fitting and adjustments in piano, ready to be glued in. Apply epoxy on glue surface. We use Westsystem Epoxy. It is very toxic so a N95 mask or respirator is necessary. Use the plate and vertical clamping pressure to press down pinblock. Use stretcher protecting board for the horizontal clamps to grab on.
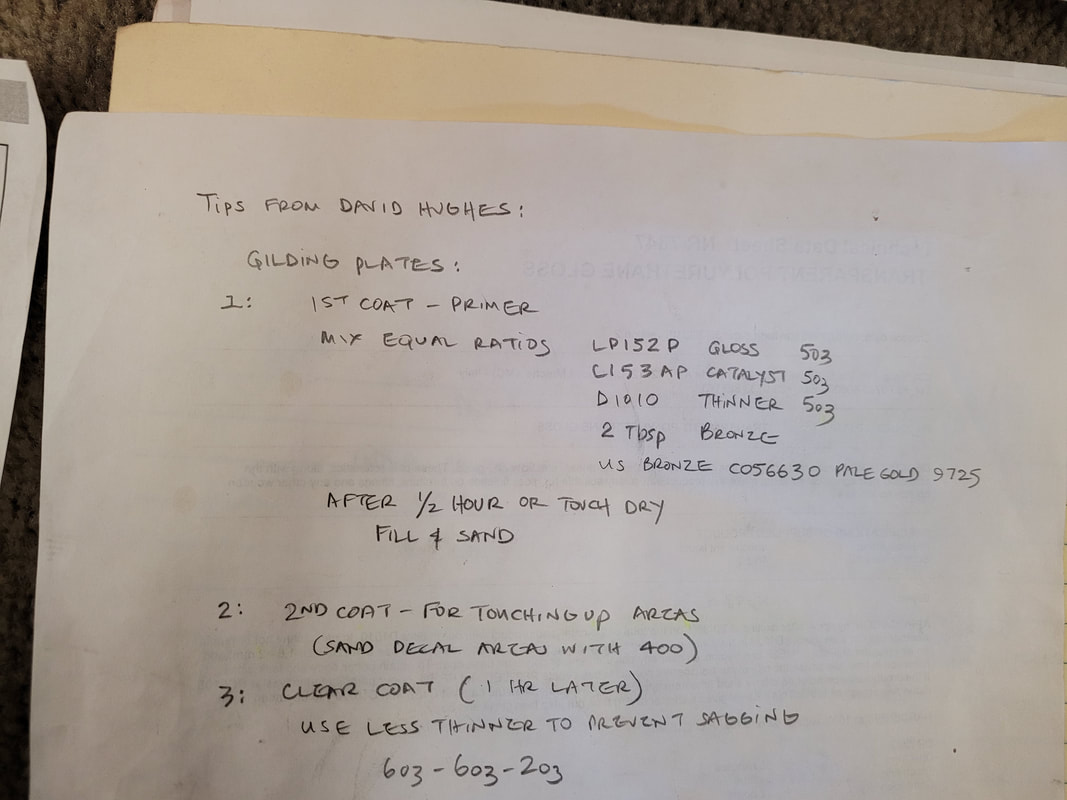
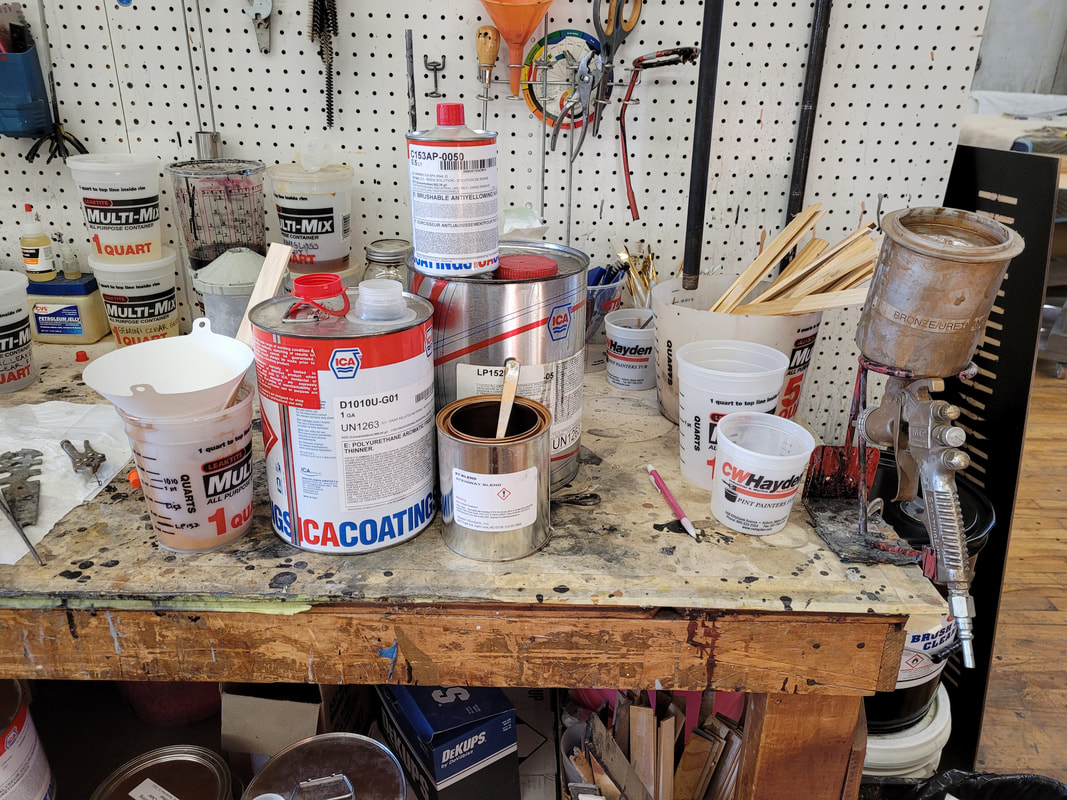
Prepare mask and hair coverage before refinishing, make sure there no change for dust or hair to fall off onto surface being sprayed. Read instruction carefully and double check refinishing supplies are accurate and enough for the work. Clean spray guns thoroughly before staring to measure the liquid.
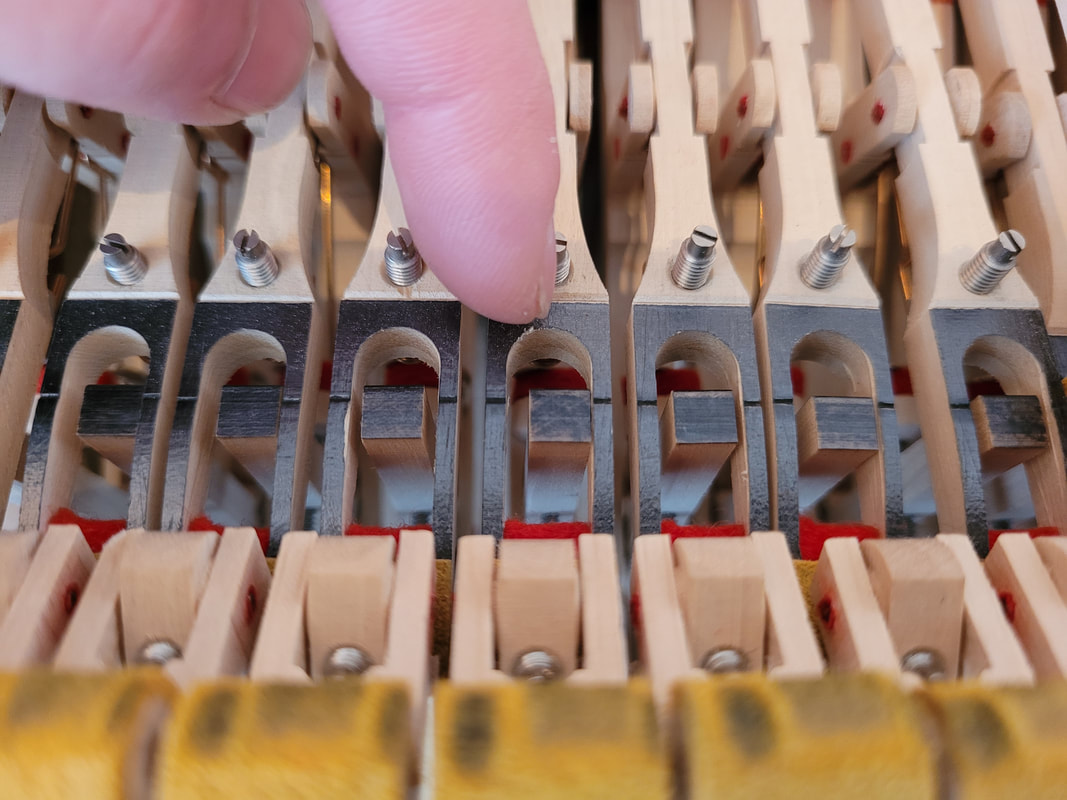
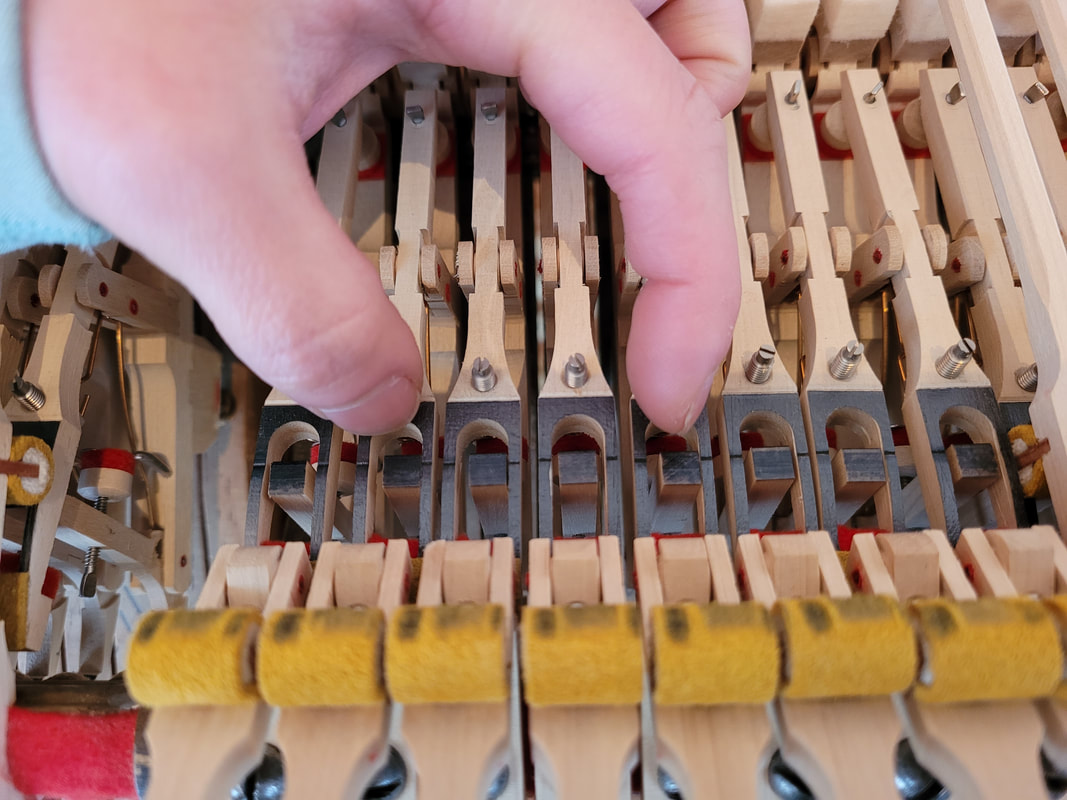
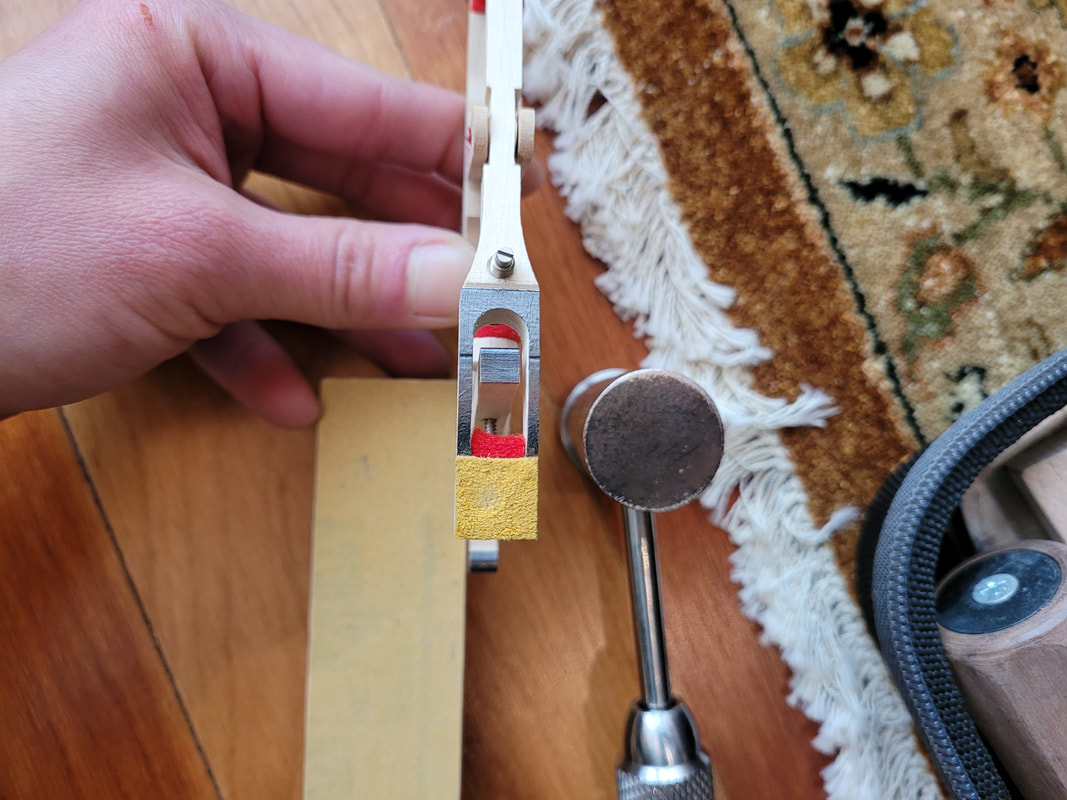
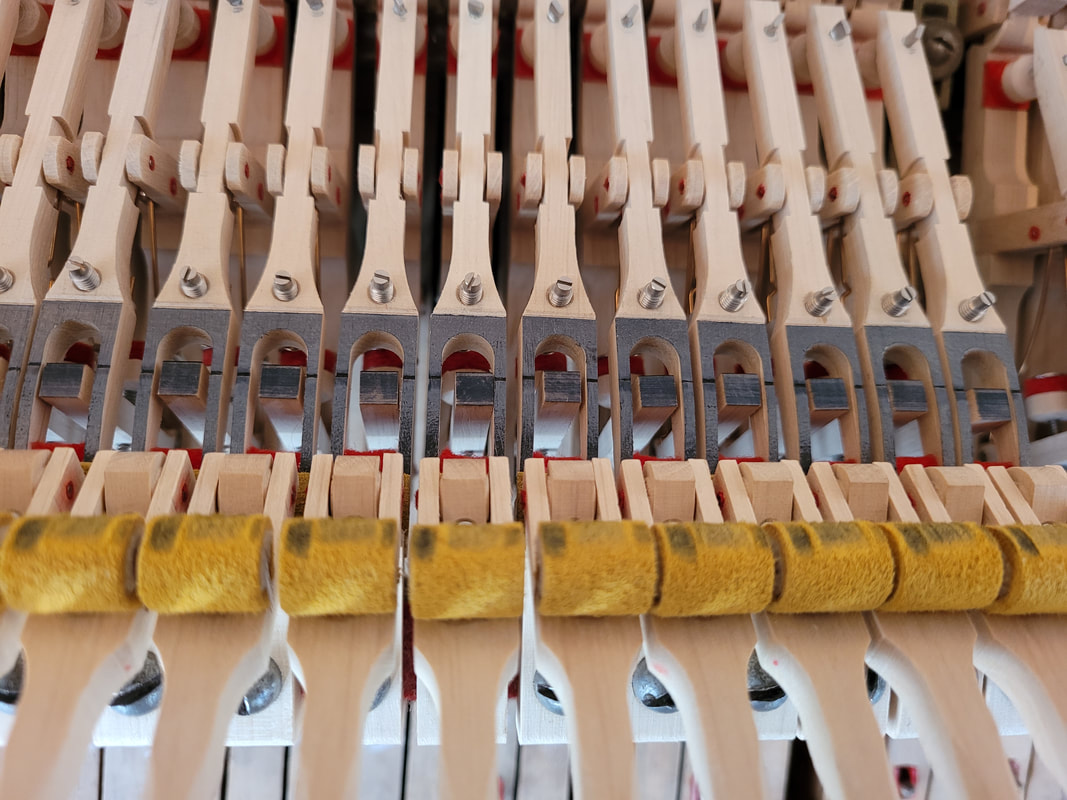
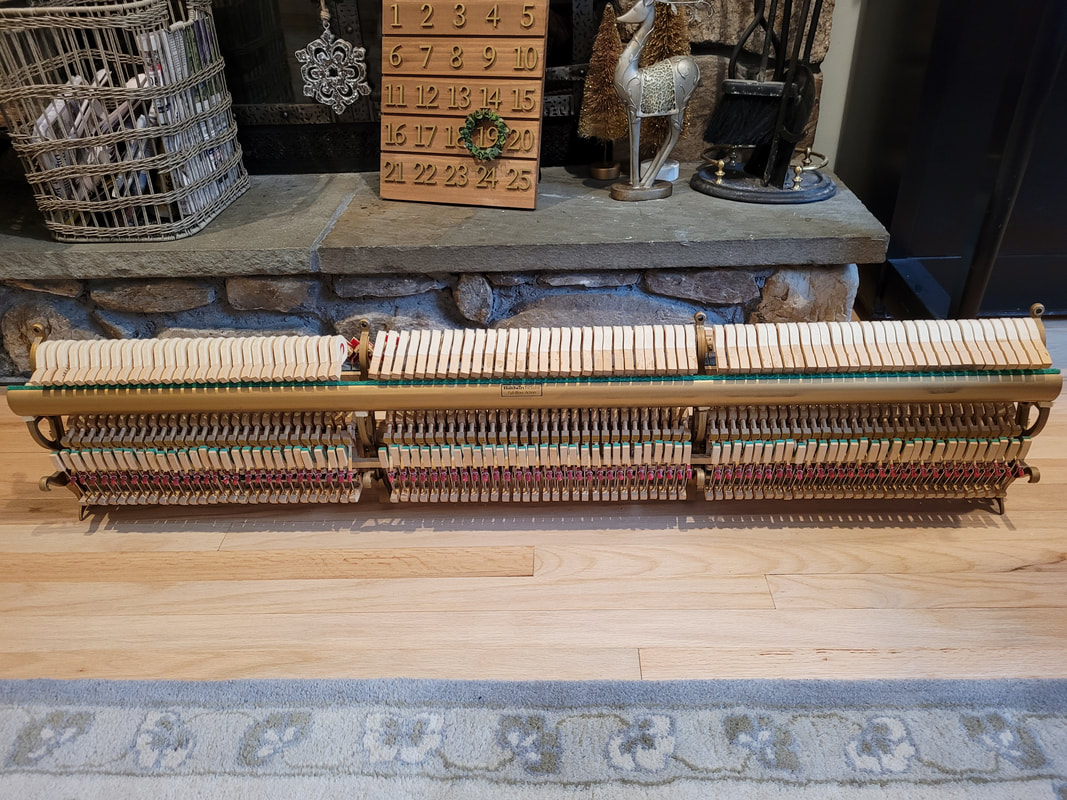
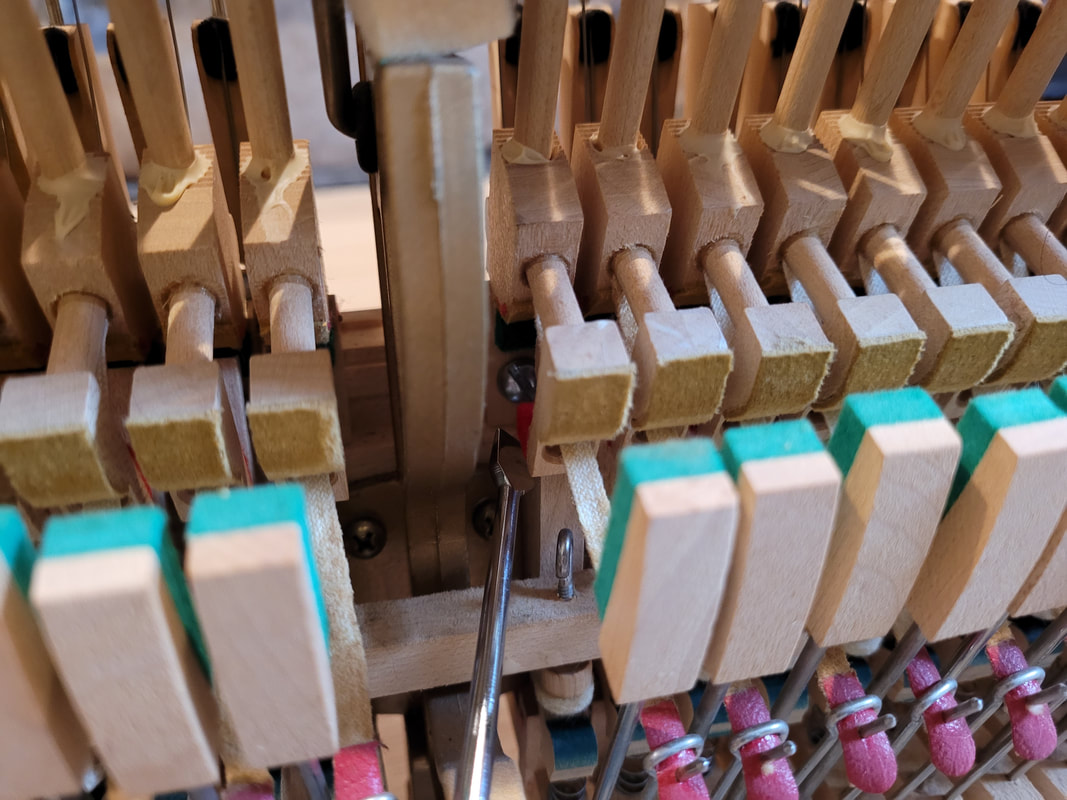
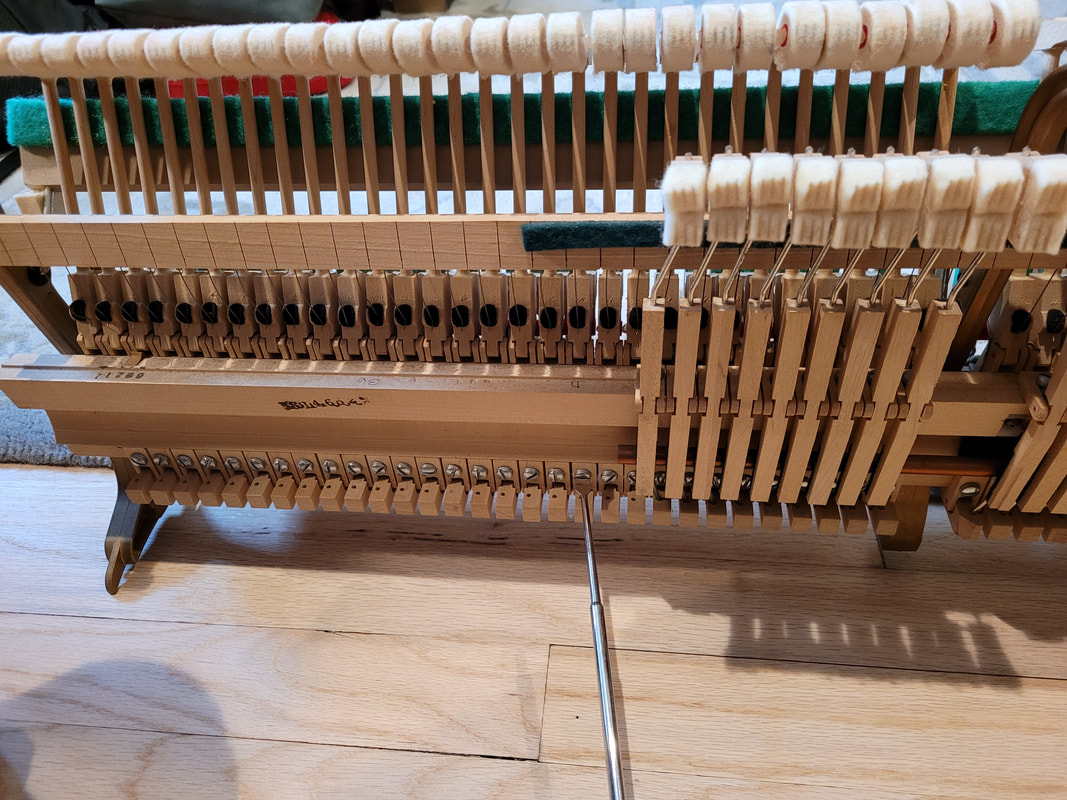
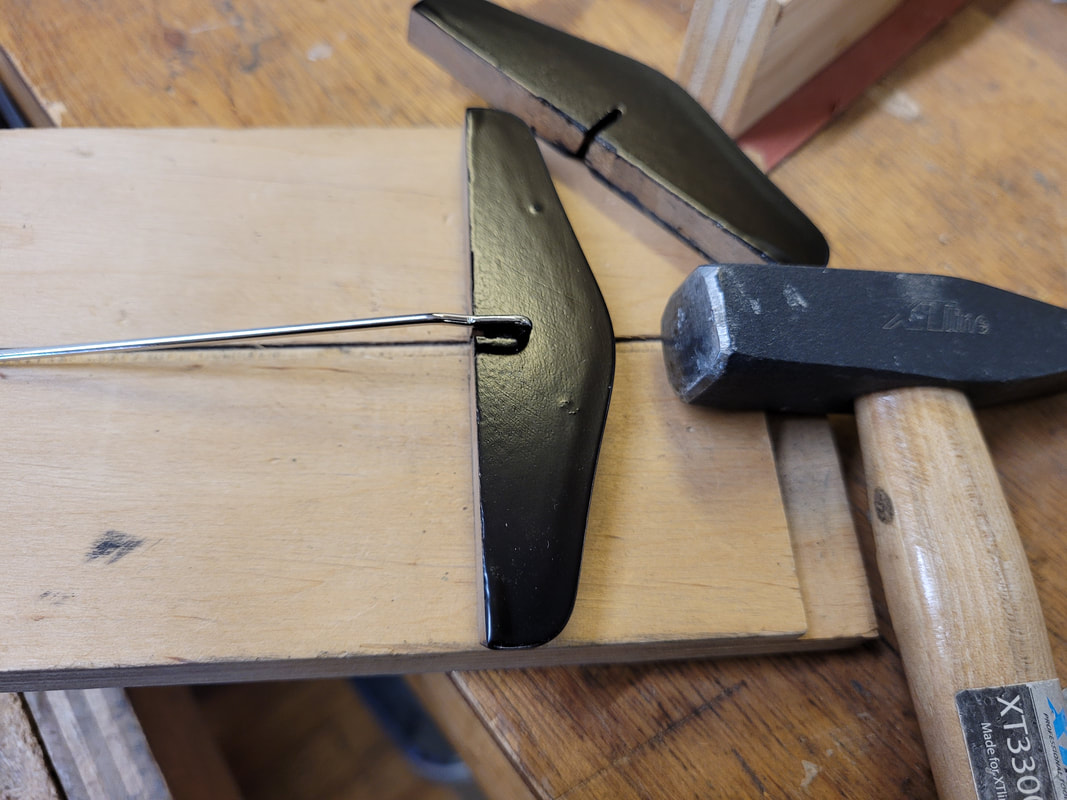
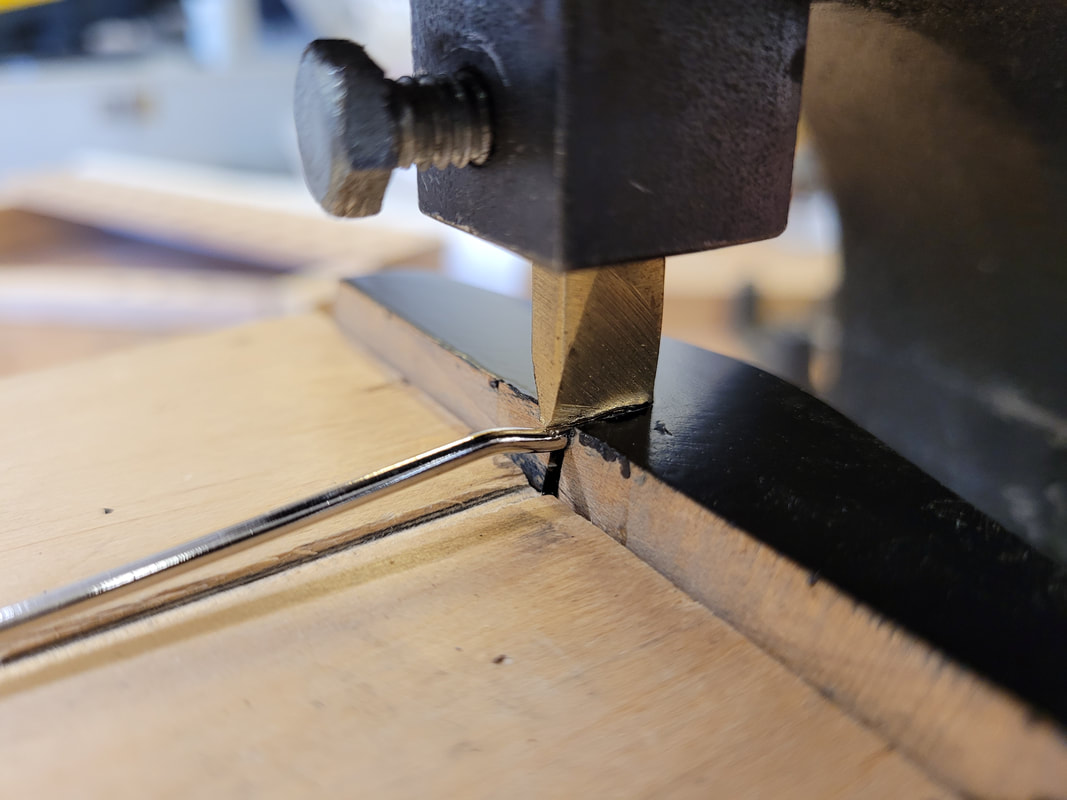
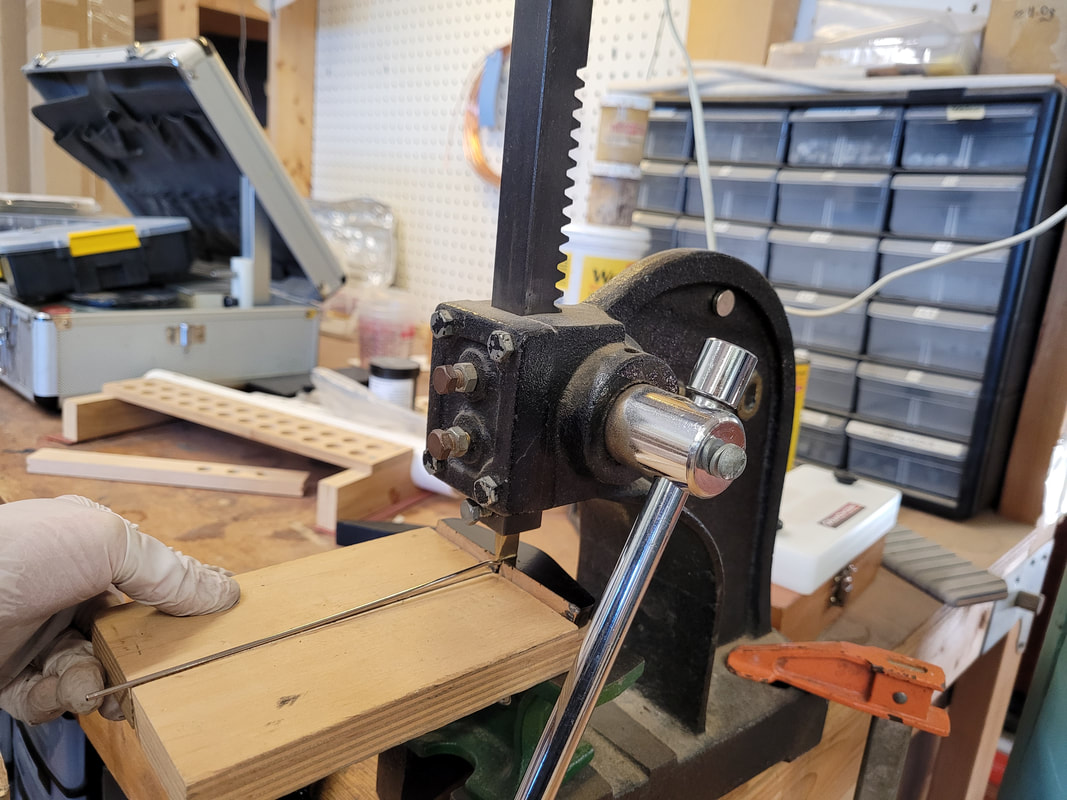
This Yamaha upright piano has excessive lost motion between capstan and wippen. This is the main cause of hammer double/multiple strike on strings or bobbling hammers. Taking up the lost motion by turning up capstans eliminates this problem. On this grand piano, some jacks are rubbing on either sides in repetition lever windows. When keys are played, the rotating jack-rubbing-window motion creates big clicking like noise. The jack center pins need to be bent to let top of jack centered to the window. Support bottom of center pin on hard surface on the side where the bend shall be, whack top of jack with a hammer till it is centered. In order not to over do it, not too much force needed for each whack. After a couple of adjustments, one could only find way more jacks to be whacked... One this upright action, all sorts of clicking noise are present. Turns out that all the action screws are loose includes: hammer flange screws, wippen screws, and damper screws. From left to right, tighten hammer flange (butt) screws, wippen screws, and damper flange screws. Noise is gone after this process, took about 30 minutes. The piano owner was so happy, so did the piano technician ^ ^
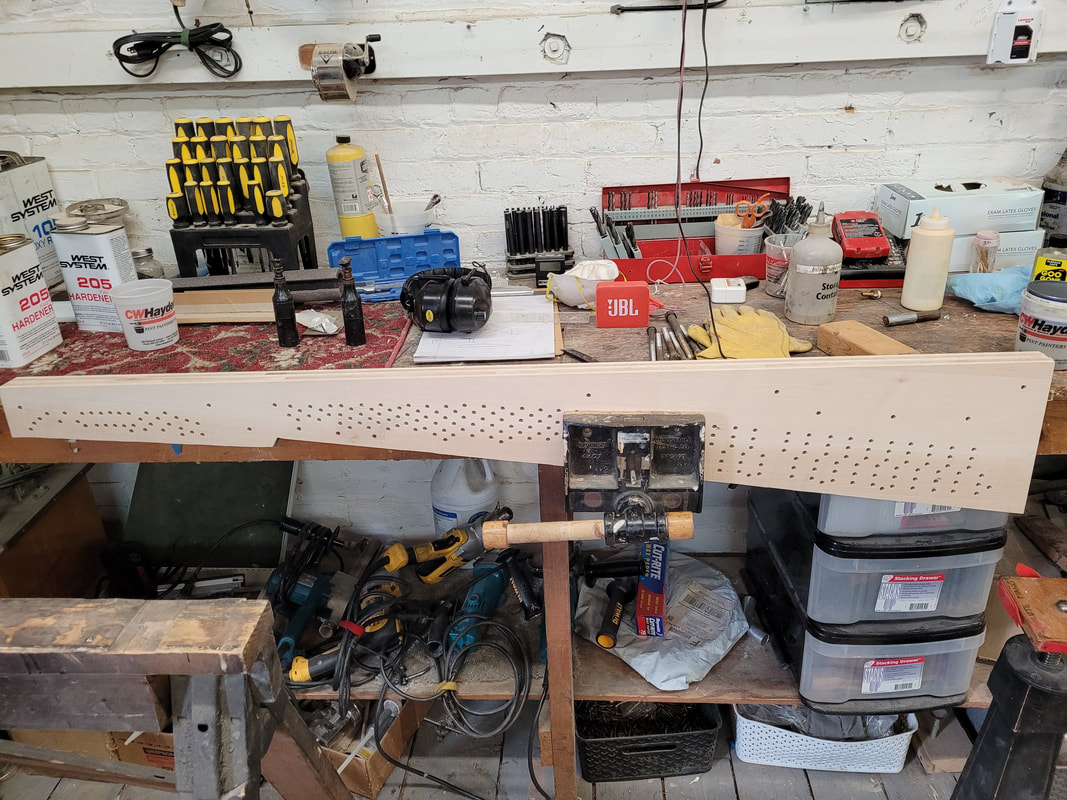
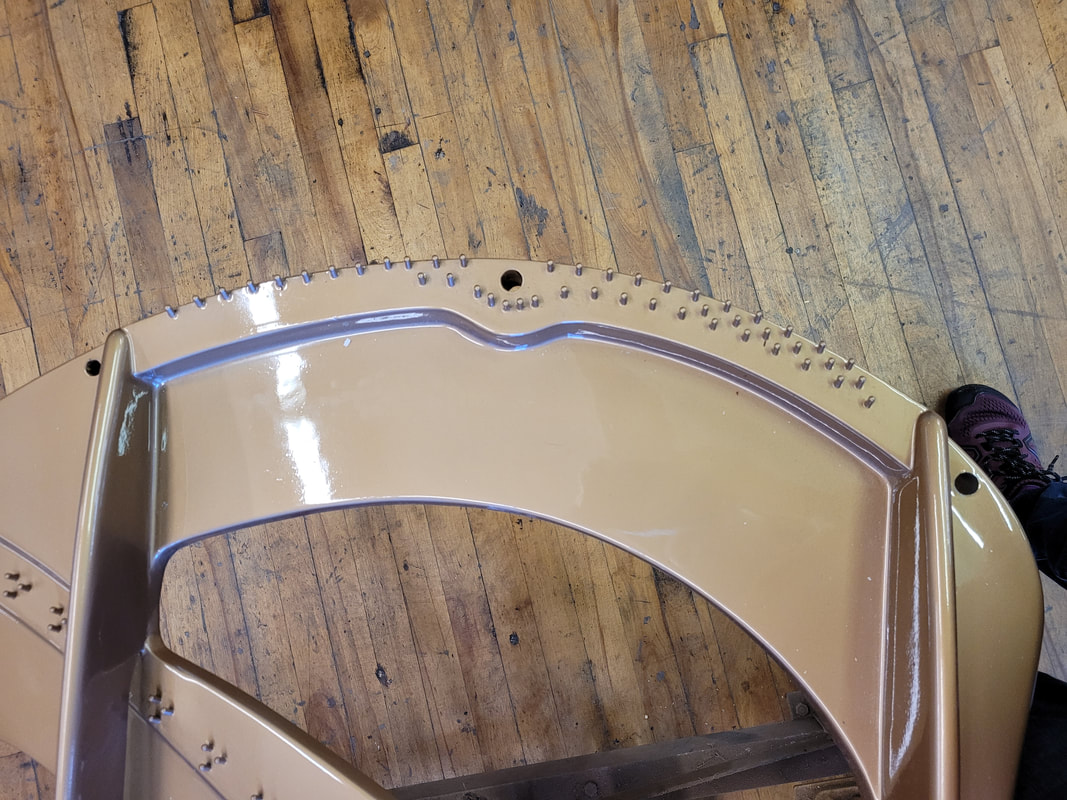
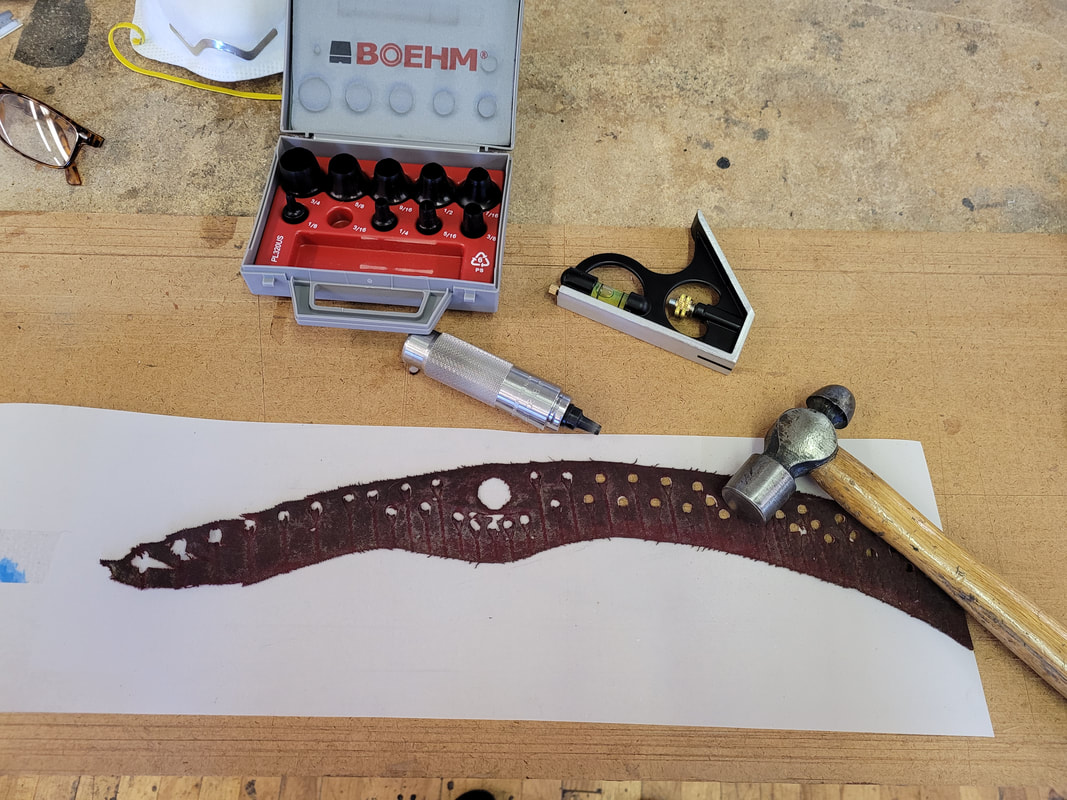
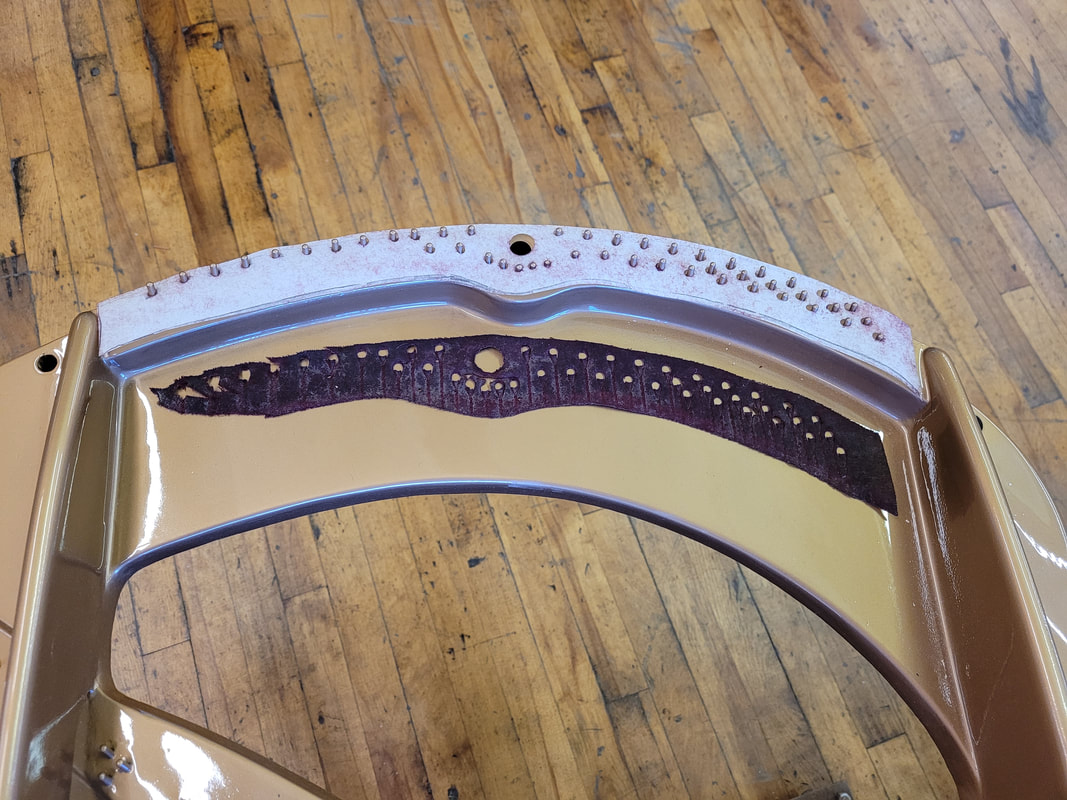
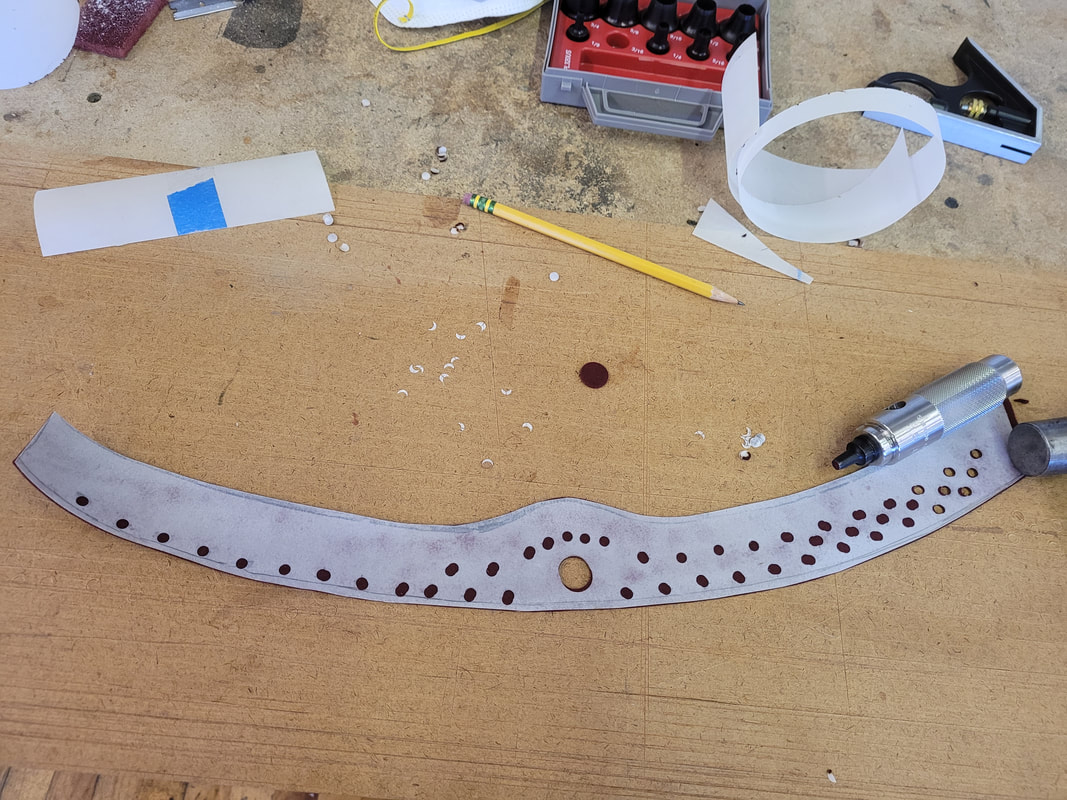
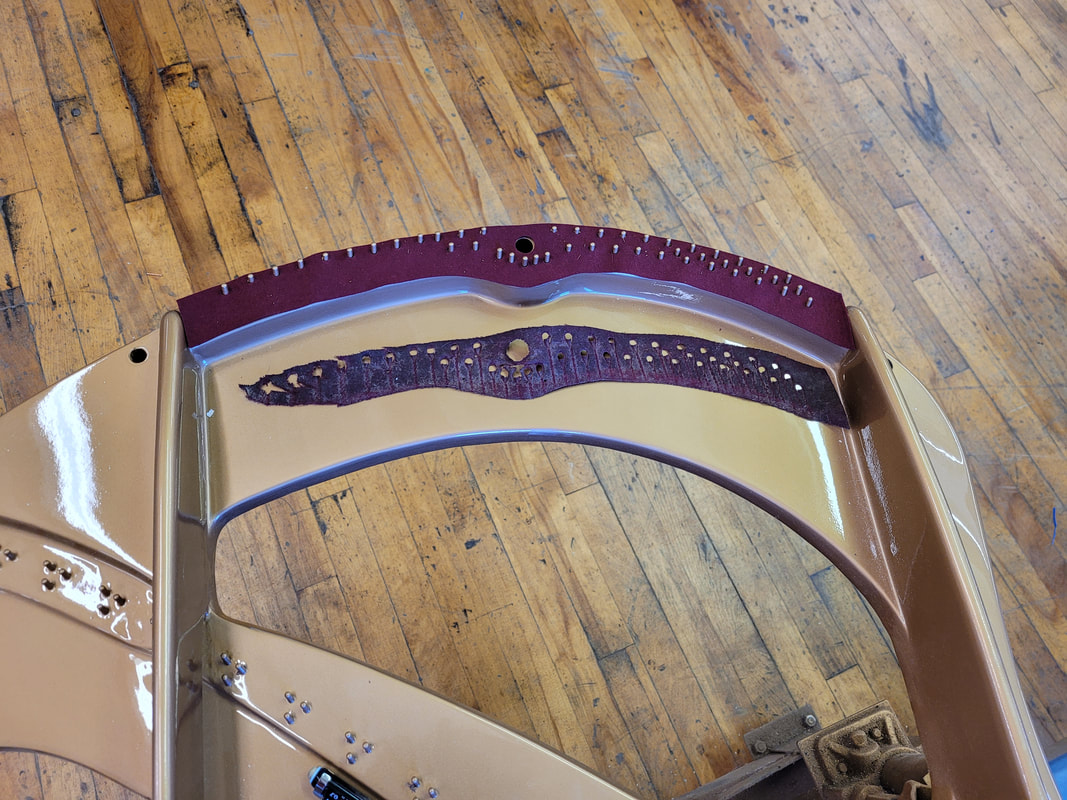
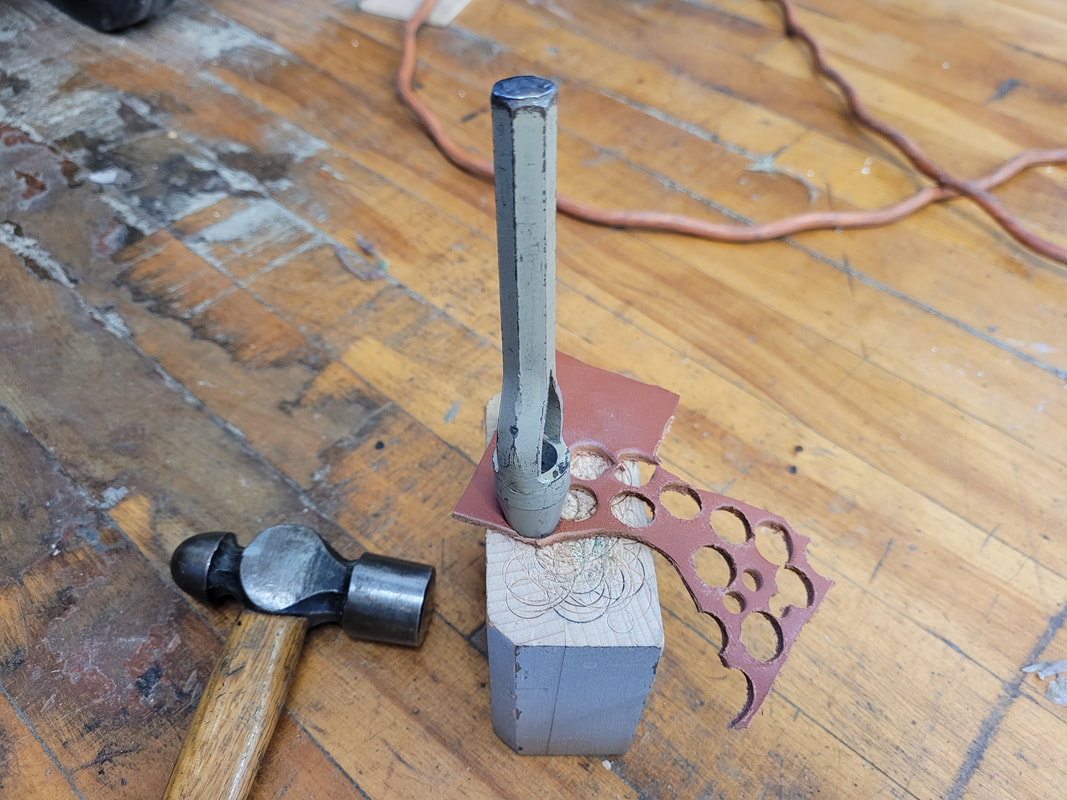
The marron colored hitch pitch pin felt needs to be replaced. There are so many holes on it to be transferred on new felt. For accuracy and better fit, the shop owner suggested that we use mylar as a templet. With a good hands on skill, the mylar step can be eliminated, not here, though... The plate has been refinished, all shiny shiny. Spray adhesive on back of old felt, glue it on a piece of mylar or similar material that's on the stiff side. transfer holes through old felt to mylar, try on plate for fitting. If some holes don't fit, mark and re-punch holes till the template sits flat in position. For the missing holes on old felt, the mylar is placed on top of those hitch pins, a pencil is used to rub from top to make a mark for the punch. Spray adhesive on top of template, glue new felt on so the glue is on the bottom of the new felt. Flip up side down so the mylar is on top now, transfer all accurate holes to new felt, fit again on plate. Glue down the two ends with felt glue. The rest of the felt will be pressed down by strings.
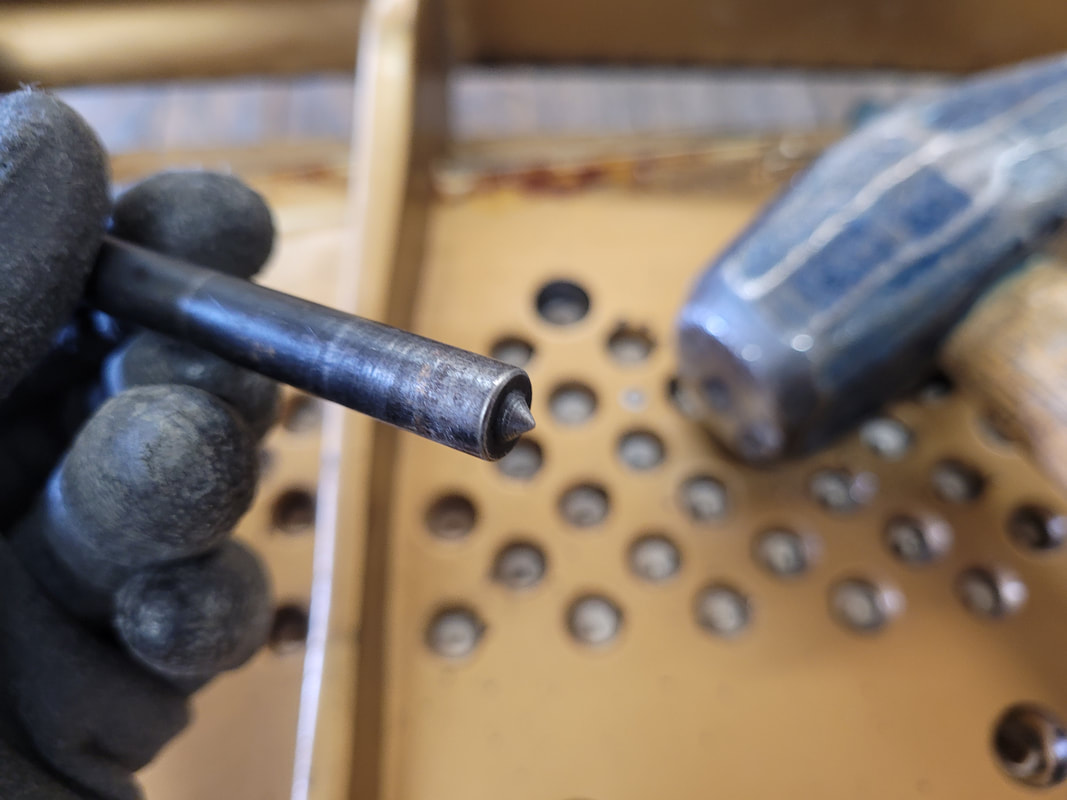
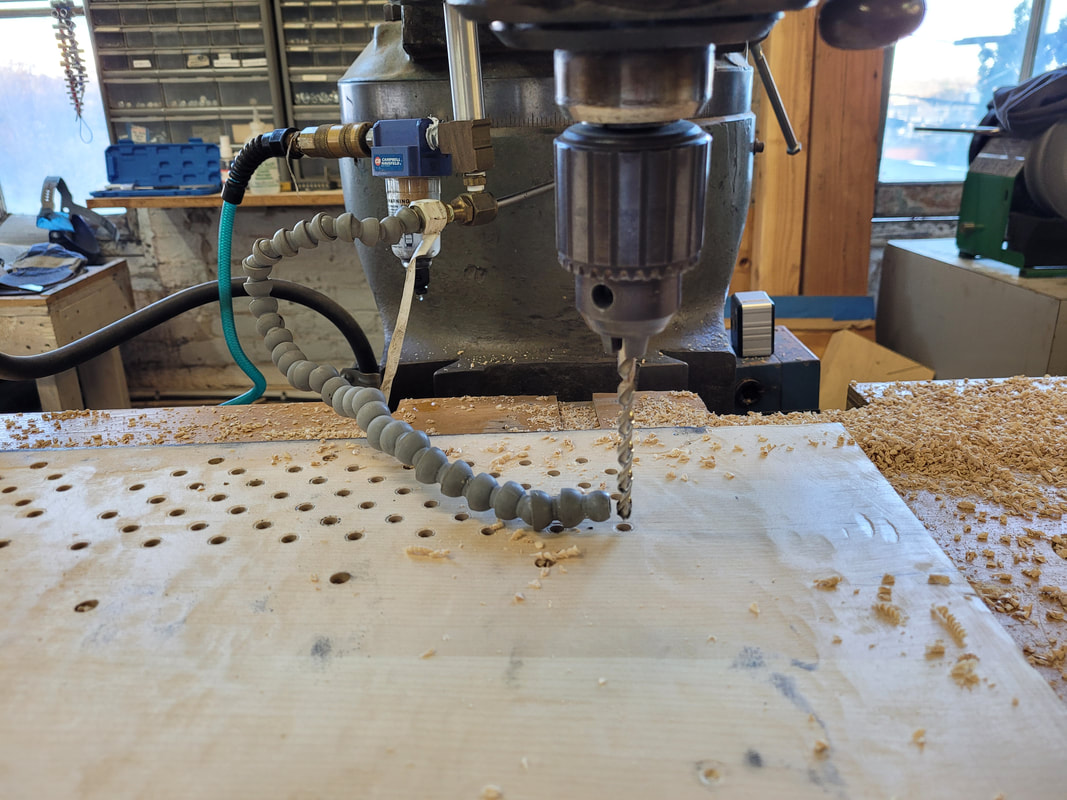
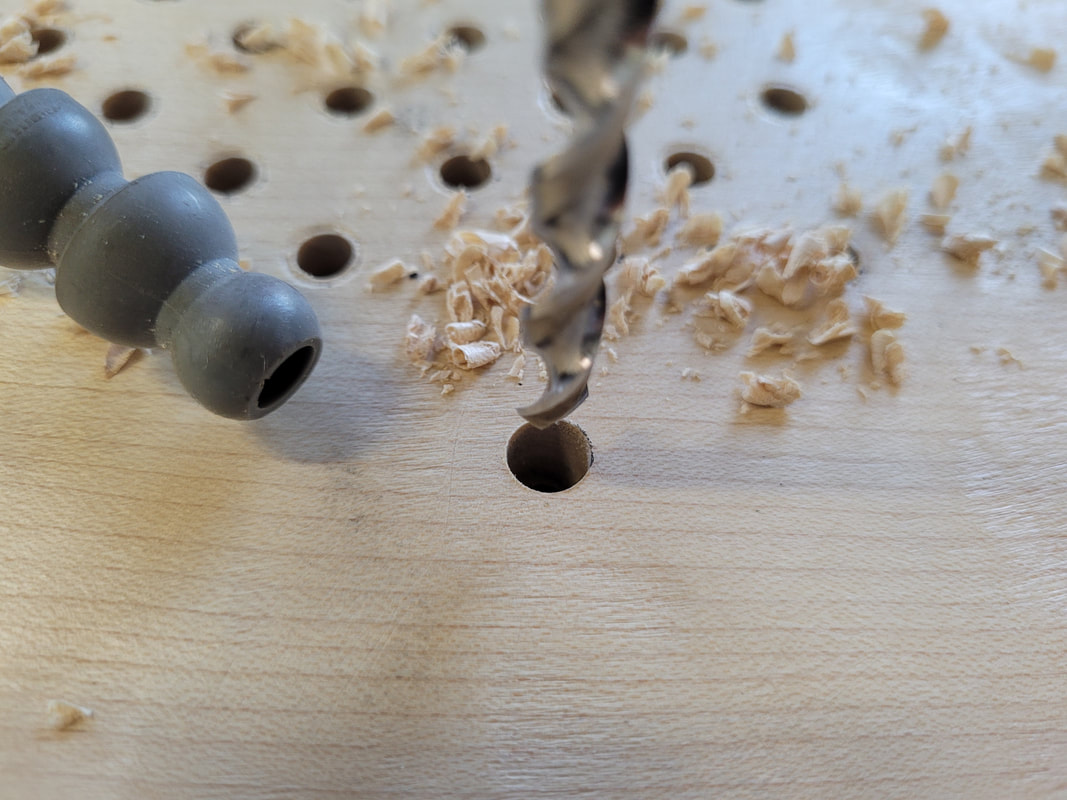
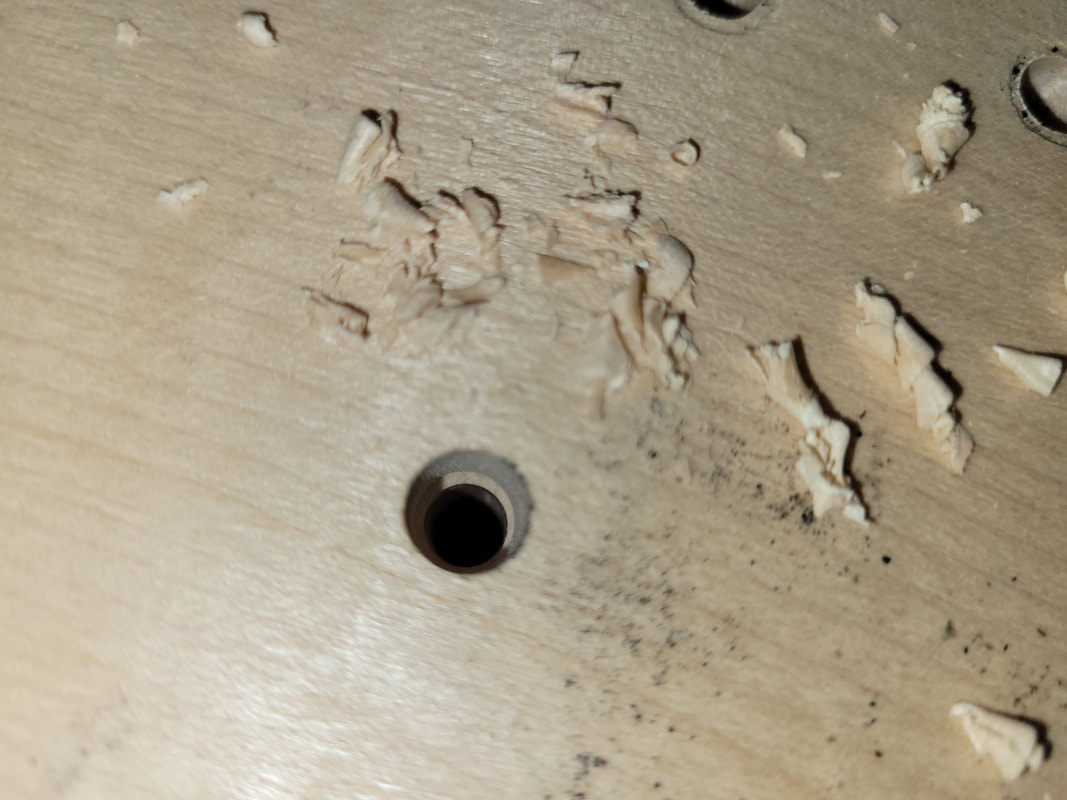
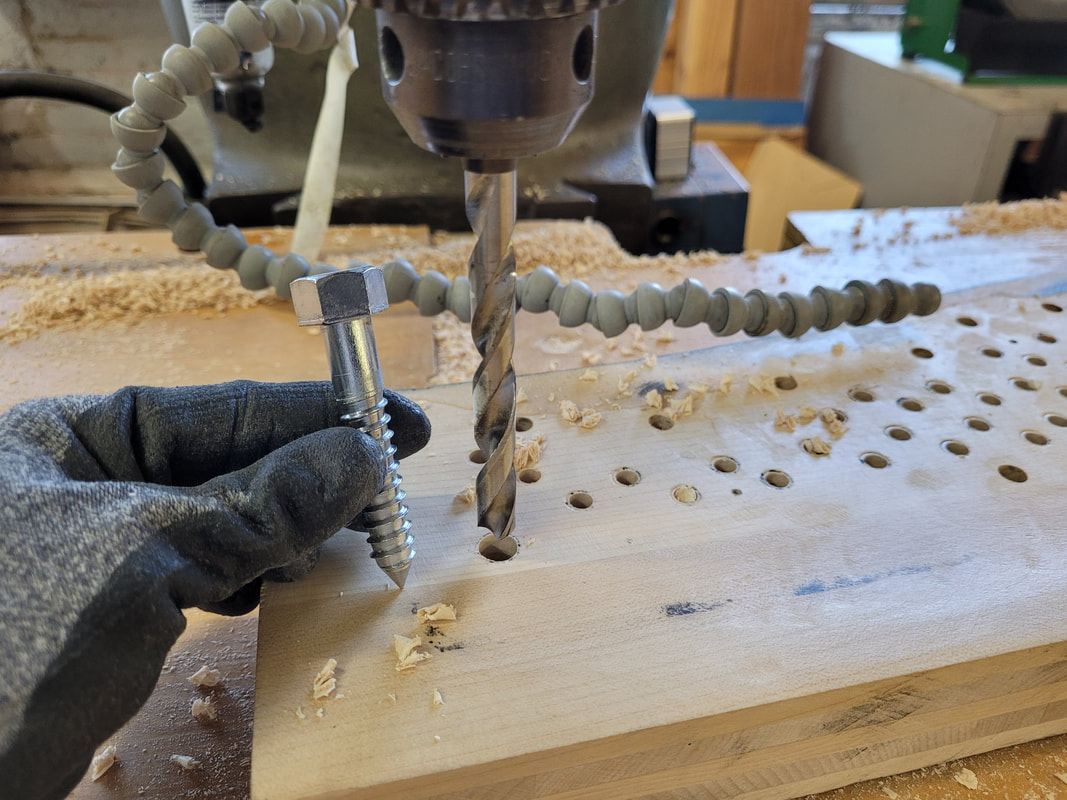
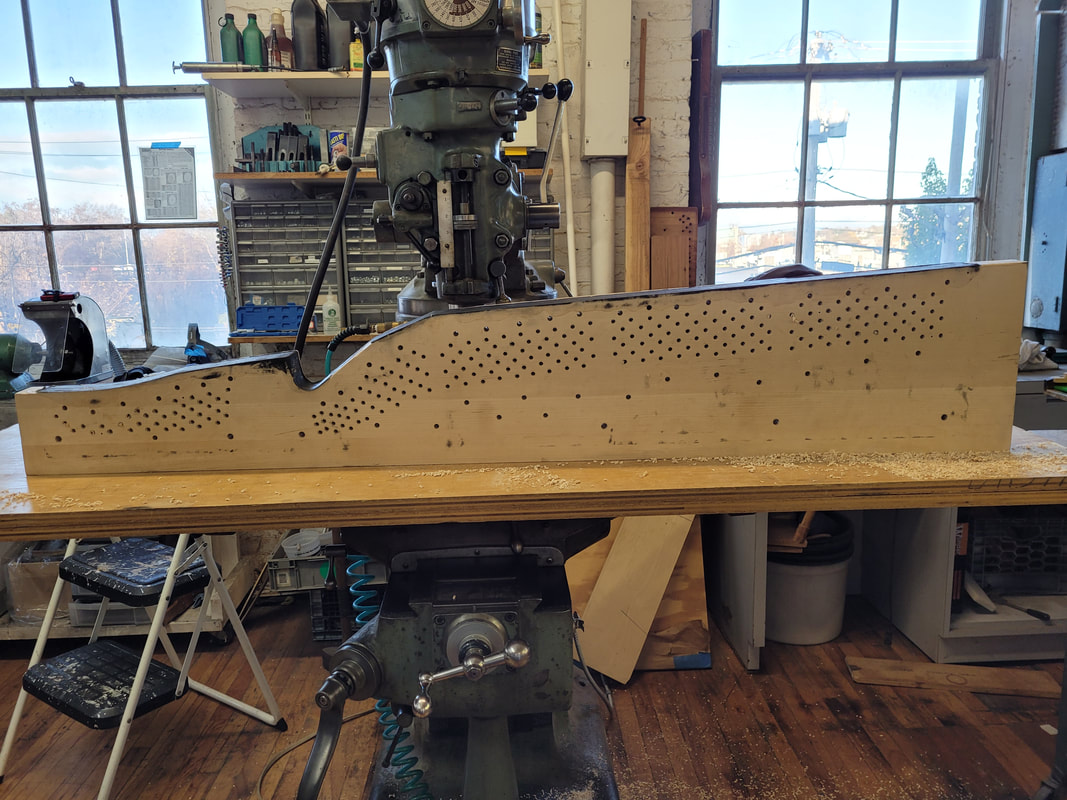
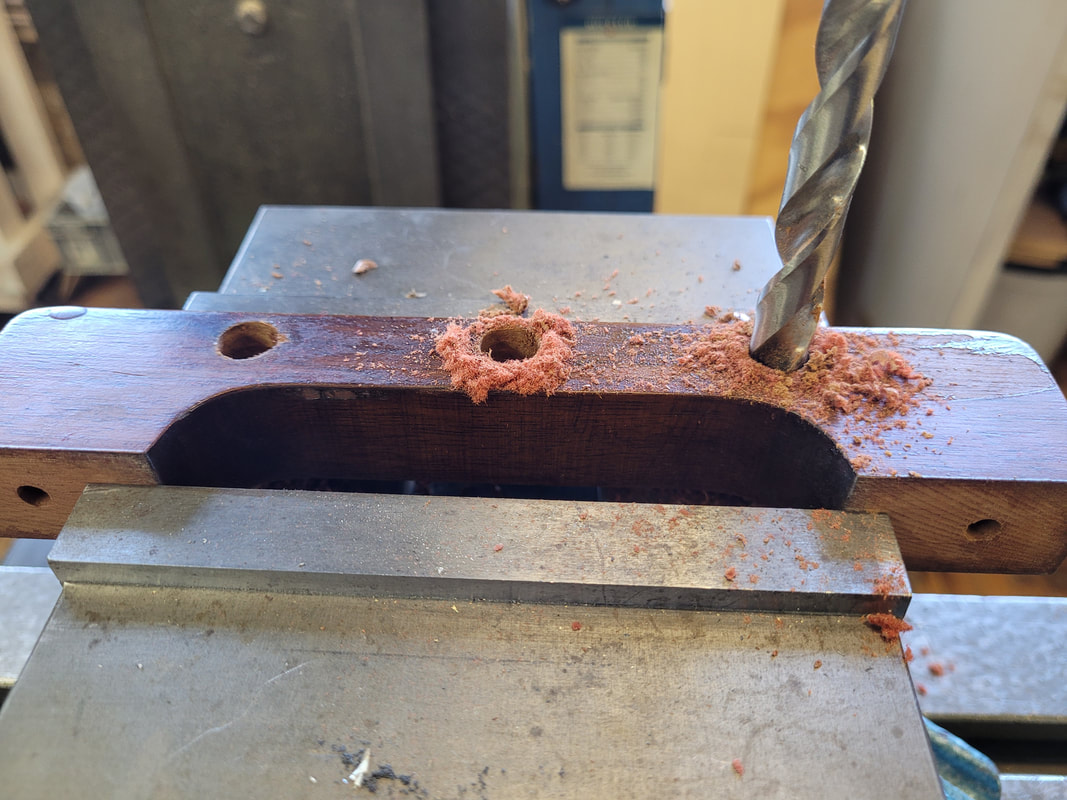
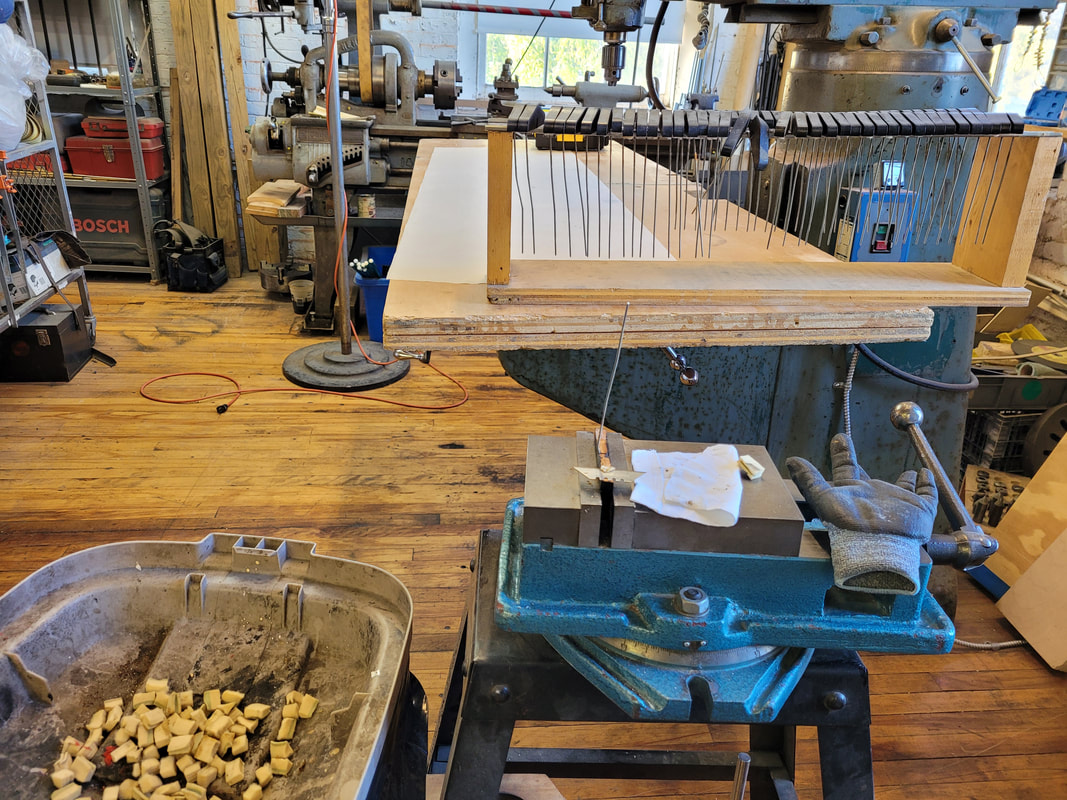
Pinblock fitting to plate flange is here: https://www.yunspianoservice.com/work/pinblock-for-steinway-l This is when the 5 layer pinblock is glued up and fitted to the plate flange. Use a transfer punch to mark tuning pins and webbing screws. Drill webbing screw pilot (body) holes through plate for accuracy. Be careful not to drill too deep, or it will be easily stripped when turning screws in. Set up drill press. That hose blows air out to cool down drill bit. Drilling into laminated maple can create a lot of heat. Tuning pins are tilled 5 to 7 degrees towards the front of piano, so the drill press is tilted this way, as well. When drilling for webbing screw holes, be cautious that the bit is in the center of pilot hole. Also till drill press back to 90 degrees before drilling any screws holes. The screws can be in different sizes. Pay attention to use the right drill bit for each screw size. After all the drilling, check if every hole is opened up. Clean drill bits thoroughly for the next person or use.
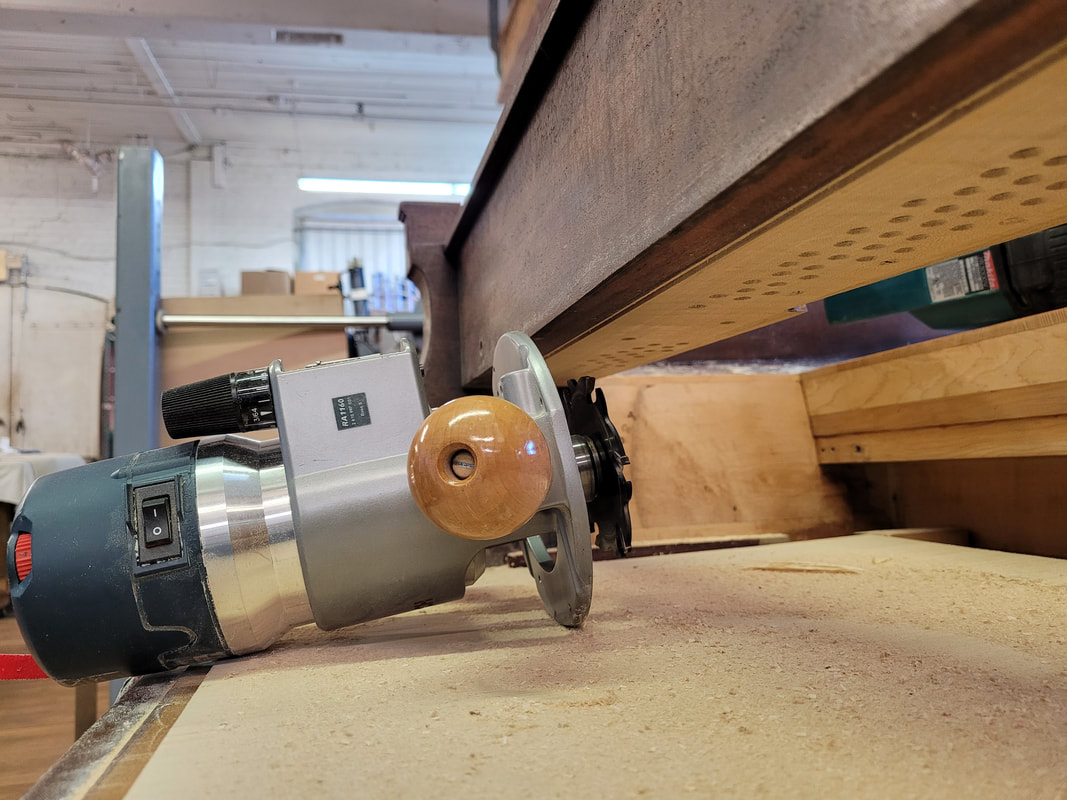
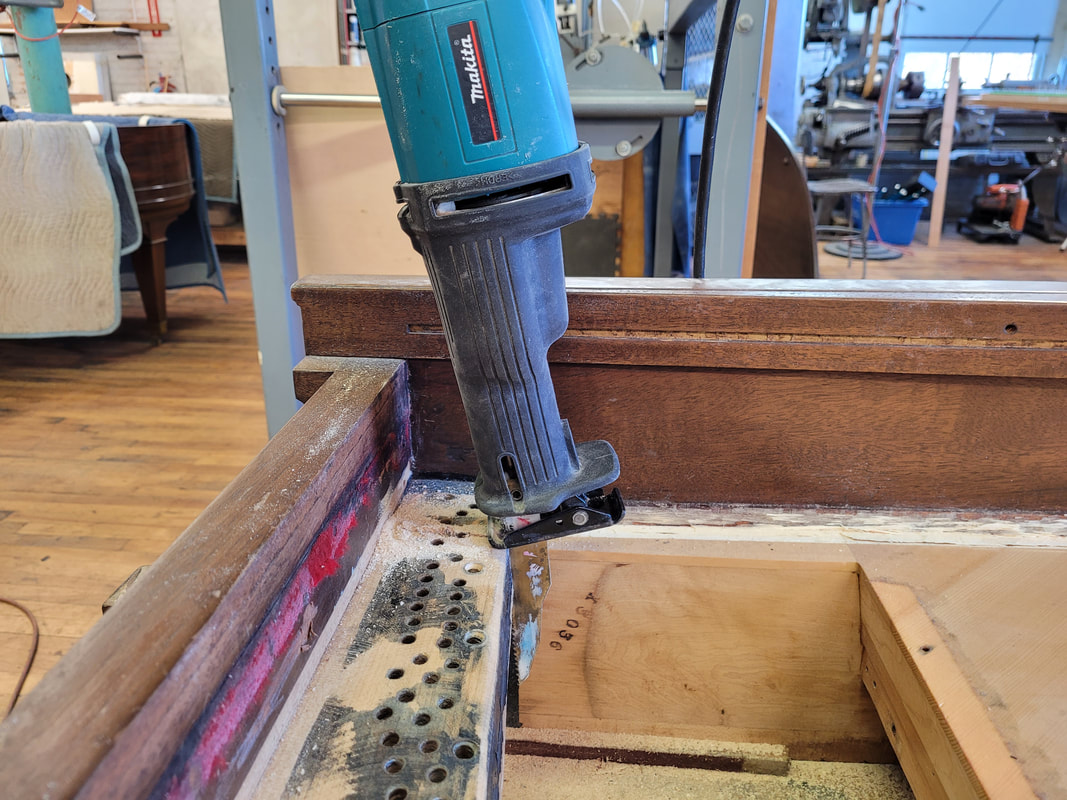
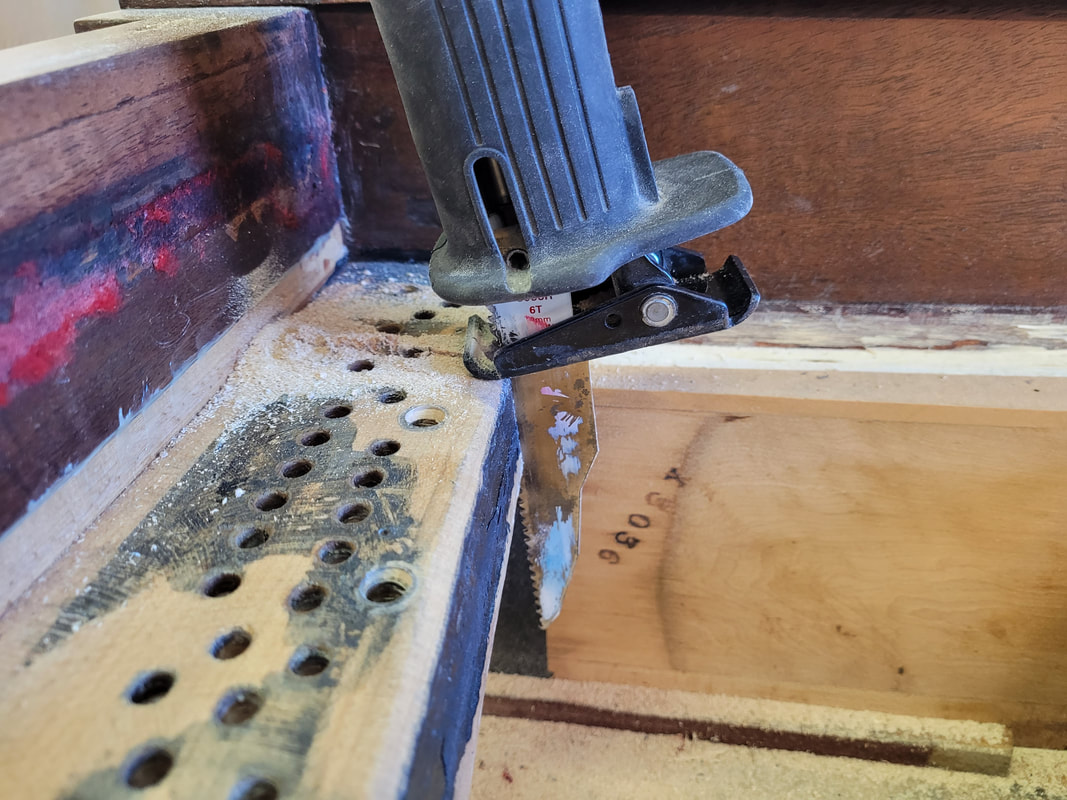
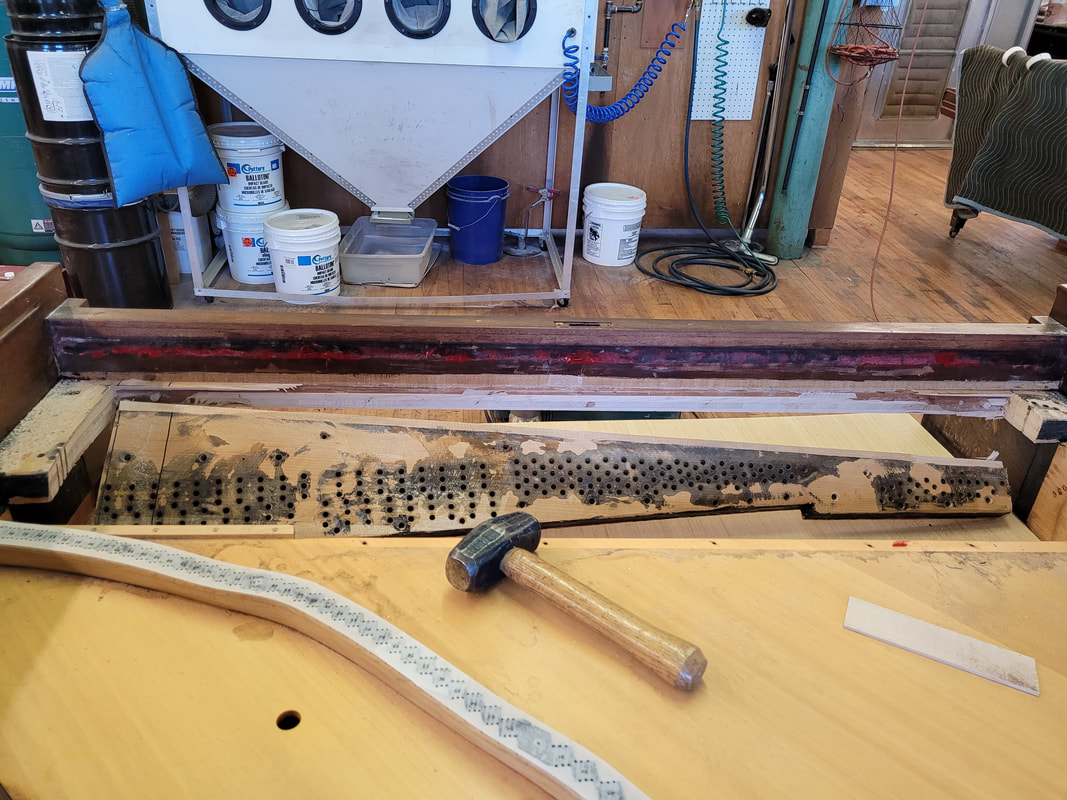
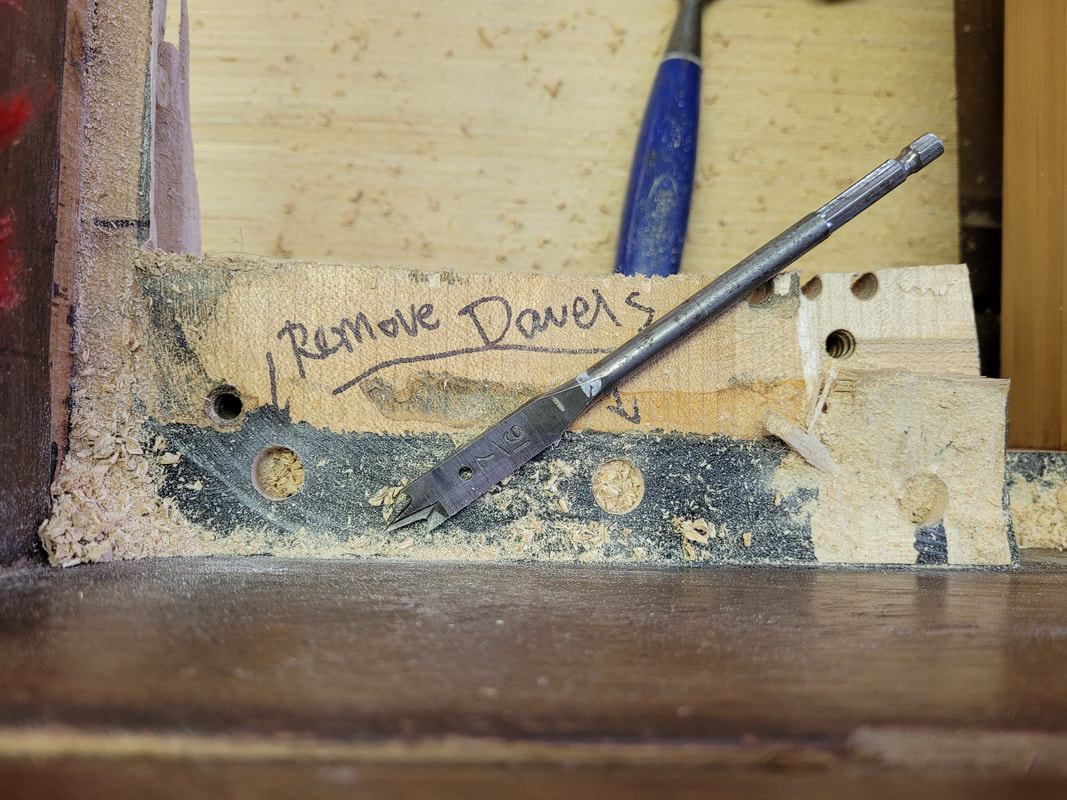
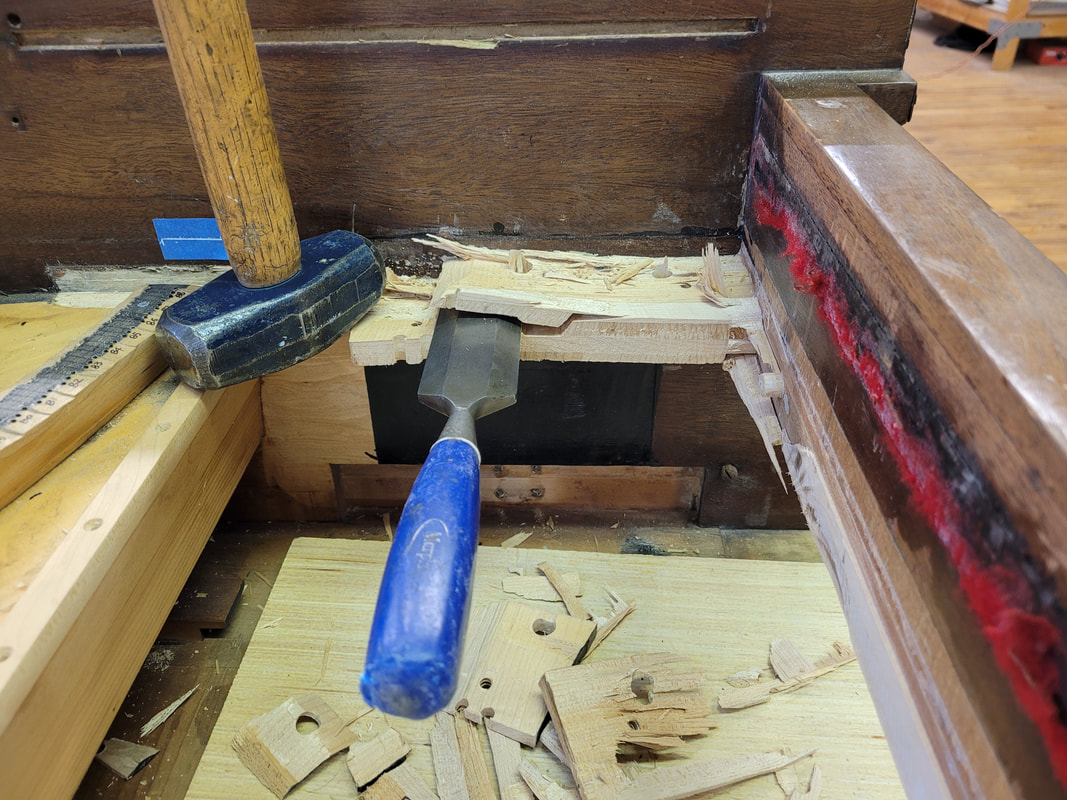
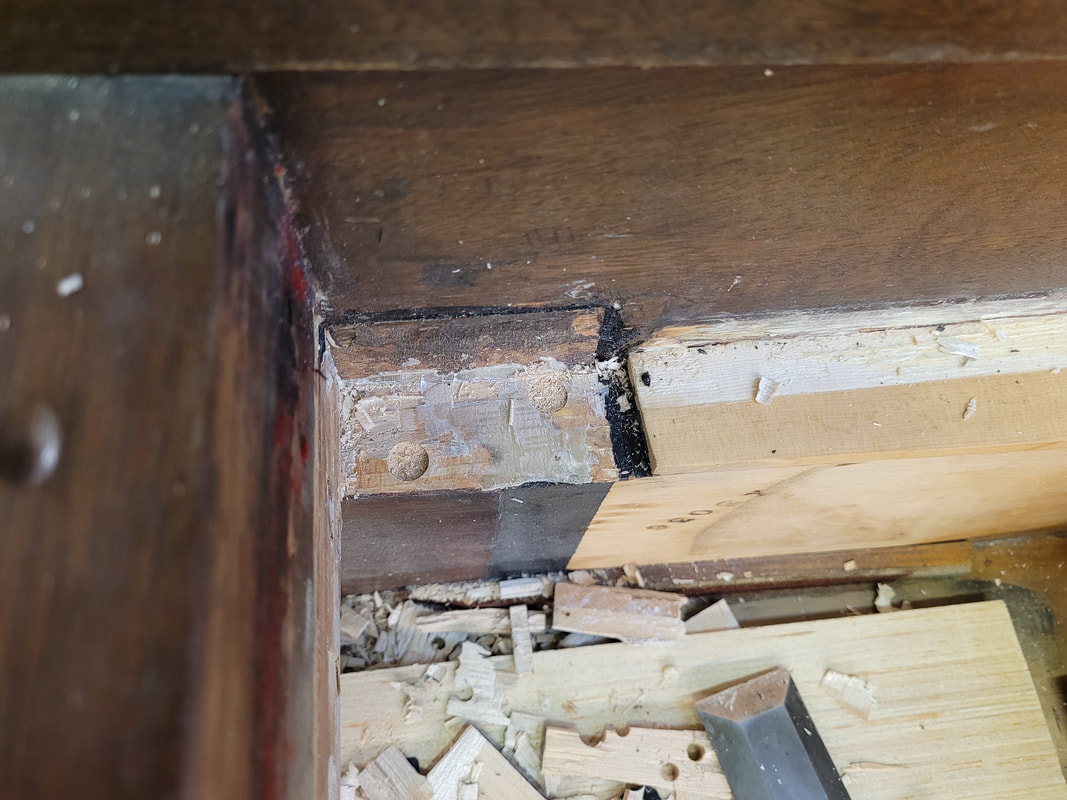
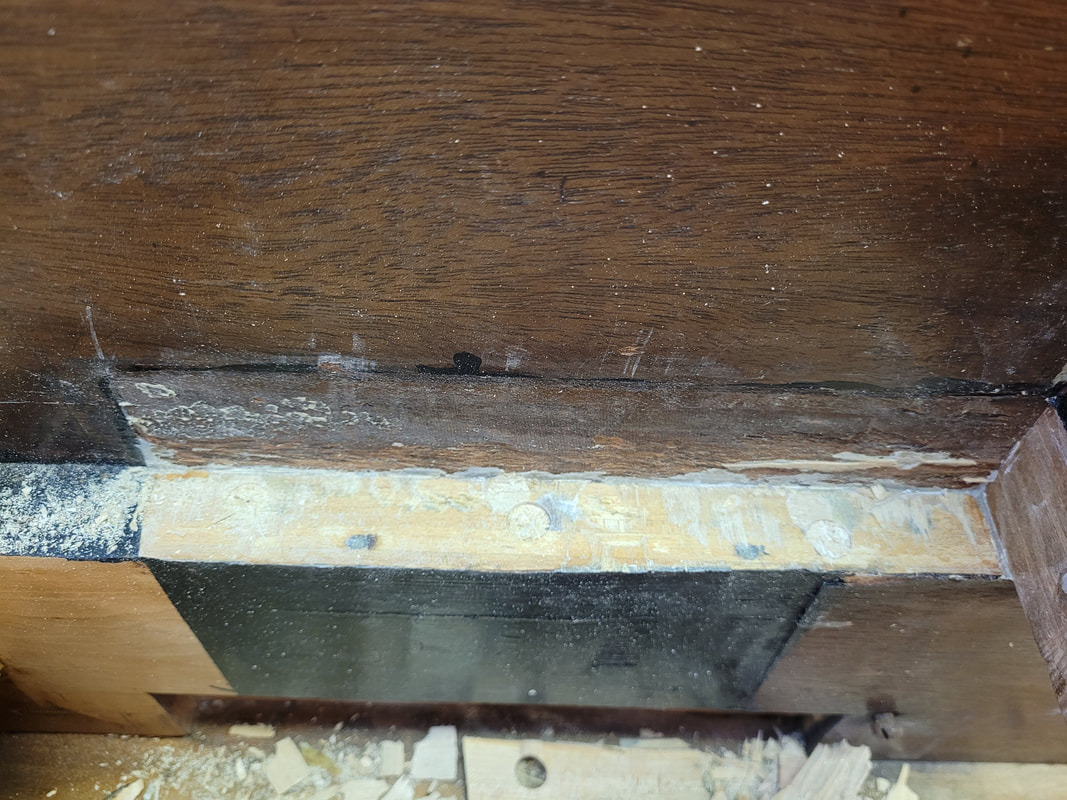
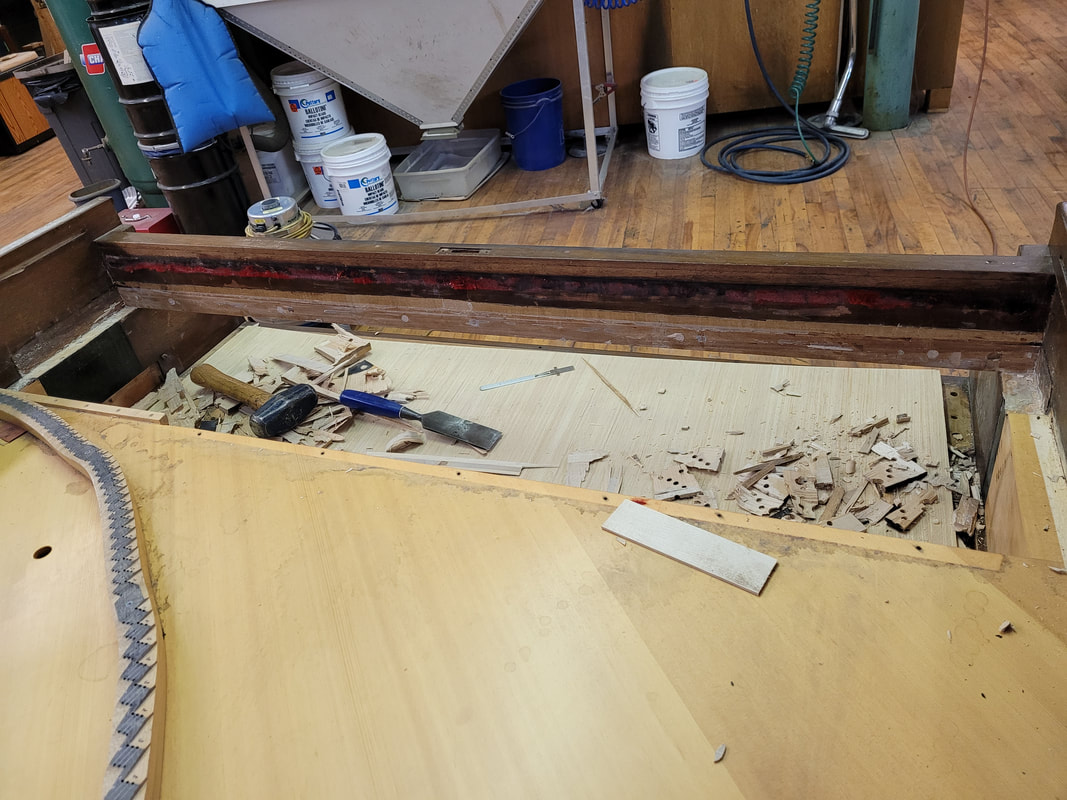
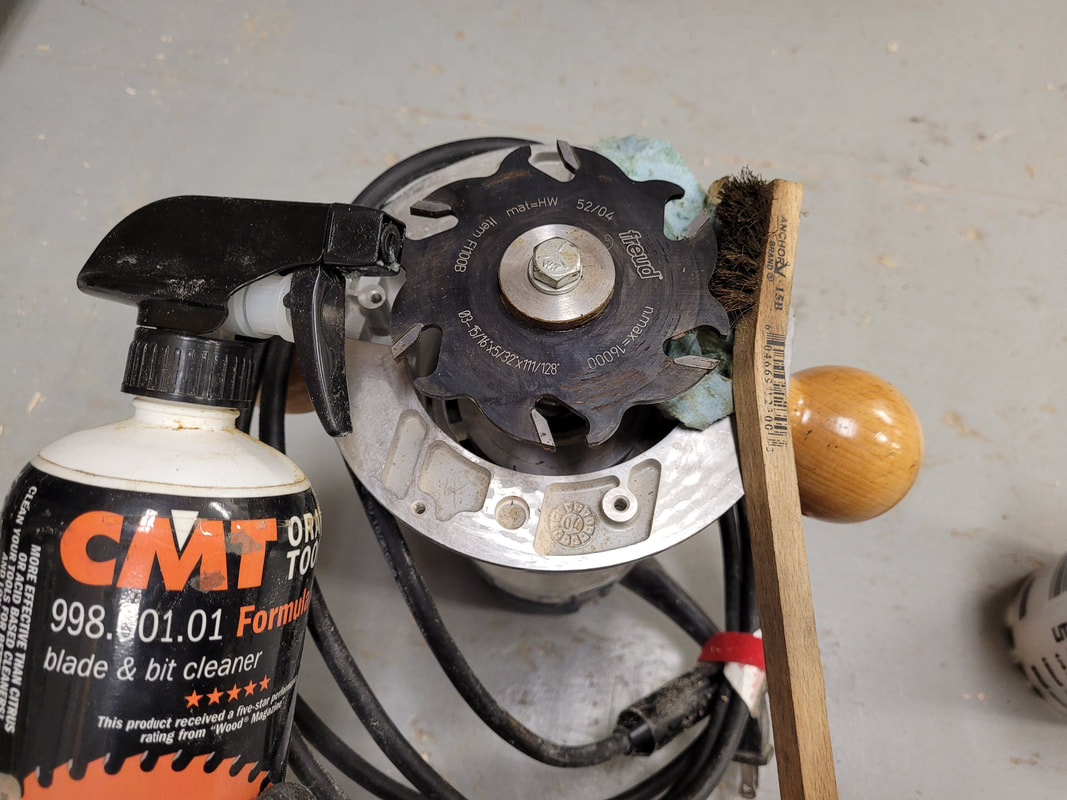
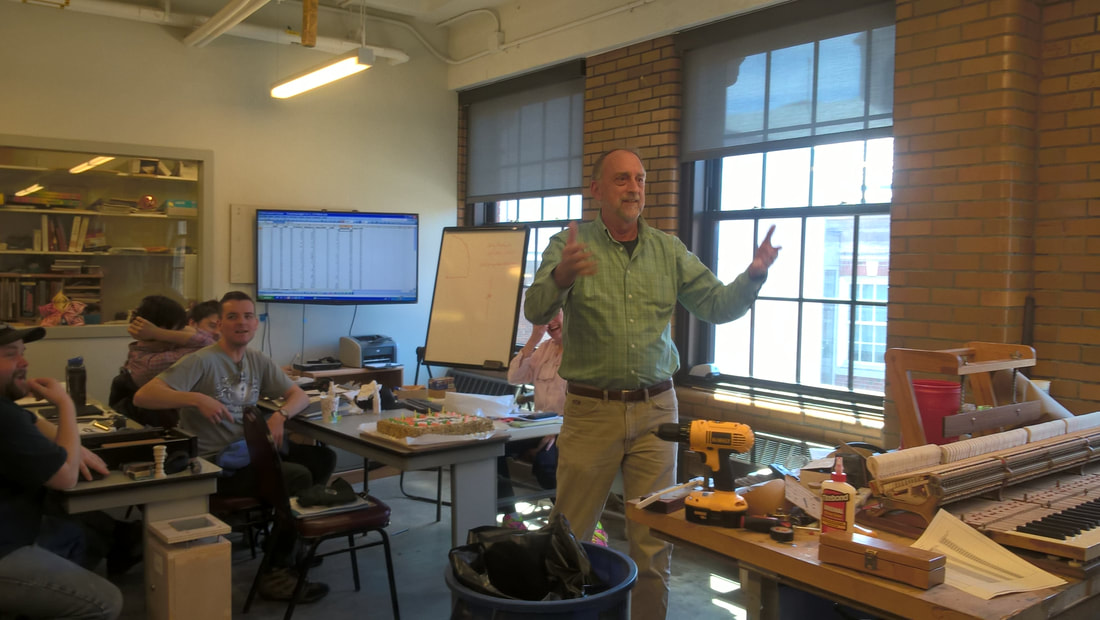
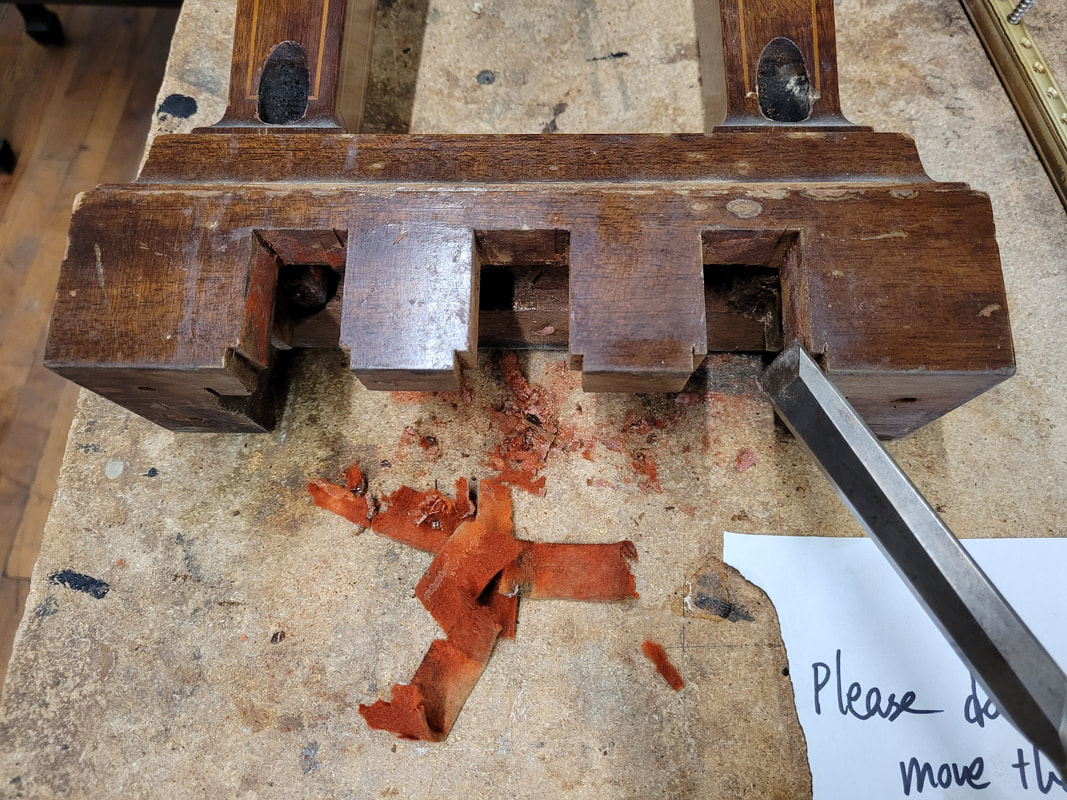
Tribute to my dearest mentor Mr. David Betts (1947-2022) who taught us true craftsmanship and who showed us how to be a human being We use a router to cut from bottom of pinblock. Mr. David Betts called this thing widow maker. I do express my deep gratitude to Mr. Router before operating him. Hold router firmly with two hands , turn it on by thumb while holding handles tightly, at bass of piano, let the metal plate rise against stretcher straight up, cut upwards till baring hits the bottom of stretcher. Move slowly to treble. When the right side handle hits treble end of piano, move router straight down, turn it off with thumb while holding handles tightly. Hold it till the blade stops spinning completely. Use a sawzall to cut two end of pinblock, 3" from the case. Remove main part of pinblock with a heavy hammer. Drill out dowels that were fastening the block to case. Remove the remaining chunk of pinblock with large chisel and hammer, layer by layer. Do not try to take off too much wood each time, it is not only harder to do, but also causes damages to tools, piano case, or people. The leftover veneer on stretcher can be removed mostly by chisel if old glue is not rigid and easy to peel off. If the old glue is stubborn, soak this layer of veneer with hot water and rag, chisel off when soft. Finally, as always, clean and resharpen tools. You live in us, David, forever and ever and ever and ever...... Pictures taken 2016 at North Bennet Street School, Boston MA.
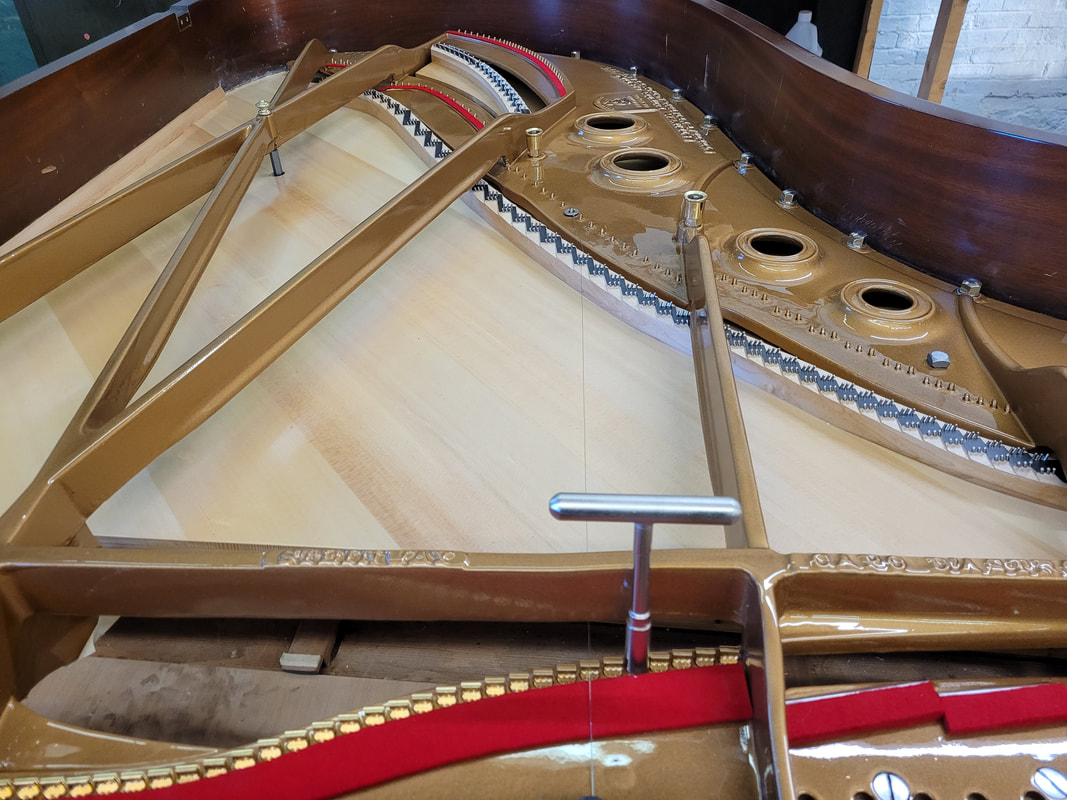
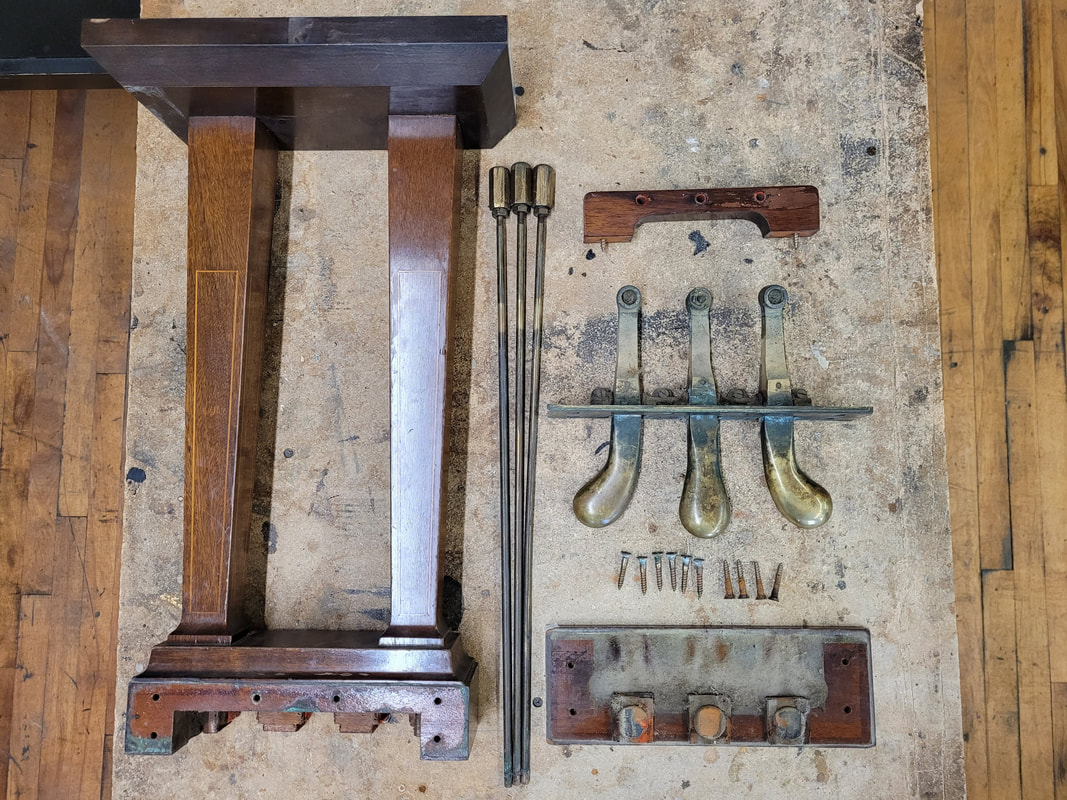
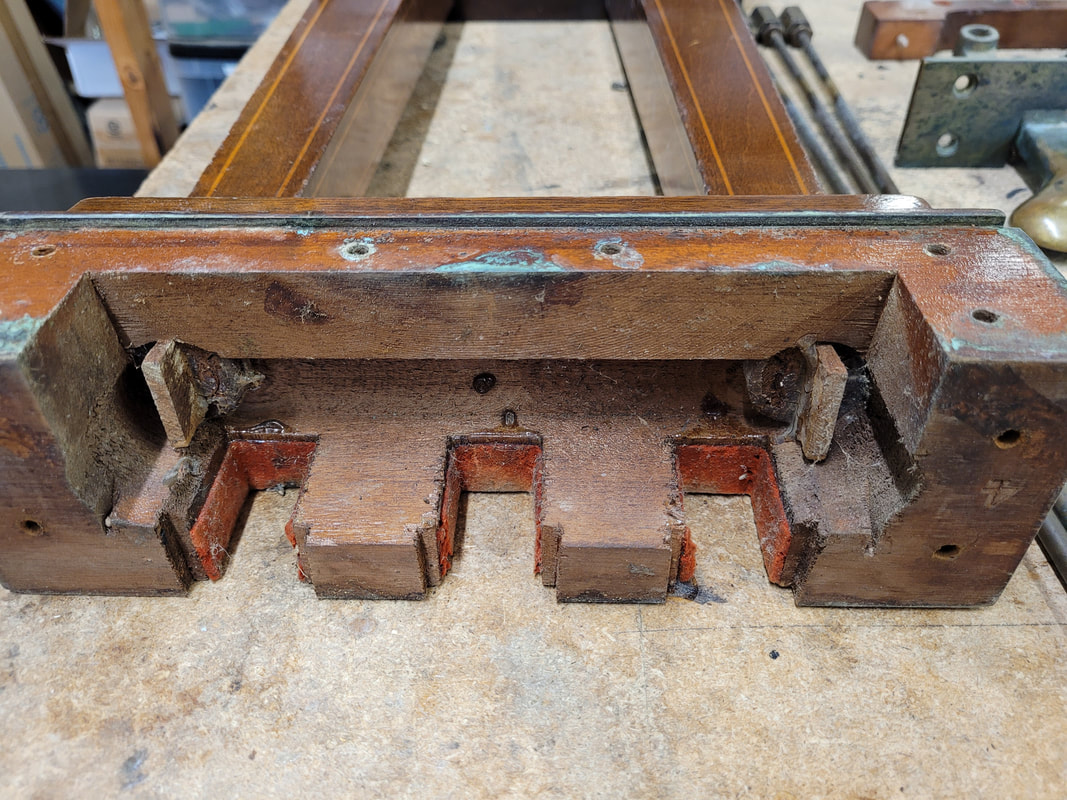
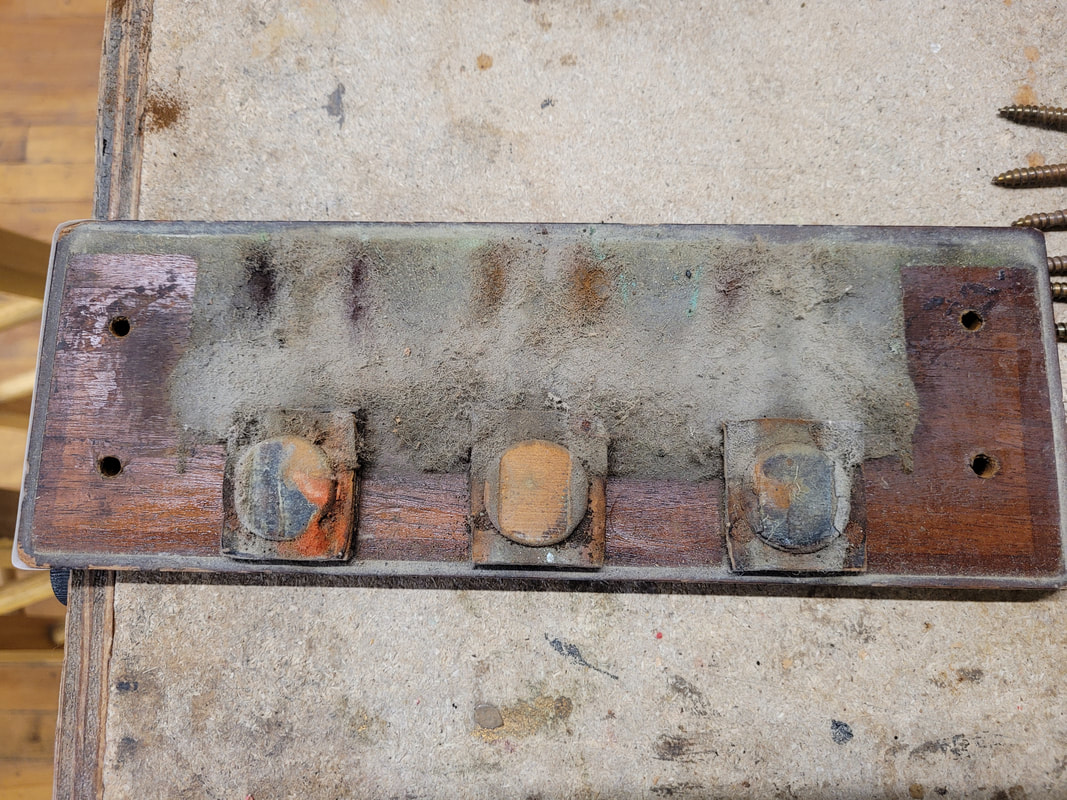
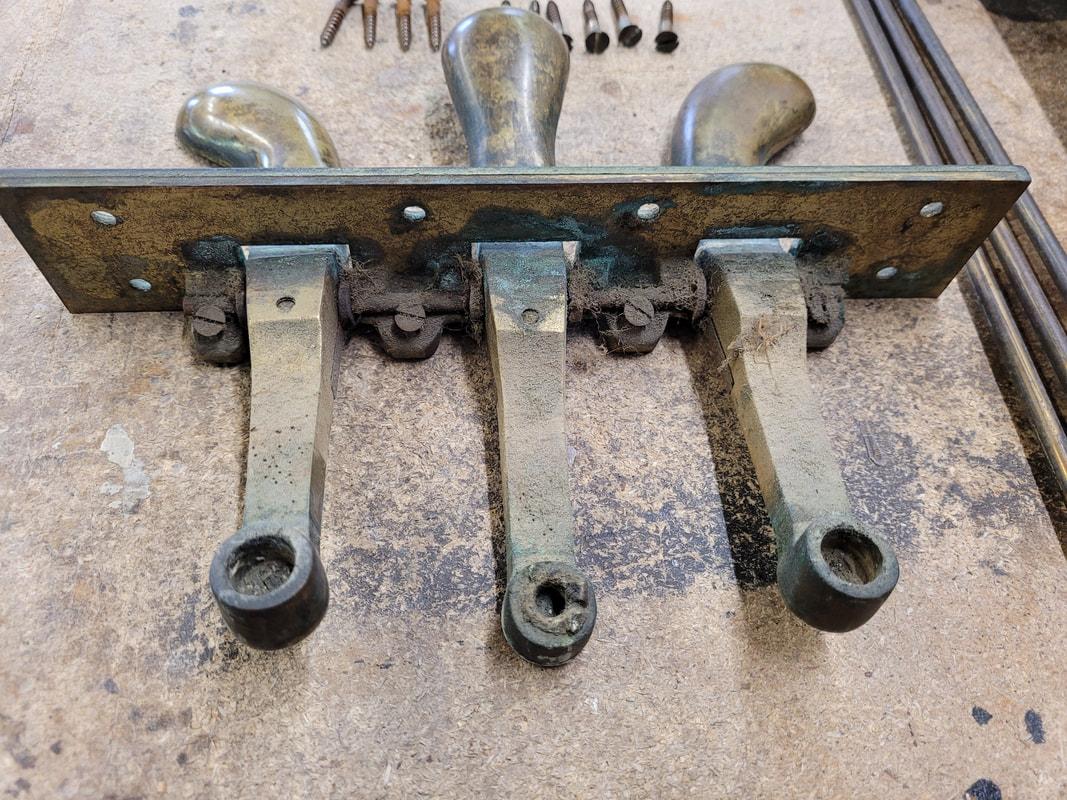
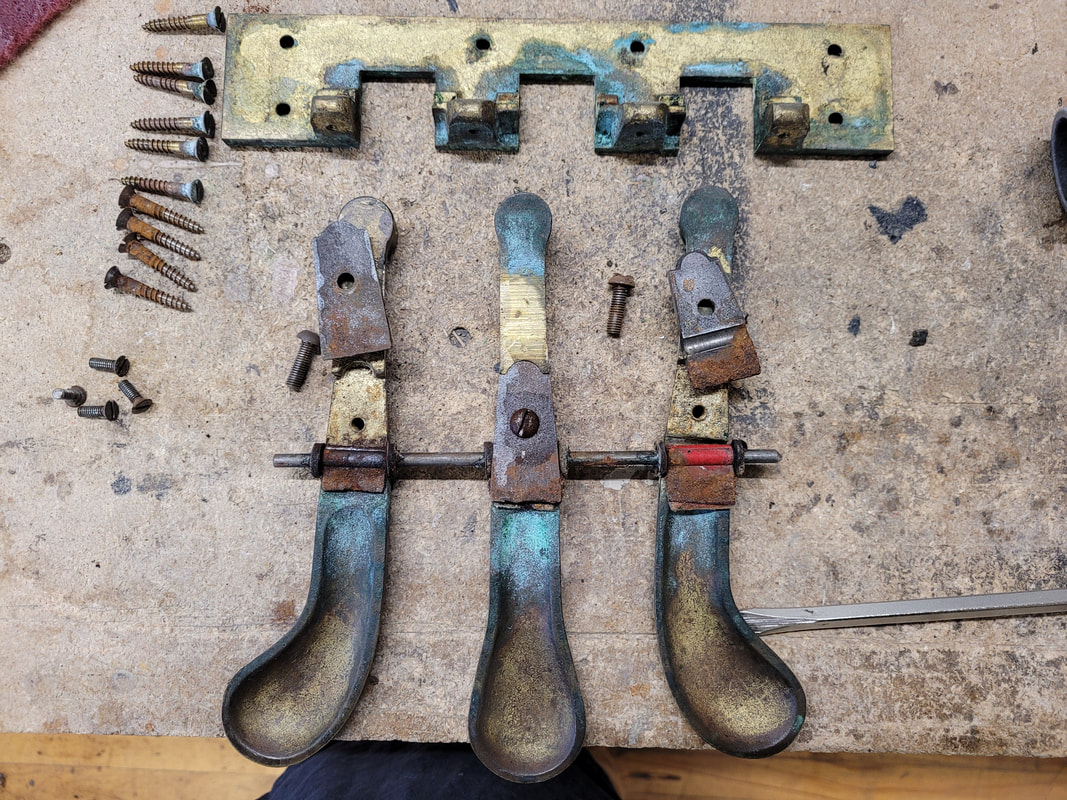
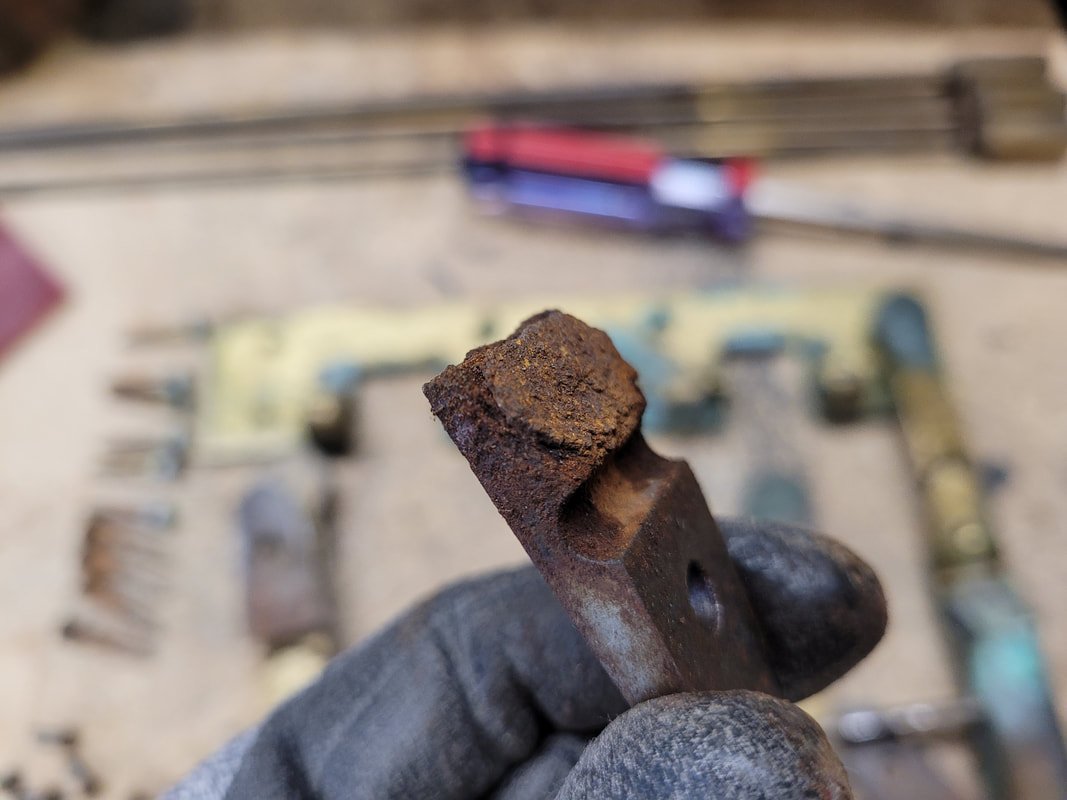
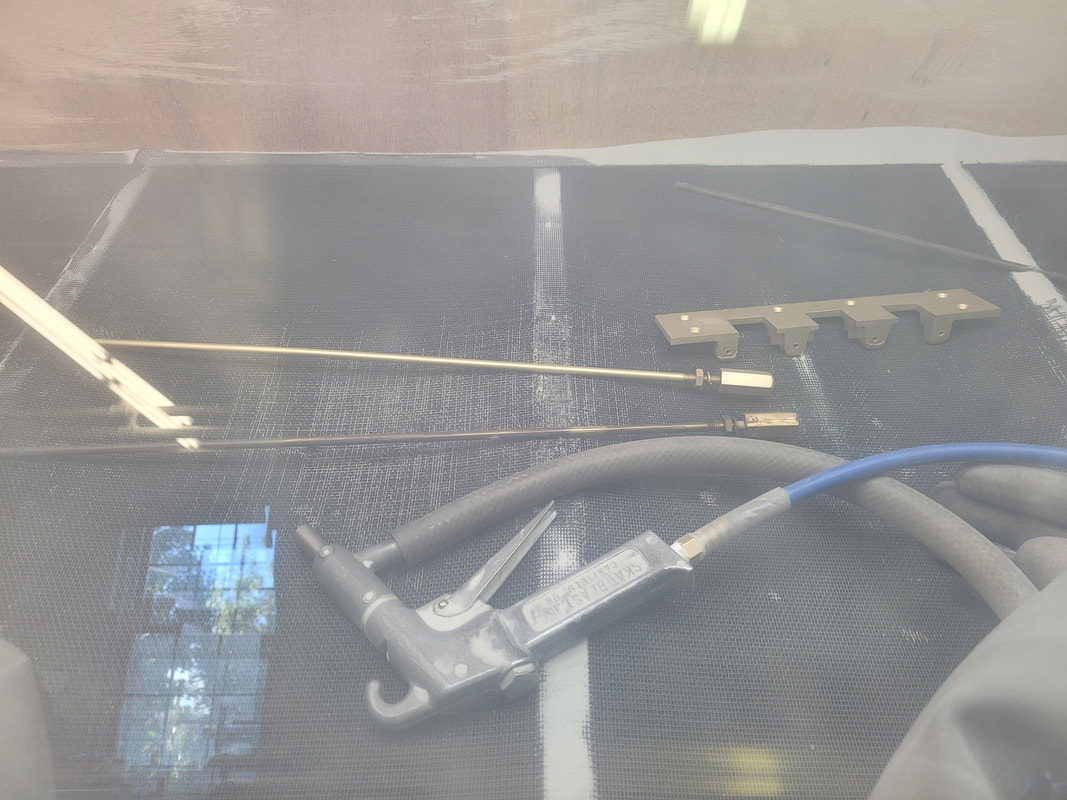
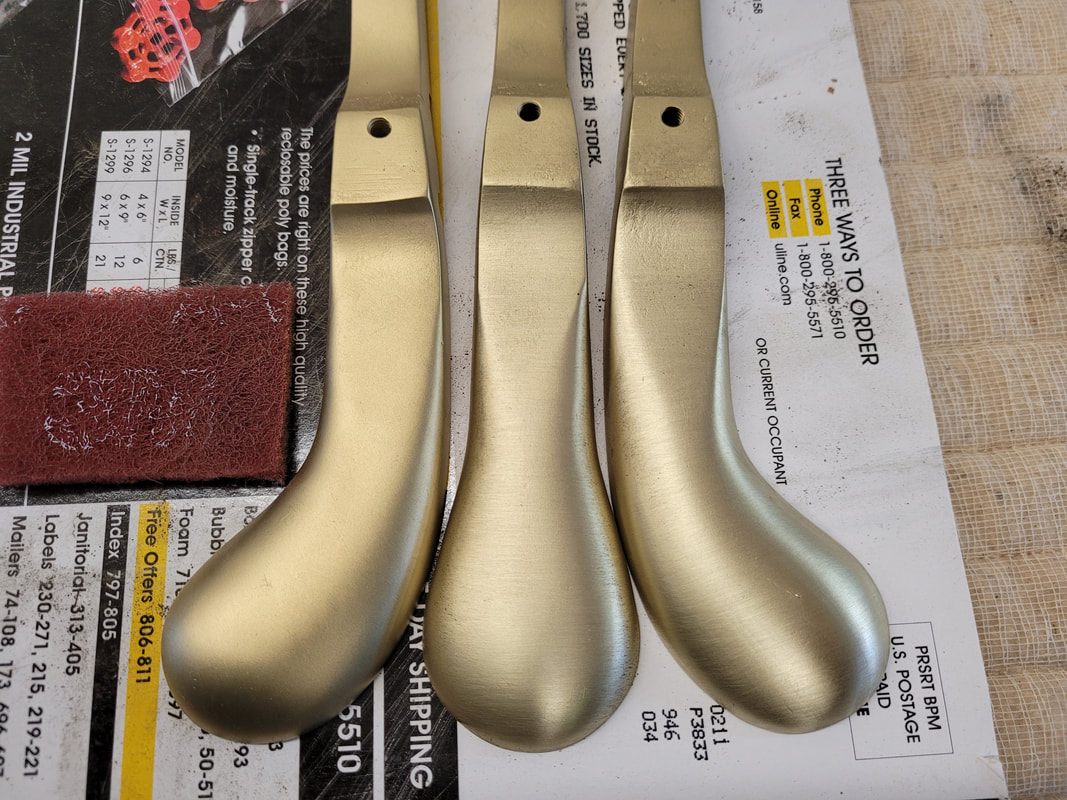
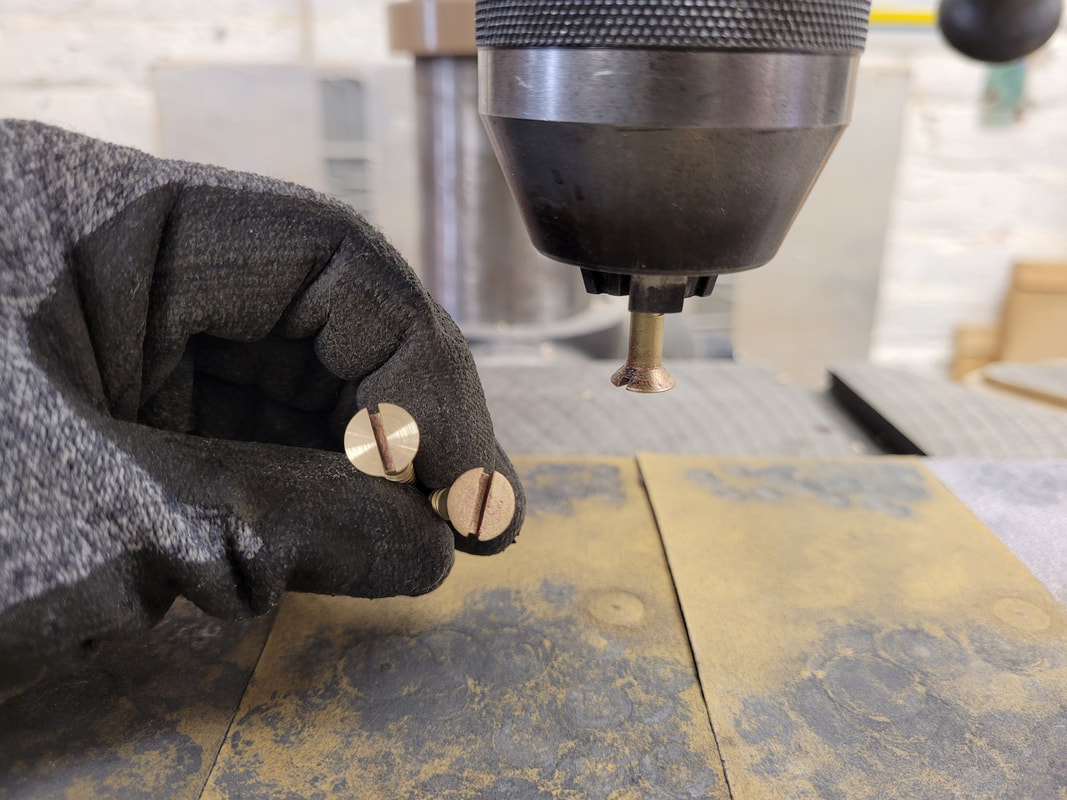
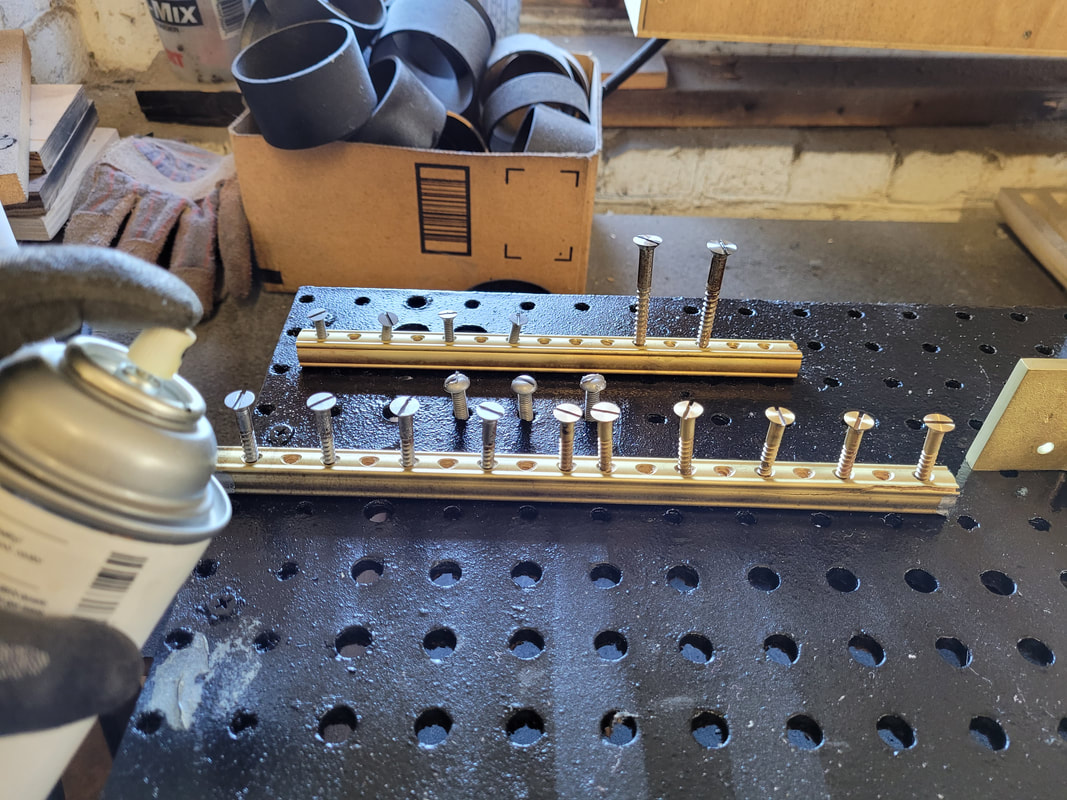
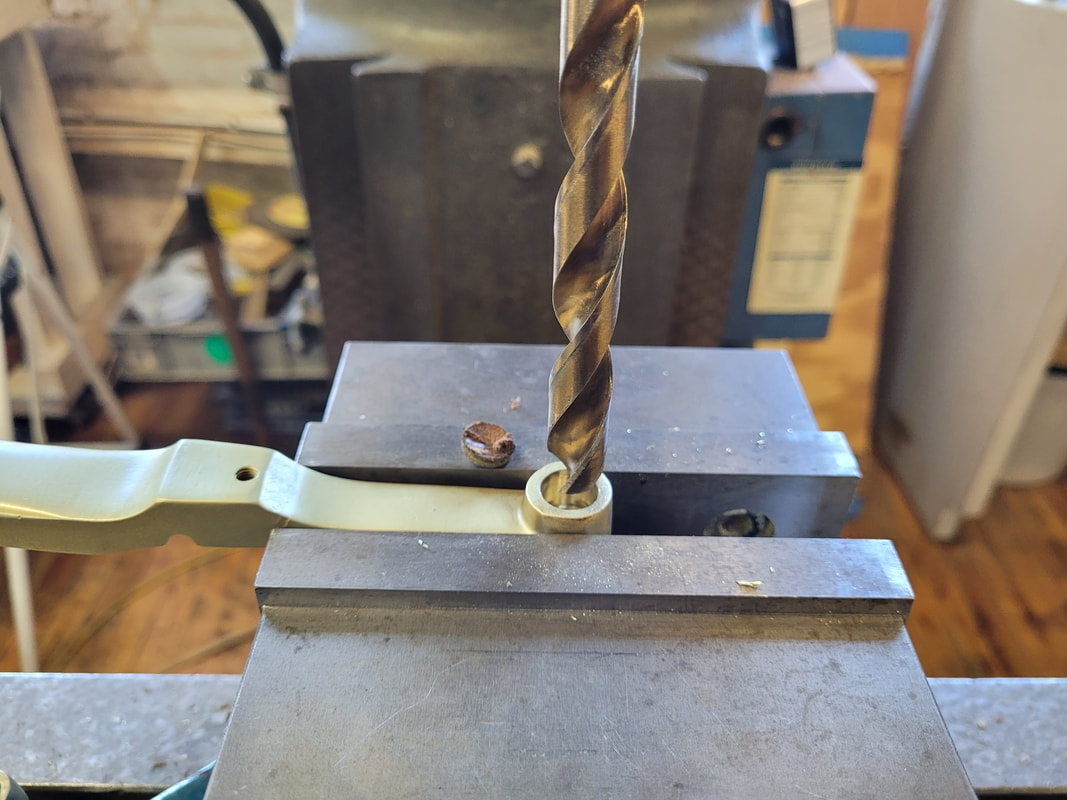
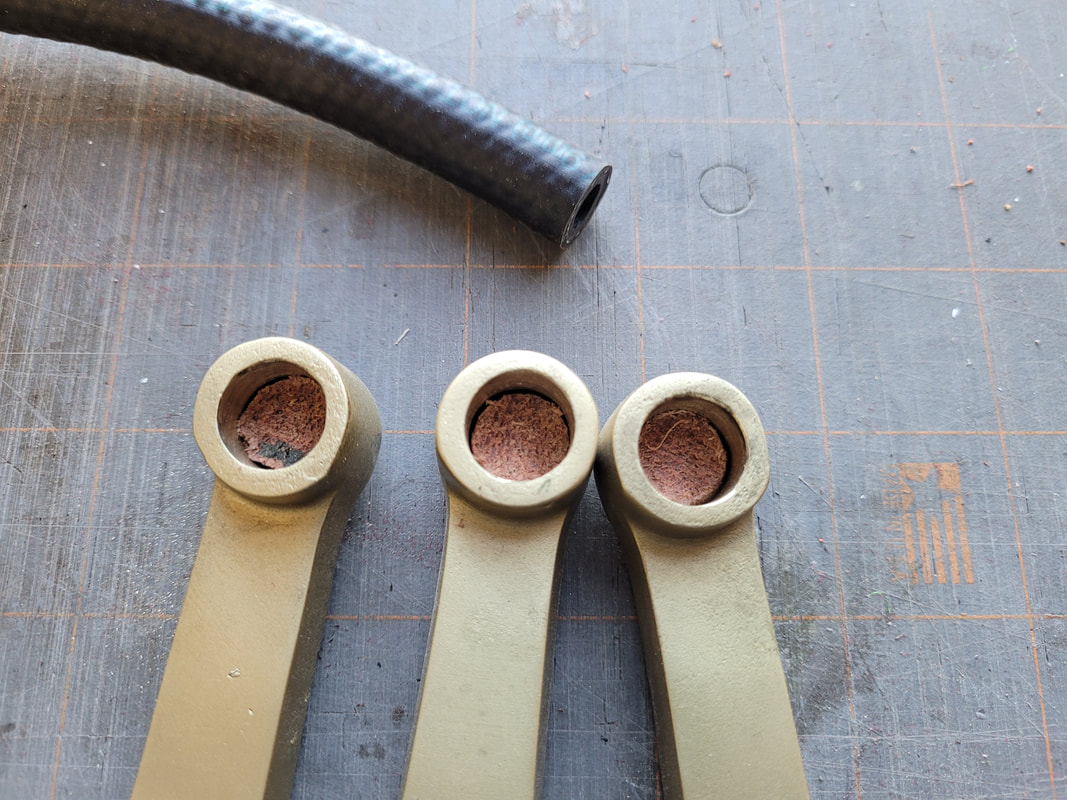
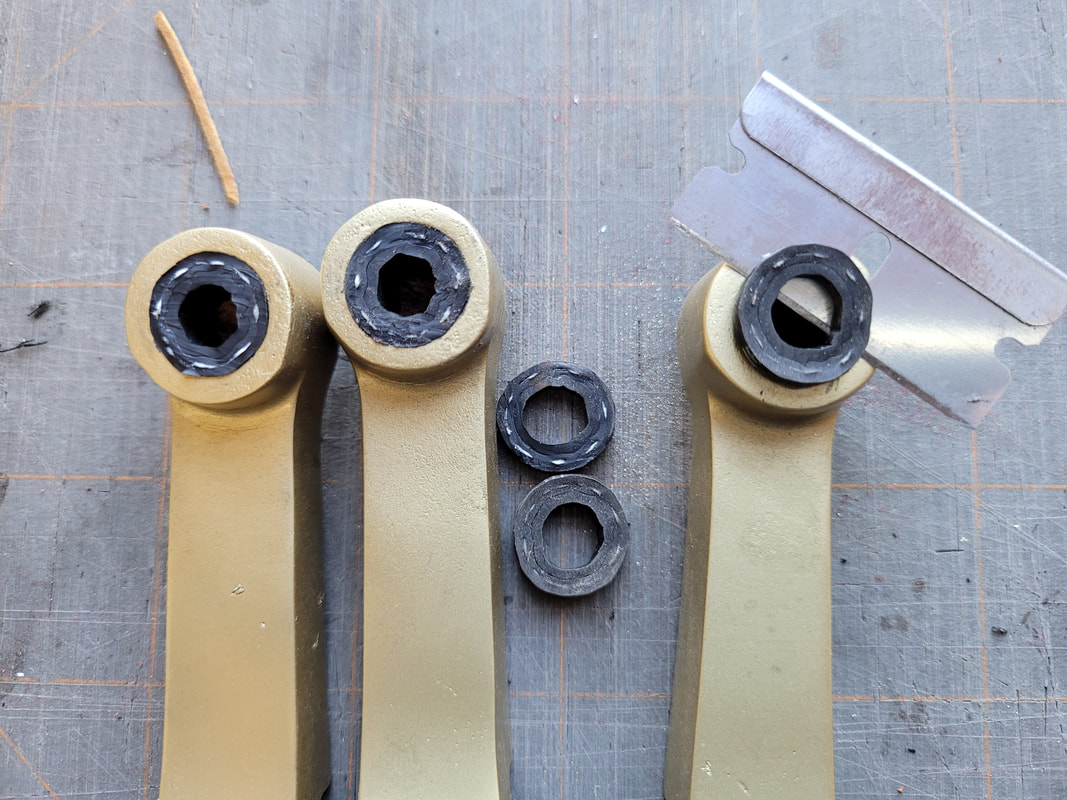
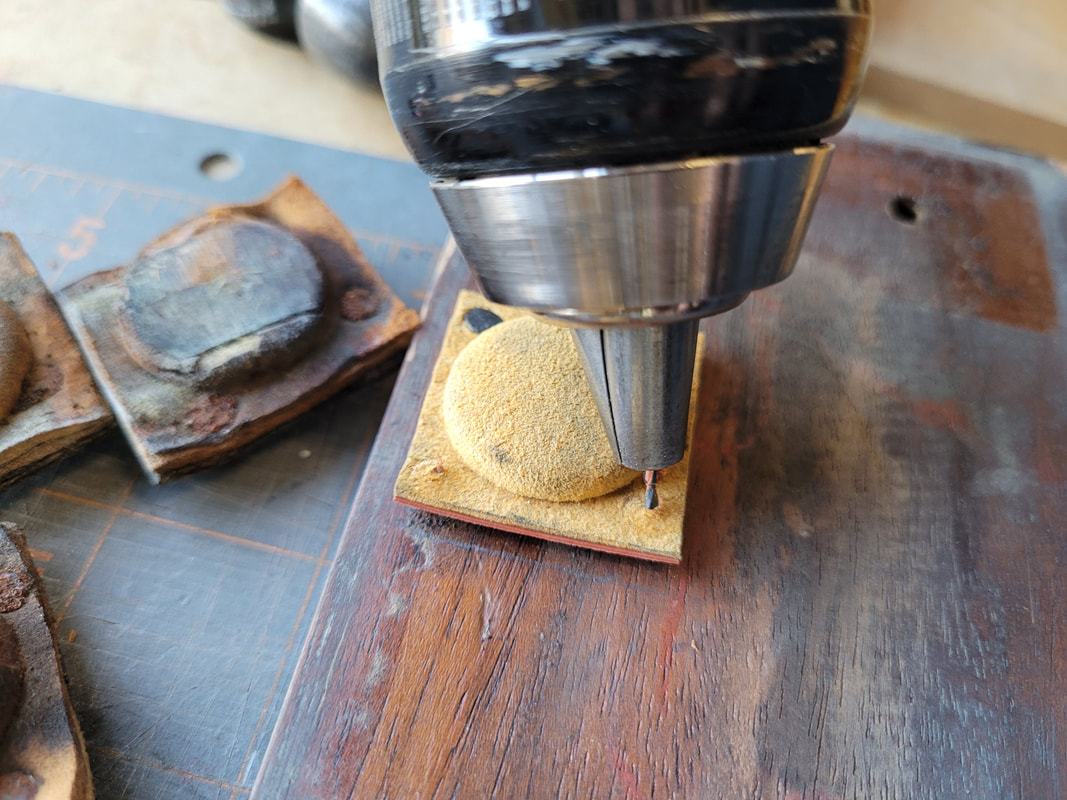
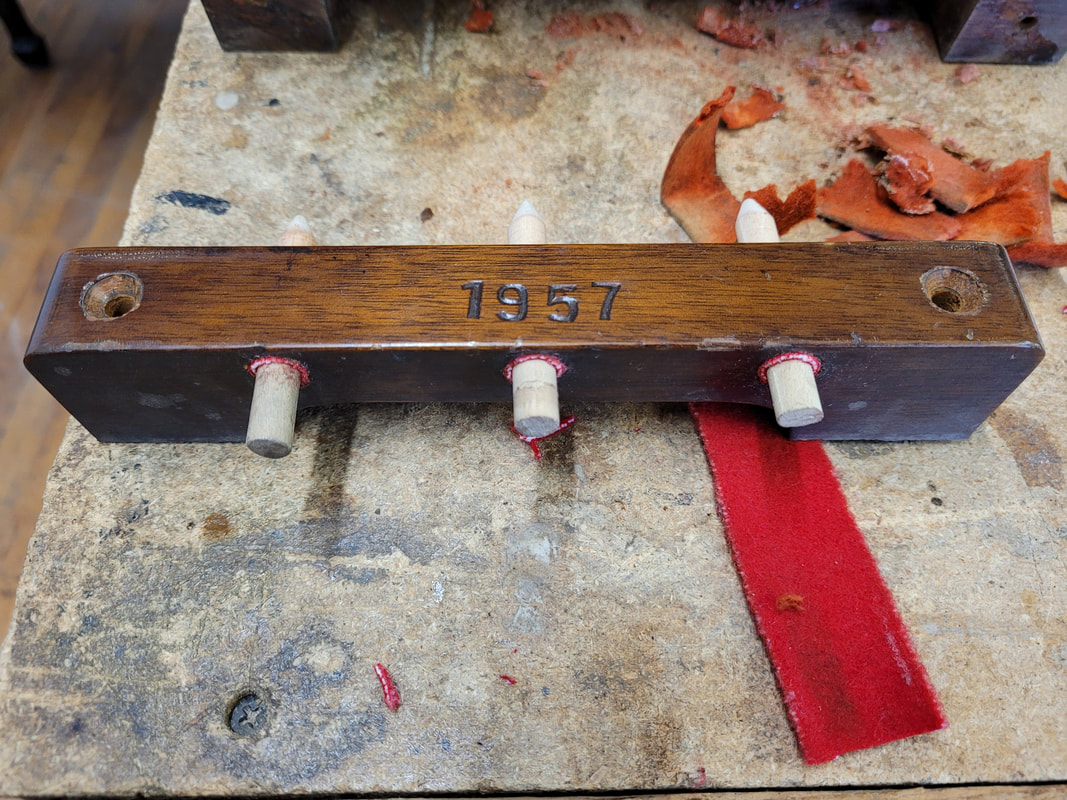
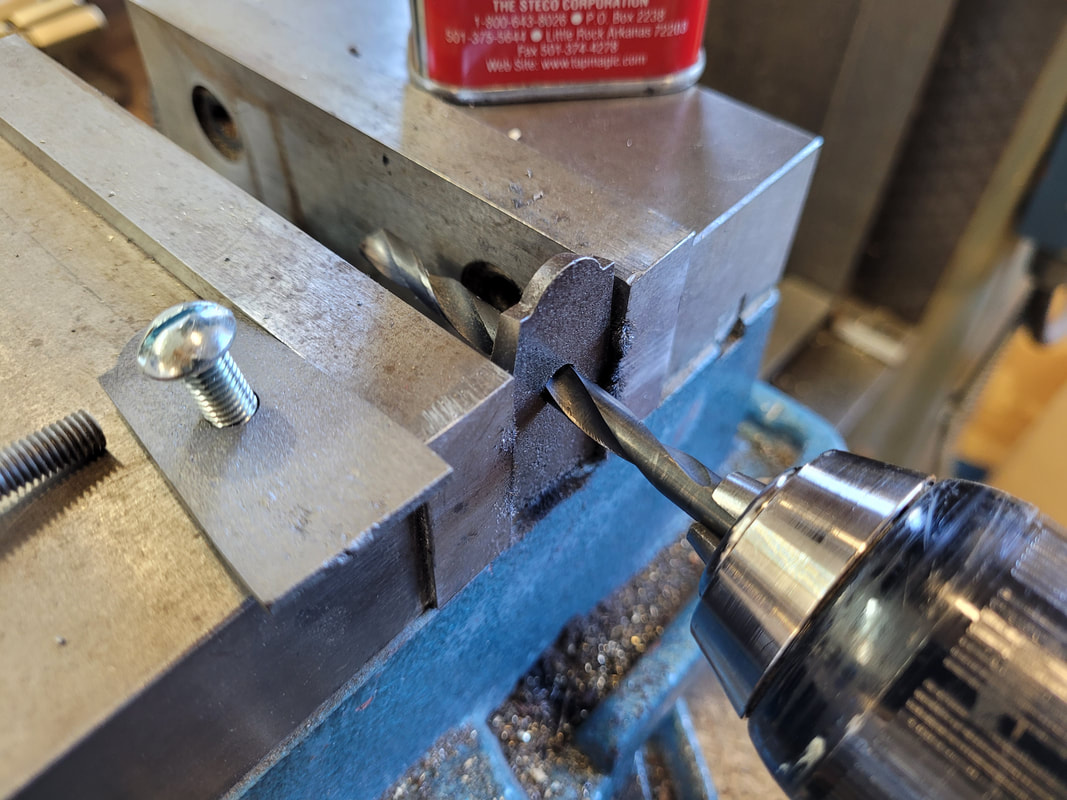
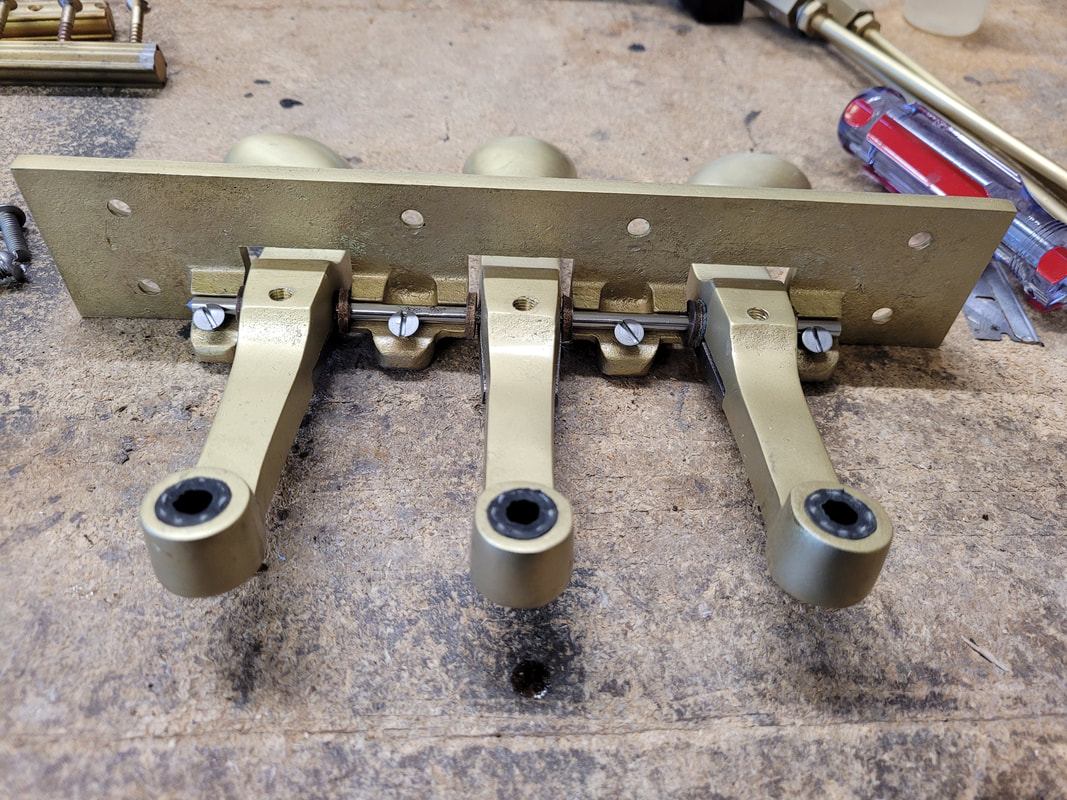
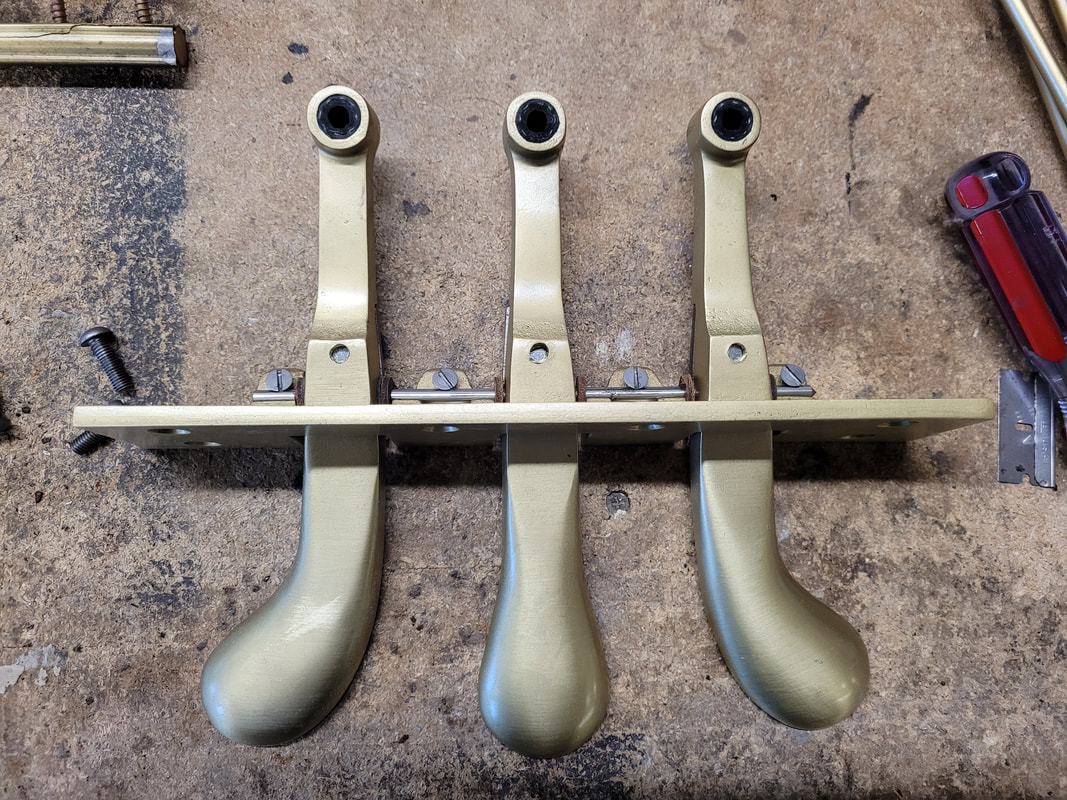
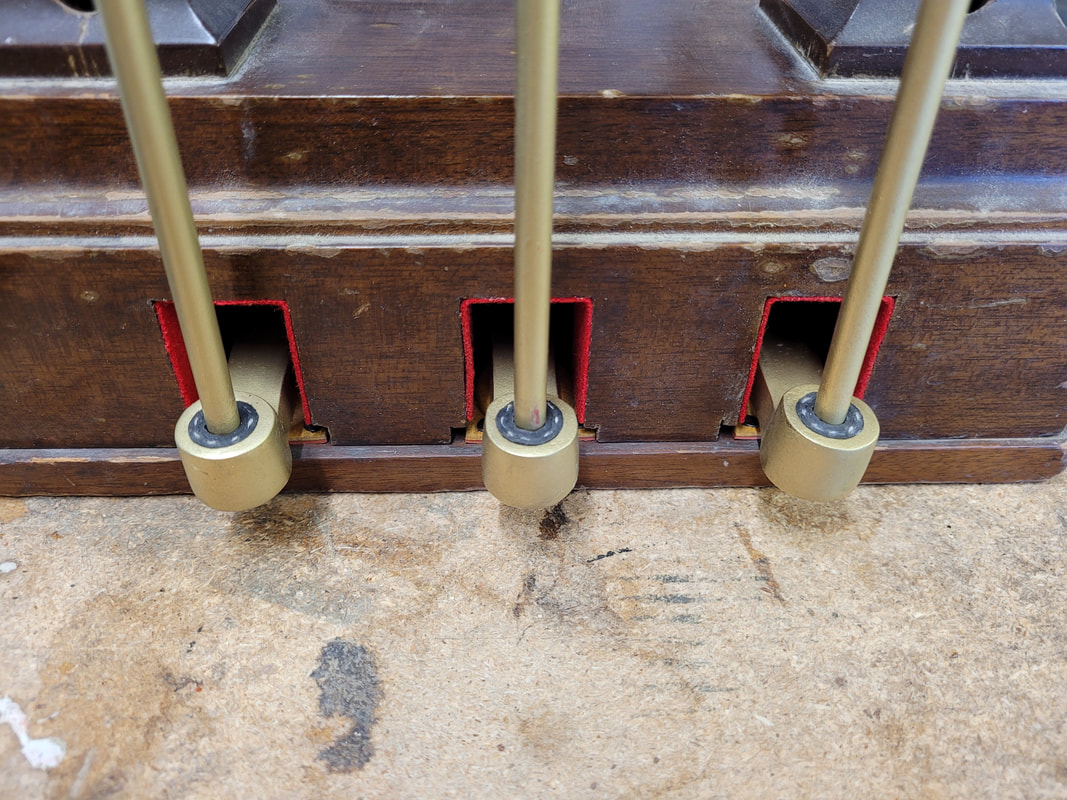
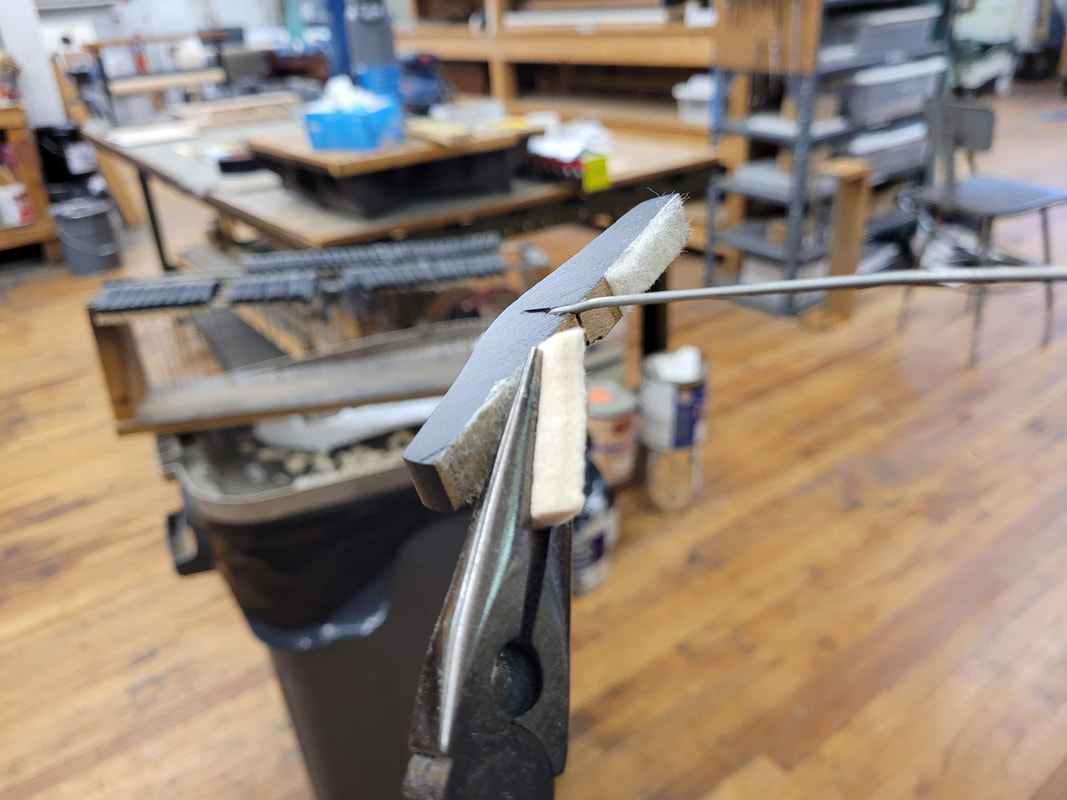
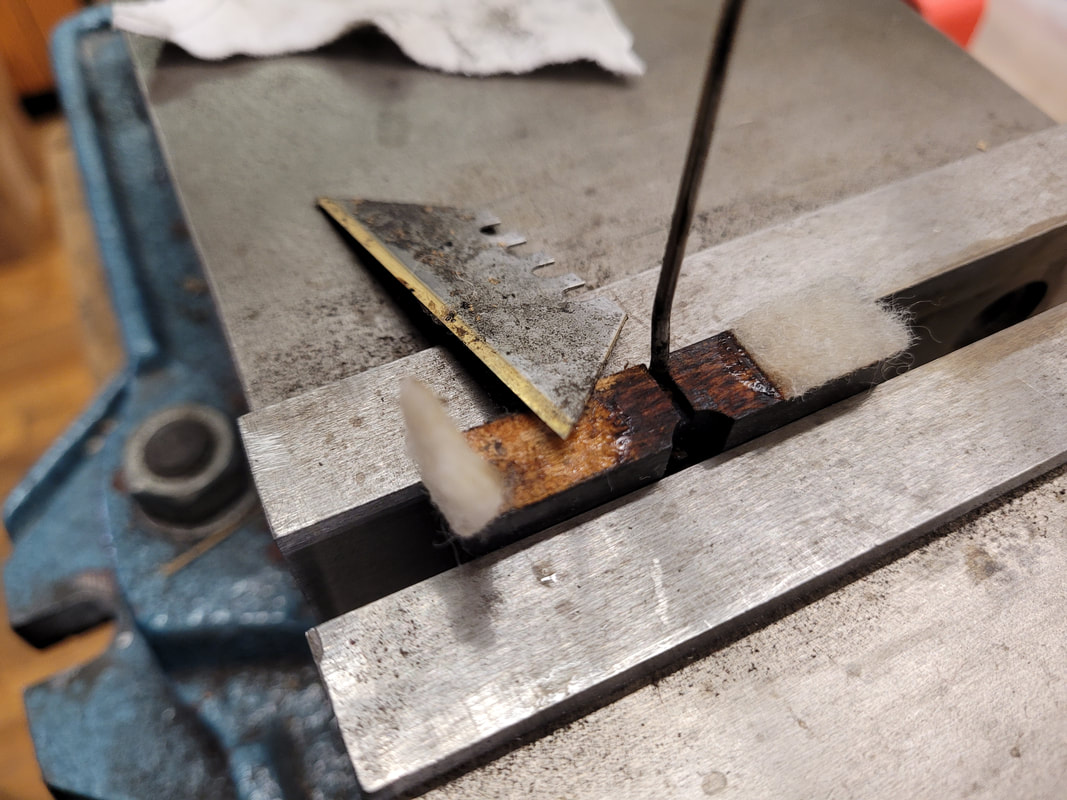
The lyre was water damaged. Rust everywhere. Felt on metal turned into rust and ate chunks off metal pieces. Use bead blaster to remove rust. The surface on brass pedals didn't look so well after blasting (left piece in middle picture), Scotch-Brite could put some even grain on it (mid and right pieces in middle picture). Screws are grabbed onto drill press. Turn press on, press down lightly onto sand paper glued on backing boards, the screw surface will be clean with less effort, thanks to our boss. Spray a coat of finish on metal to prevent or slow them from rusting again. Open up the cup on rare end of pedals with 1/2 drill bit or mill, cut and insert leather disk, then fuel hose. The fuel hose is very resilient and strong. Hopefully it'll last for a very long time. If using rubber, it may harden in several years. Remove old raviolis from bottom board, drill for carpet tacks with a very thin bit, fasten new raviolis. Remove old felt at the back of lyre where pedals stick out, glue on new felt. Remove felt on pedal rod guide rail, rebush with new felt. If replacing screws but couldn't find new screws at the same size, replace with bigger screws and tap for it. Also make sure pilot holes for bigger screws are opened up with a drill. Reassemble parts, make sure screws are tight, pedals with no side play but rotates up and down firmly.
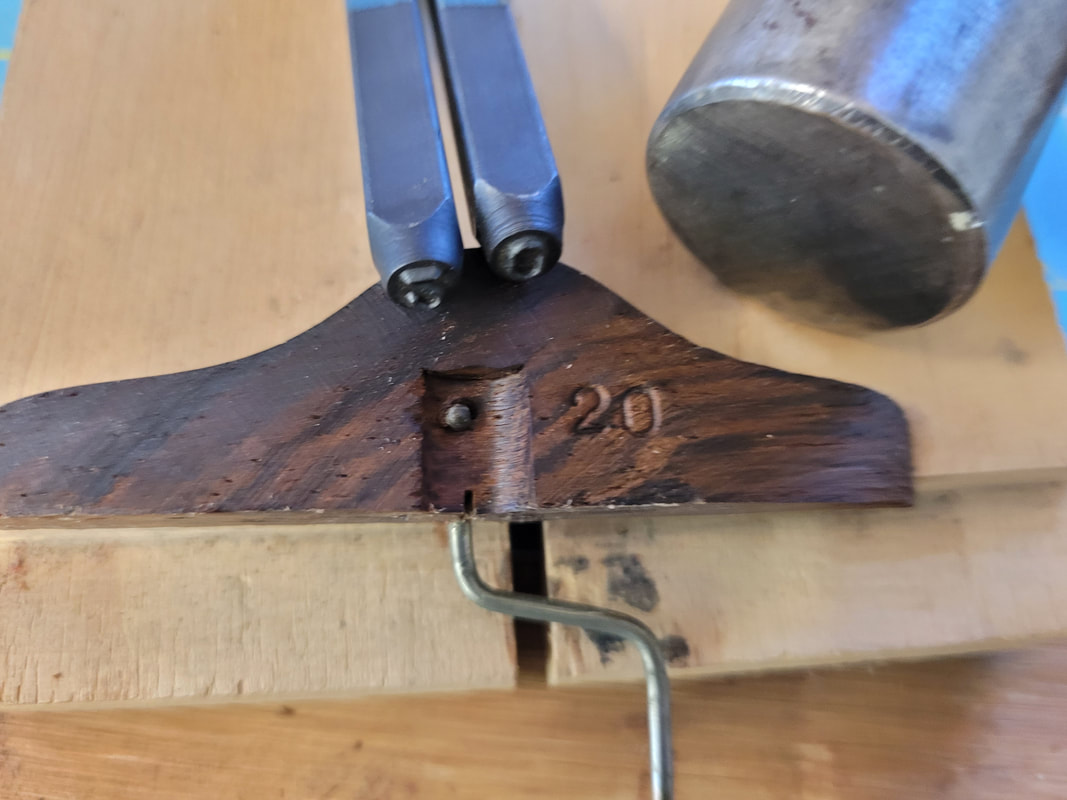
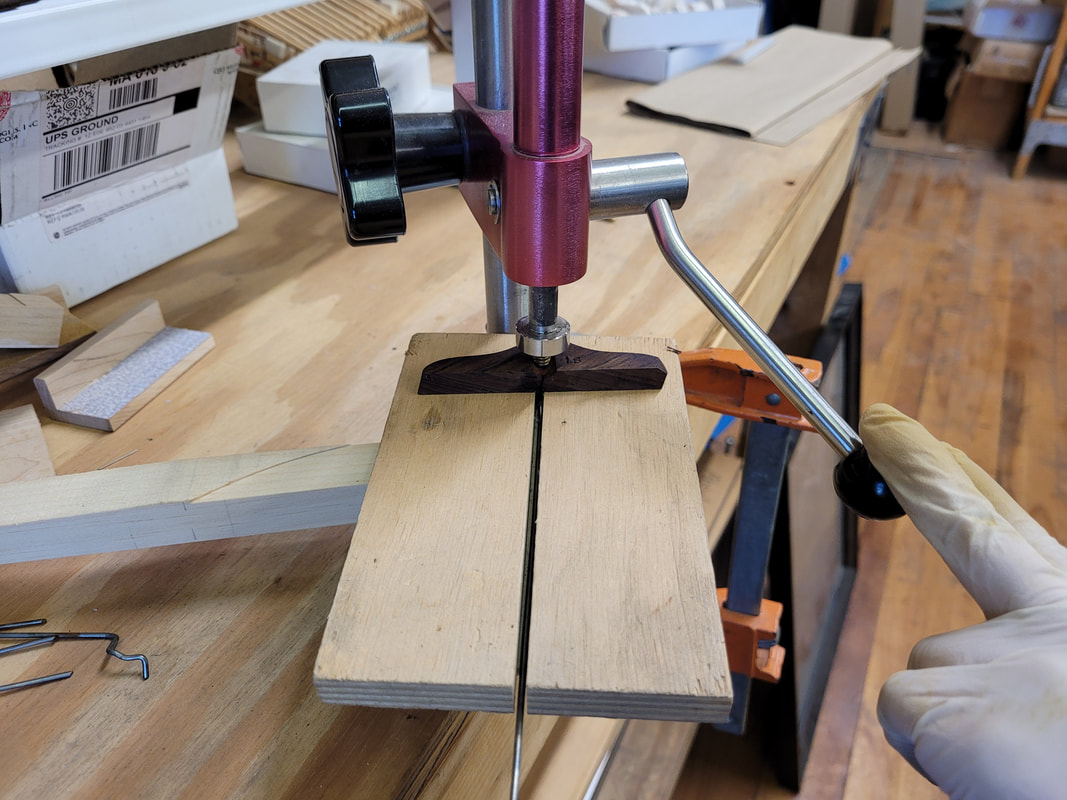
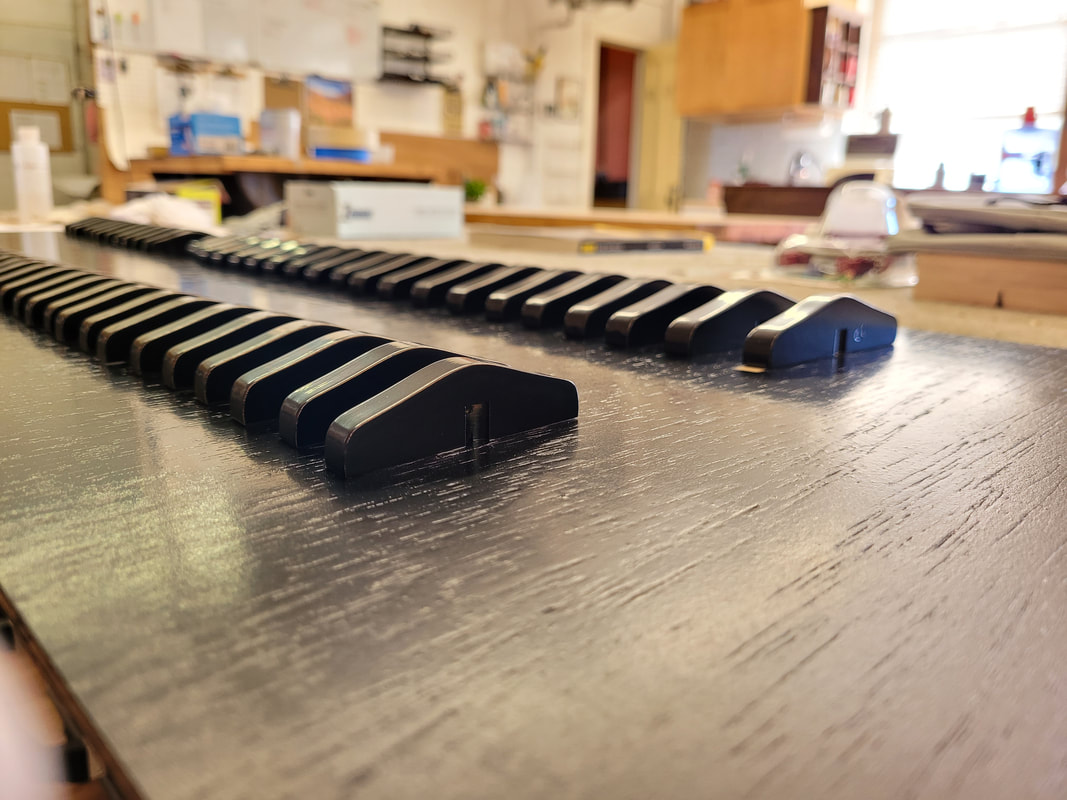
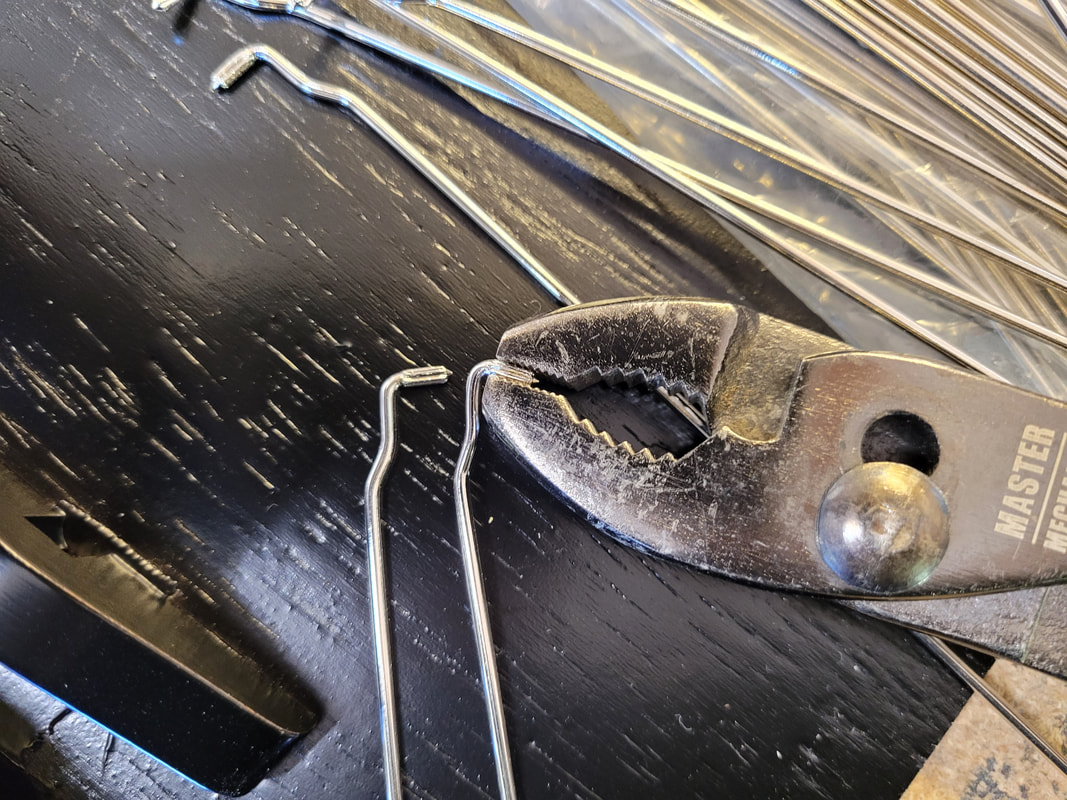
The process is recorded on different sets of dampers. We've tried all methods of damper felt removal that the brains could storm about. This is the fastest and cleanest way so far. Pull off felt with a plier dry, drop wall paper remover on old glue residue from note 1 (note 67 is usually the last note that has dampers. Steinway D is up to note 71), once all dampers are wet, the first damper received wall paper remover is ready to be worked on, the glue is soft enough to be scraped off. clamp damper head and scrape remaining felt and glue off. Hammer numbers on each damper head, then remove old damper wire by pushing out the fluted top part. These wires are too rusty to keep. If wires are in good condition, they can be polished. These damper heads were refinished per customer's request. We scrubbed the old finish with 3M Scotch-Brite to smooth them out then sprayed them, this batch took 4 thin layers of lacquer. They look better with several thin even coats than one thick ugly coat. Take out new wires, bend the top down a bit for easy installation. Without bending, the fluted top always want to flatten itself. Hammer the wire top into damper head, then press in with homemade device (thanks to our boss). Press firmly till the wire is solidly bonded in the head. Work (crime) scene. The dampers are now ready to be trimmed, bent, and installed into piano ^ ^
|