|
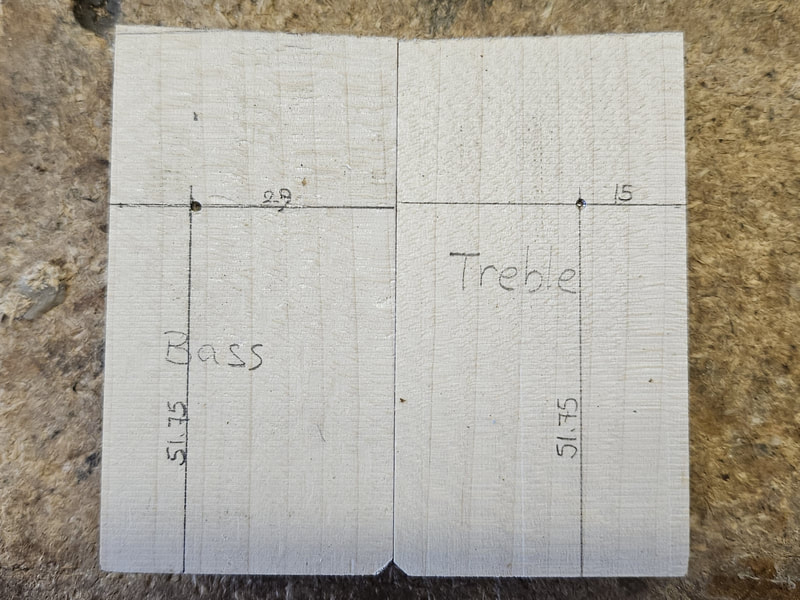
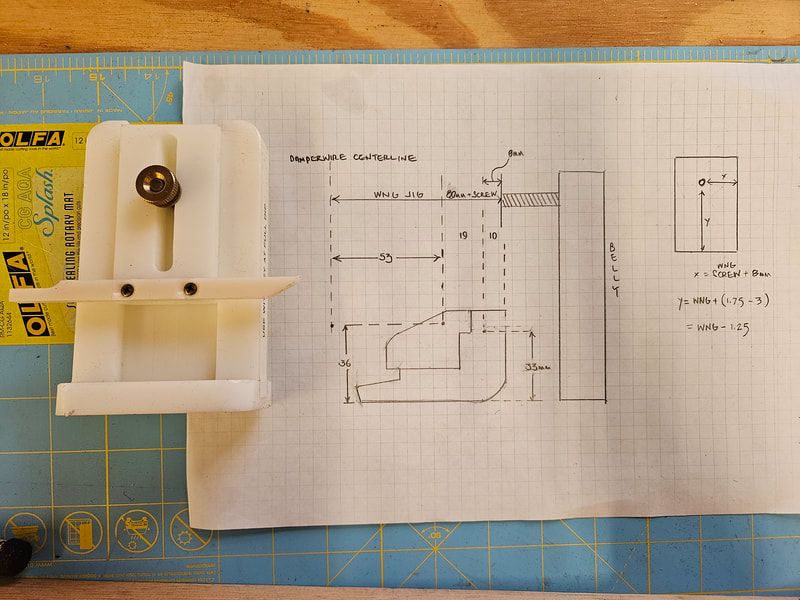
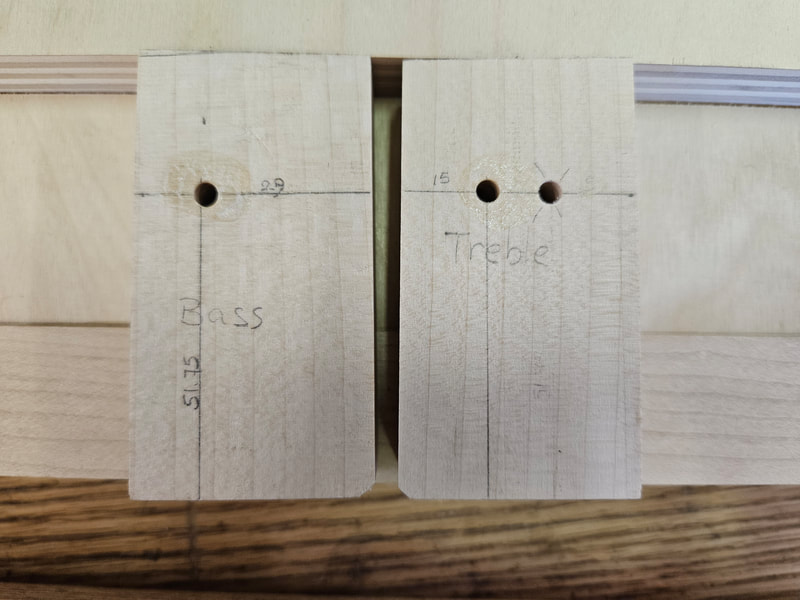
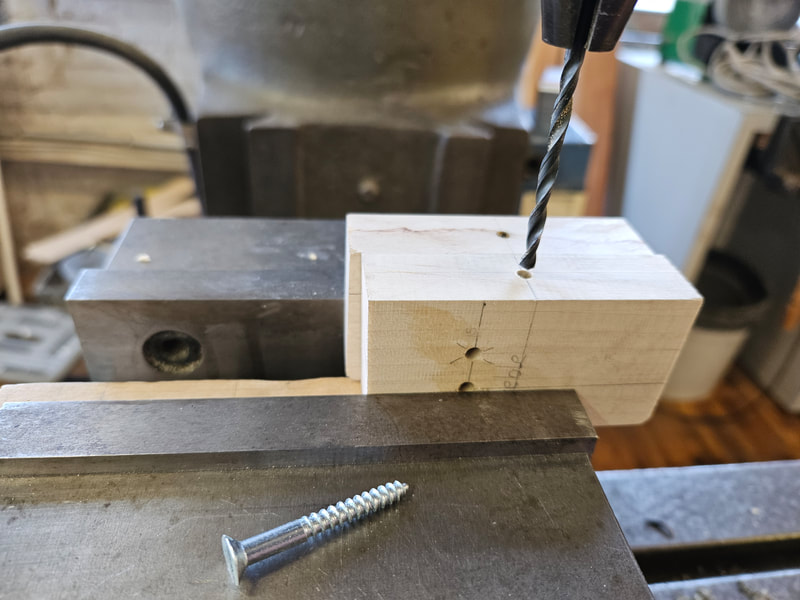
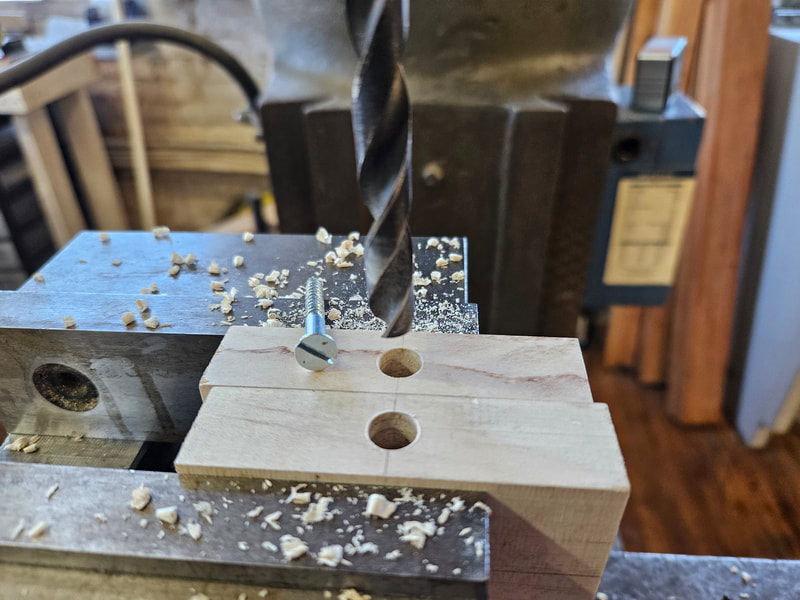
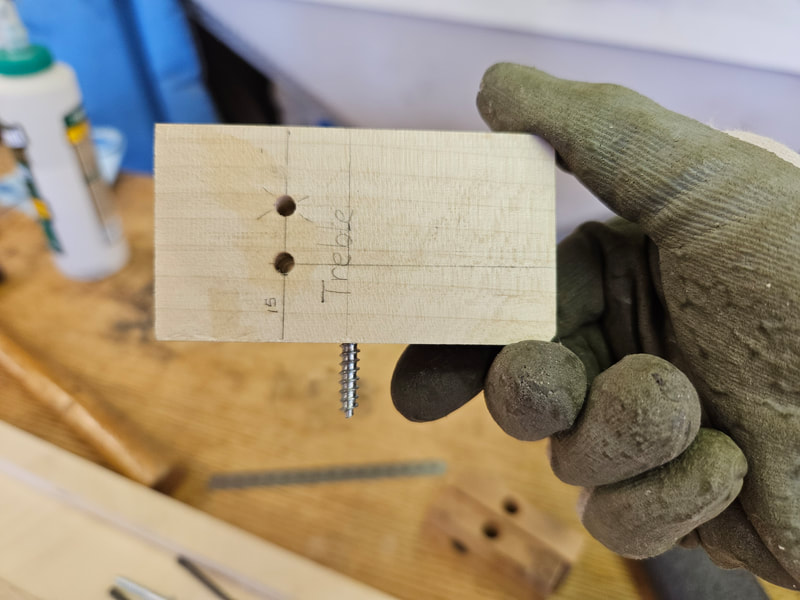
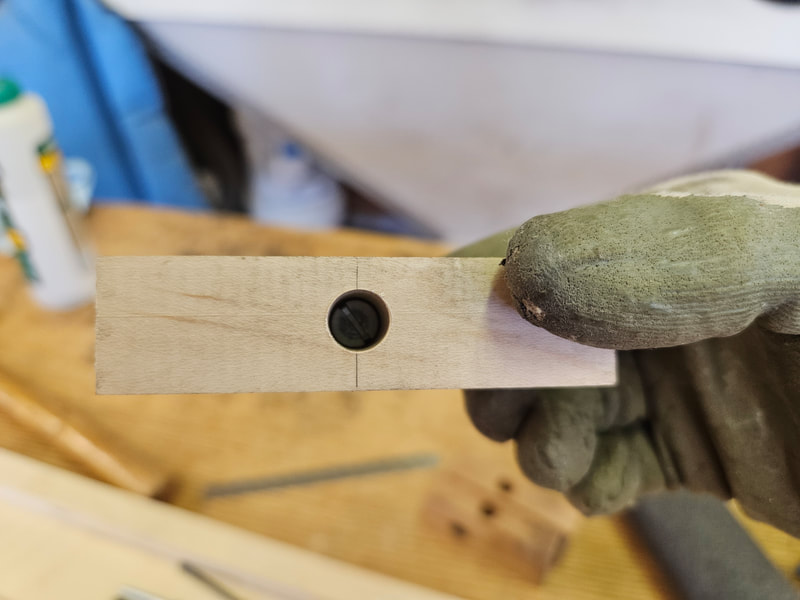
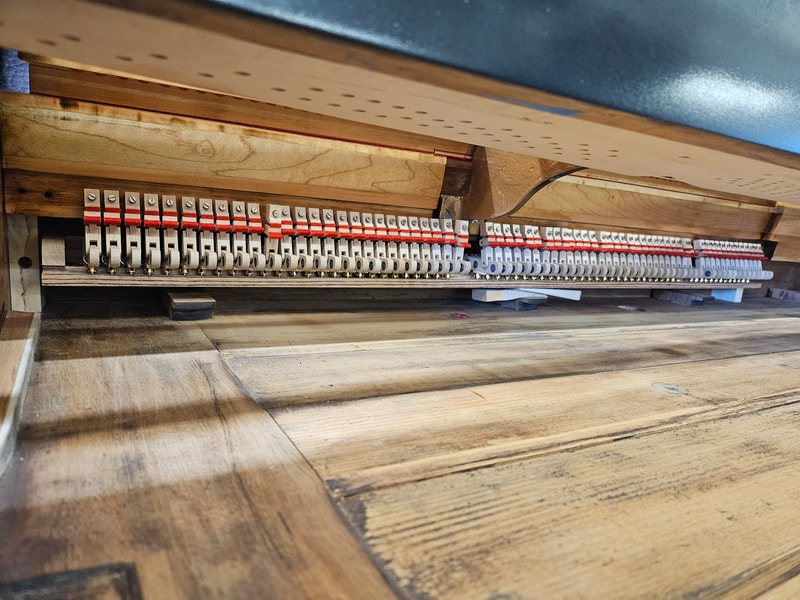
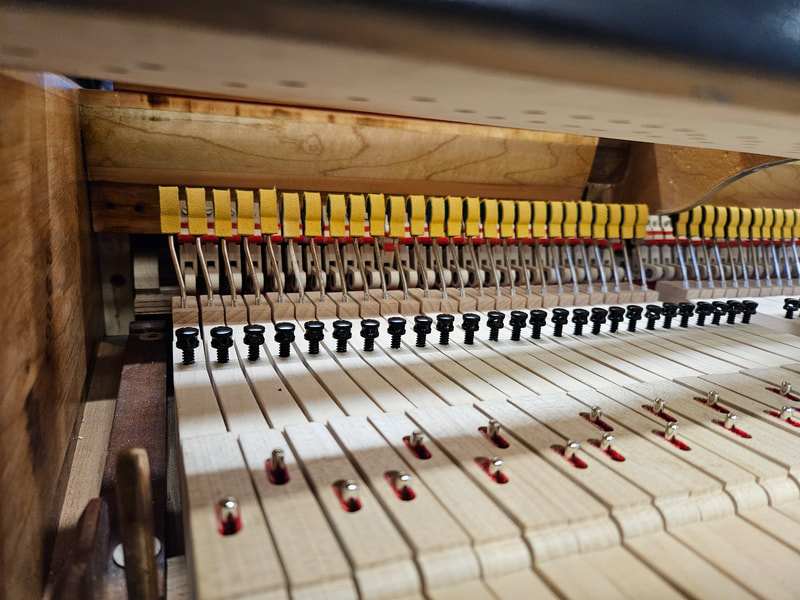
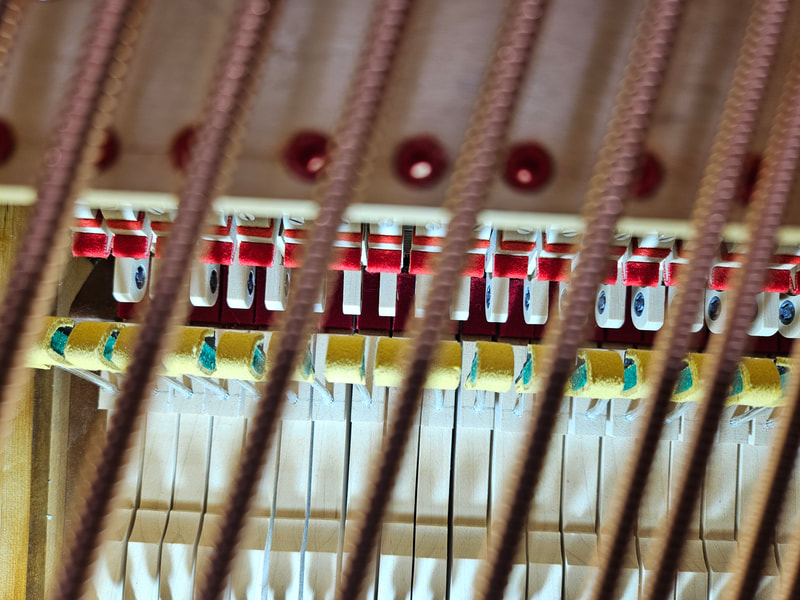
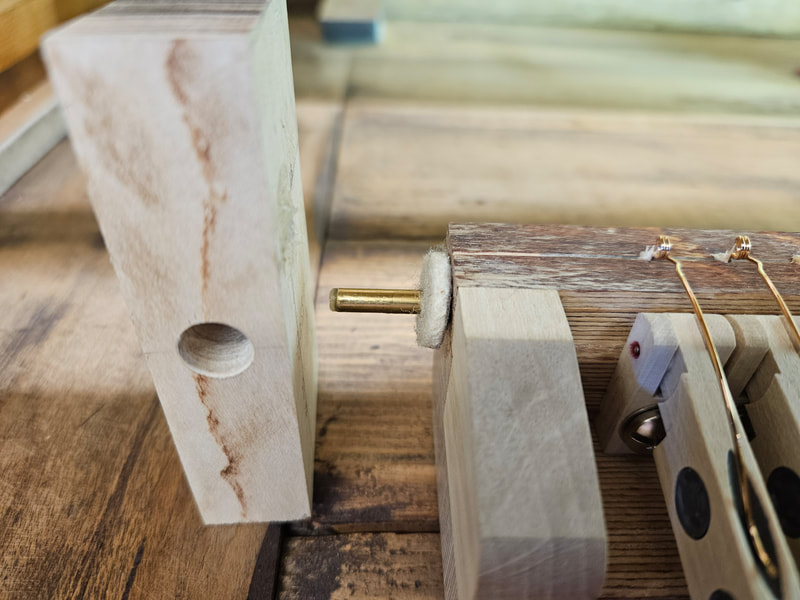
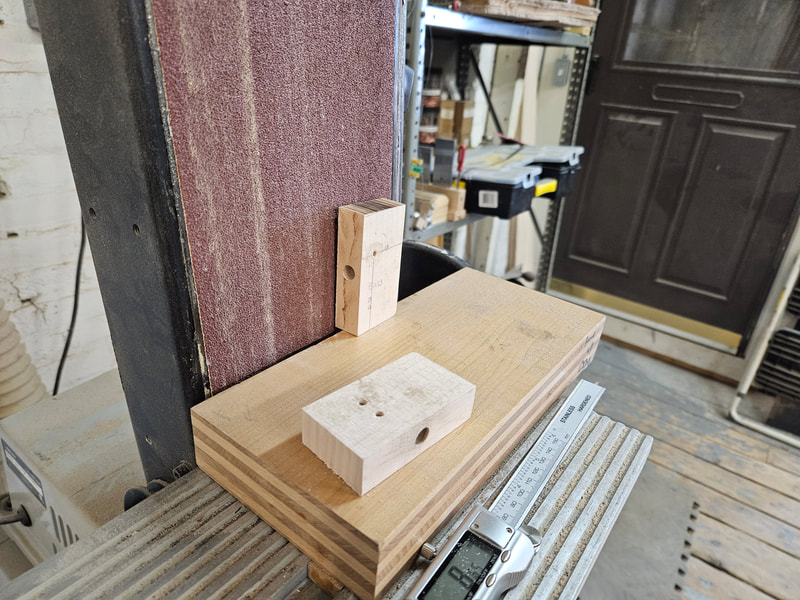
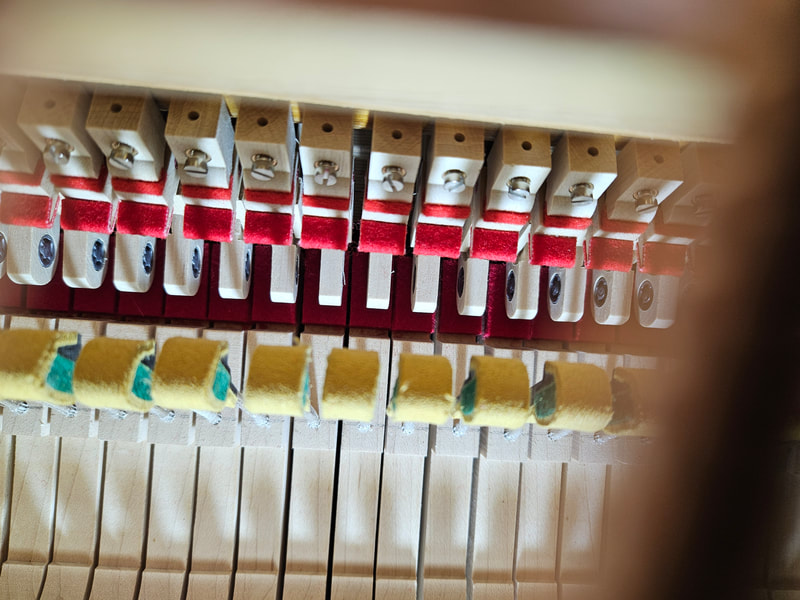
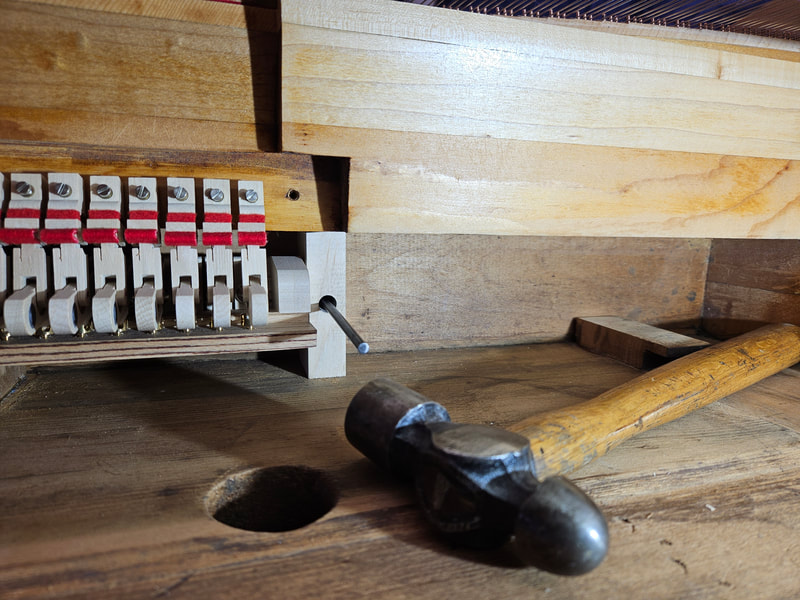
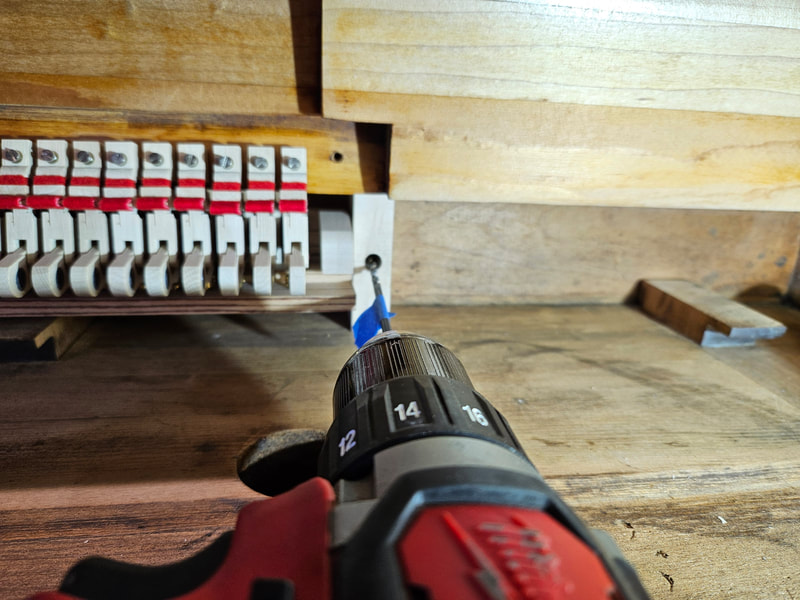
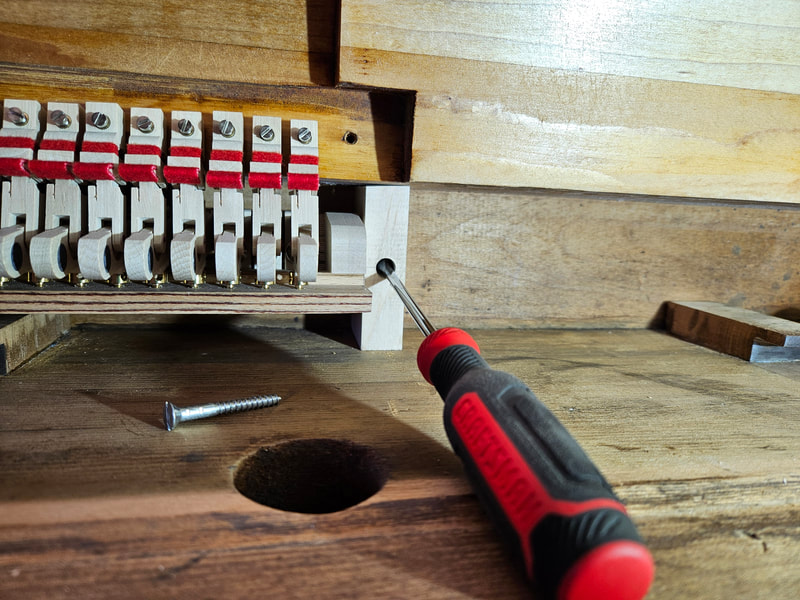
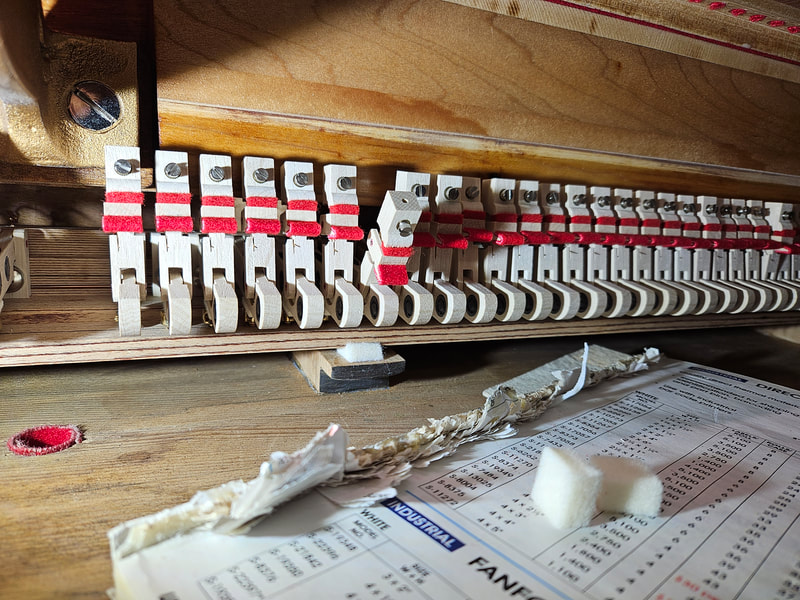
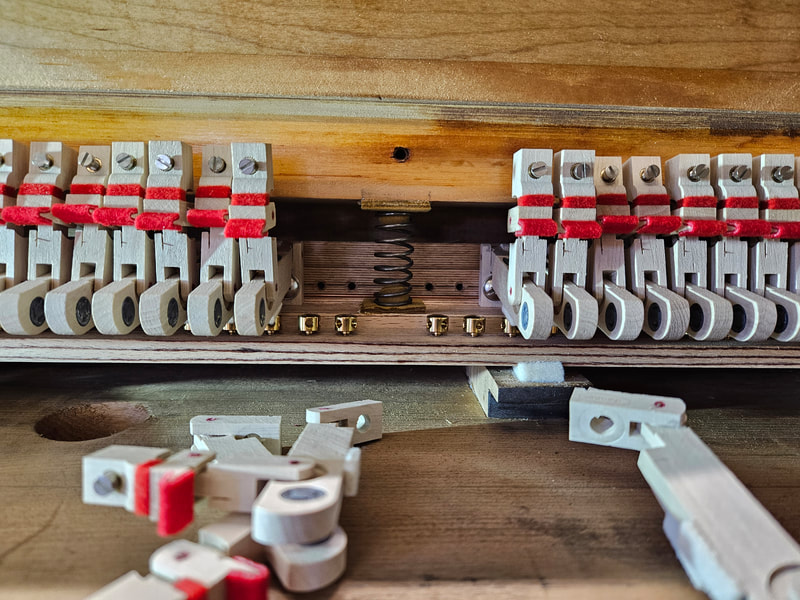
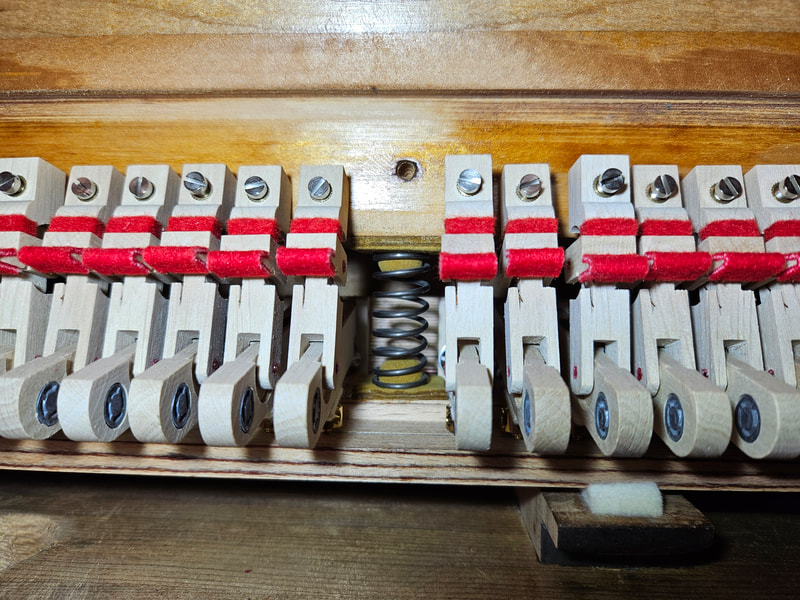
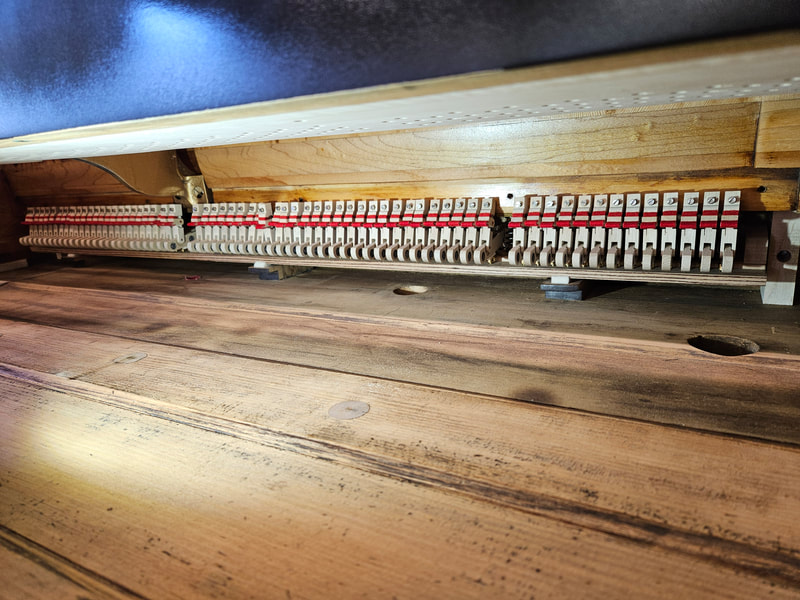
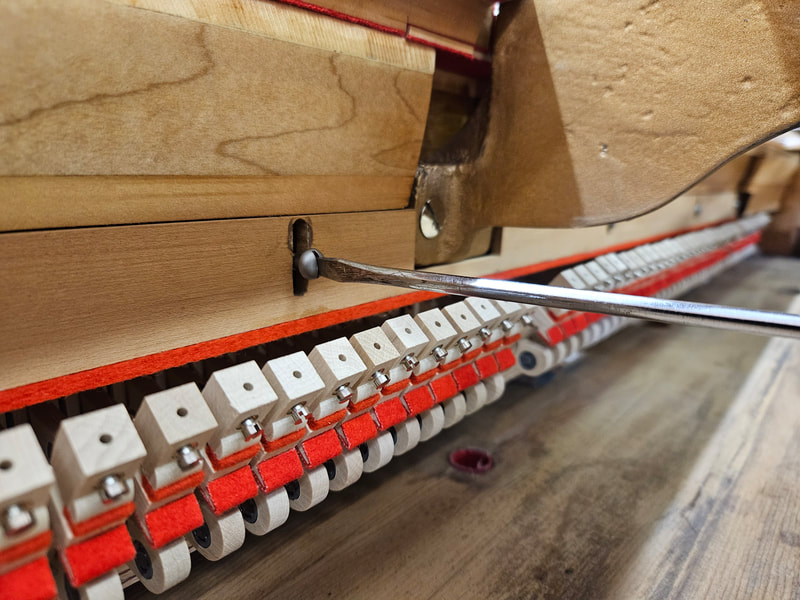
This is the first time I install a Renner backaction by myself following instruction from shop owner Mr. Jude Reveley. We have locating jig from WNG backaction. Jude transferred measurements to the Renner system. He calculated where the damper tray pivot pins shall be located on two pivot blocks/end blocks. The idea is that when keys are fully pressed, underlevers are horizontal, damper wires are 90˚ to keybed. Note that I measured form wrong edge on treble block. Hmmm... by drilling a new hole, the block can still be functional. No waste. Next, drill screw pilot holes and openings for screw body and head to go in. The actual screw hole will be on the piano belly. Try putting in a screw to see if it goes in easily without struggles. The last picture shows the screw head inside that big opening. I wondered why couldn't we use a longer screw and not let the little one go too deep, or why couldn't we use a thinner block. All for stability. The damper tray is heavy and will be pivoting endlessly. Place backaction in piano, butt against the bass end. Slide in keyframe without top stack. Observe relationship between underlevers and keyends. A underlever should fall on treble side of keyend, so when keyframe is shifted to the treble with soft pedal pressed down, the same key does not pick up neighboring underlever. It looks like the backaction can go towards the bass for about 2 to 3 millimeters. Remove pivot block, sand the bass end, reinstall, and observe fitting again. I went back and forth for half a dozen times until the fit is alright. Since it is the first time installing the system, I was so afraid to screw it up, thus did the sanding and fitting a little at time. Remove keyframe, use a transfer punch to punch a starting mark for the drill bit. Drill for screw holes, then install screws. The backaction system does not need to be removed in this step. On top of dag block, glue on a piece of soft felt to reduce noise when damper tray comes down from pivoting. Remove underlevers near damper tray return spring, glue in spring raviolis, install spring, then screw underlevers back on. Install liberty rail / damper up stop rail before damper wire installation. This whole process took me more than half a day. The learning experience is so valuable that I cherished each moment of frustration. Gratitude to my boss and coworkers who listened to my mumble mumble and screams. Damper installation tomorrow!
Comments are closed.
|
Archives
May 2024
|
