|
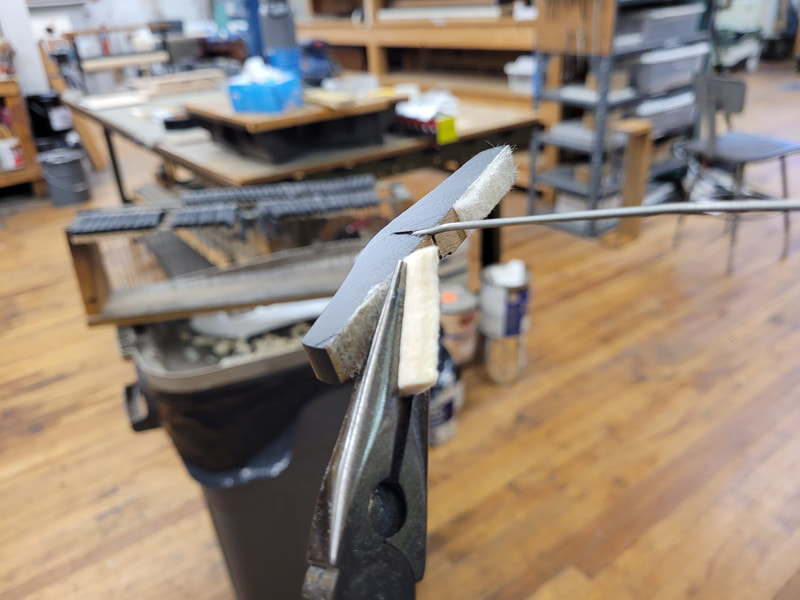
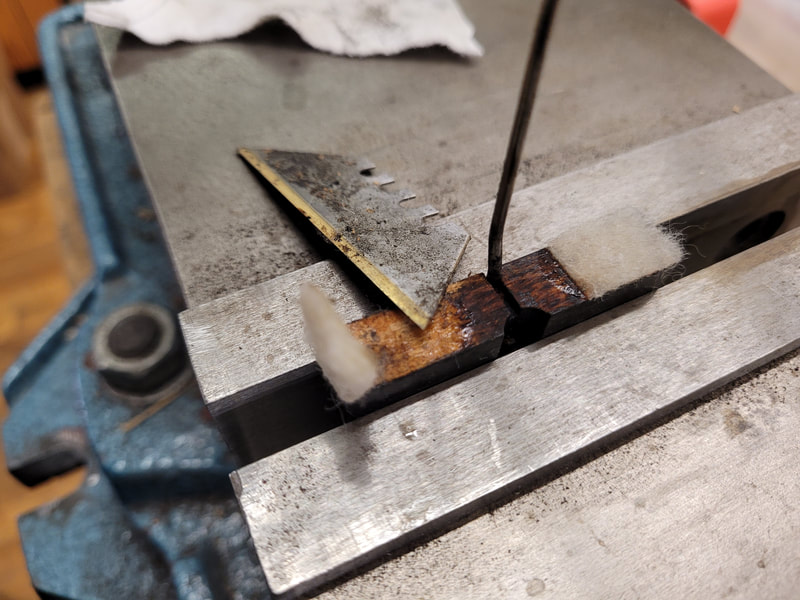
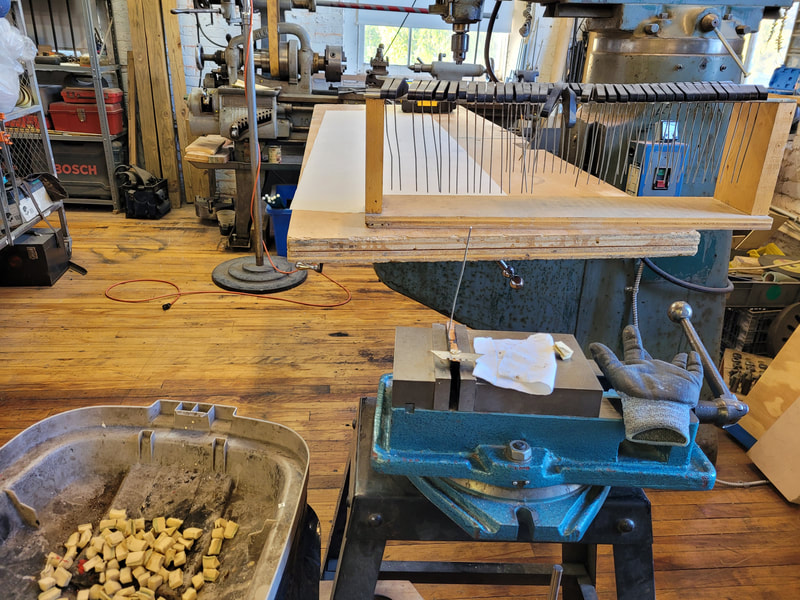
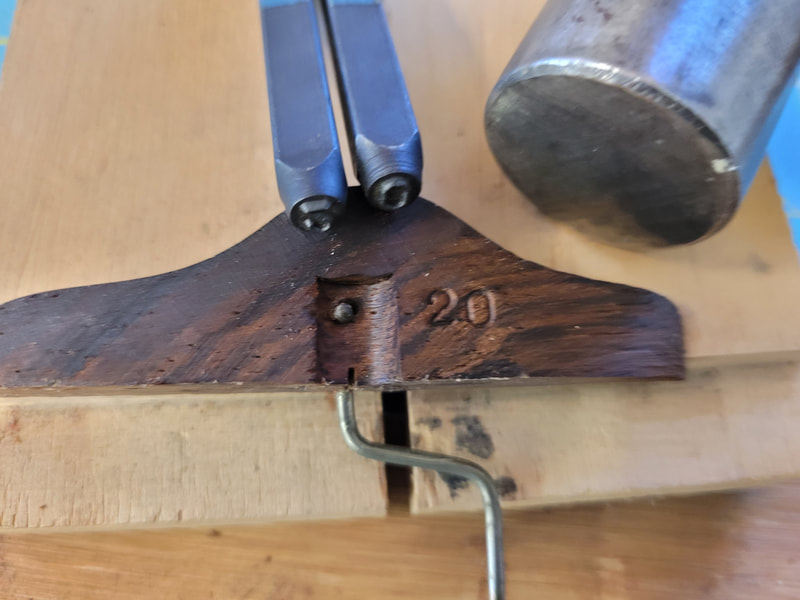
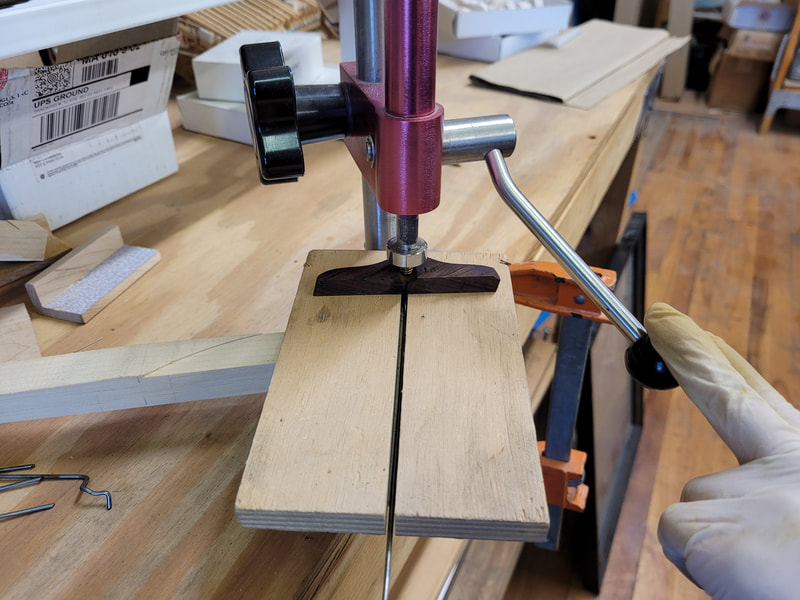
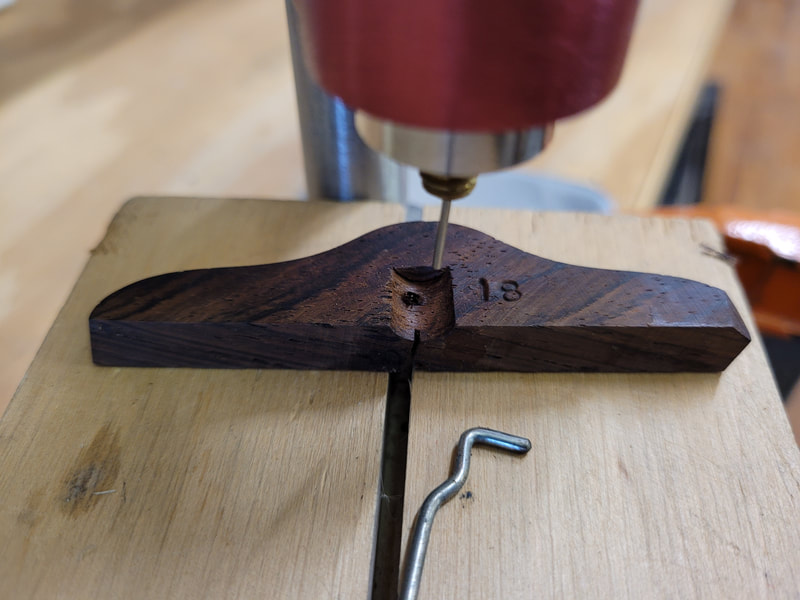
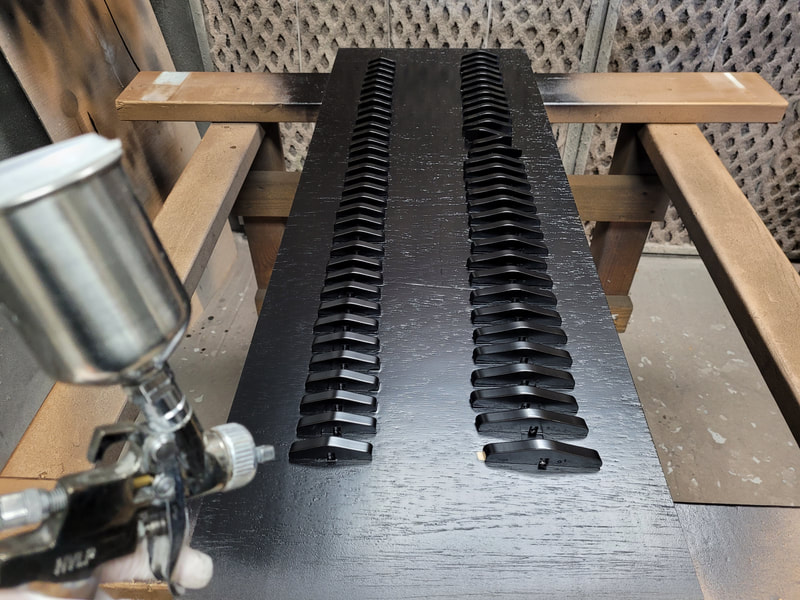
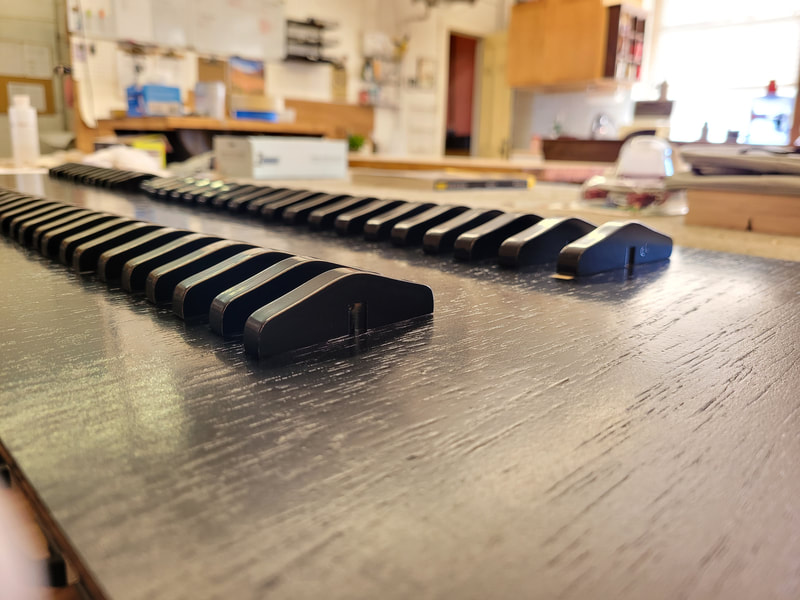
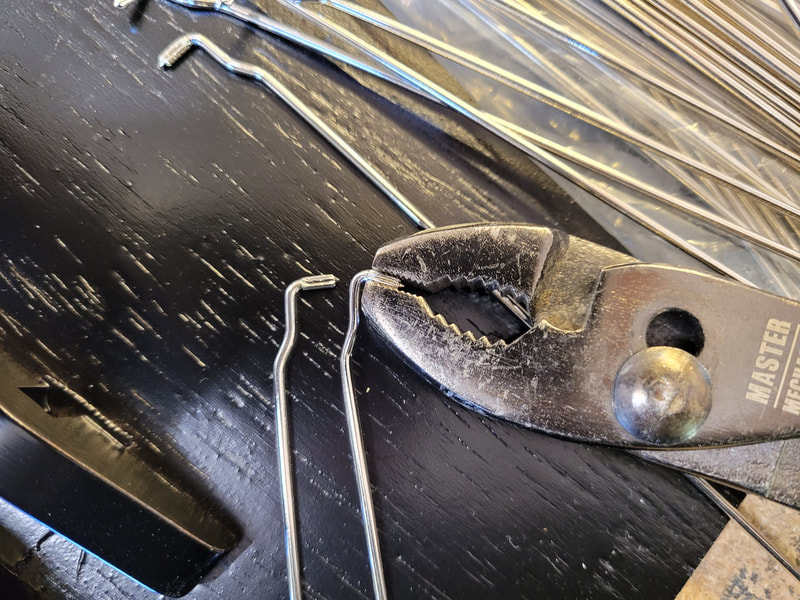
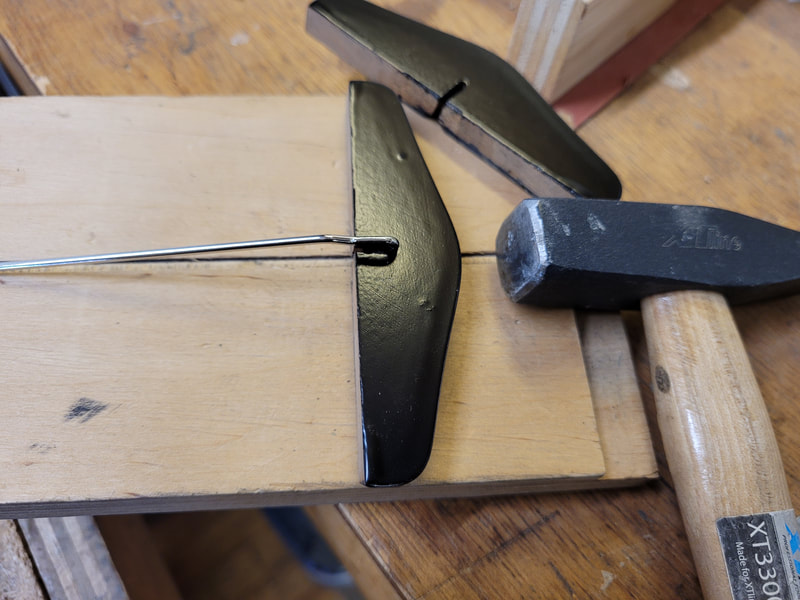
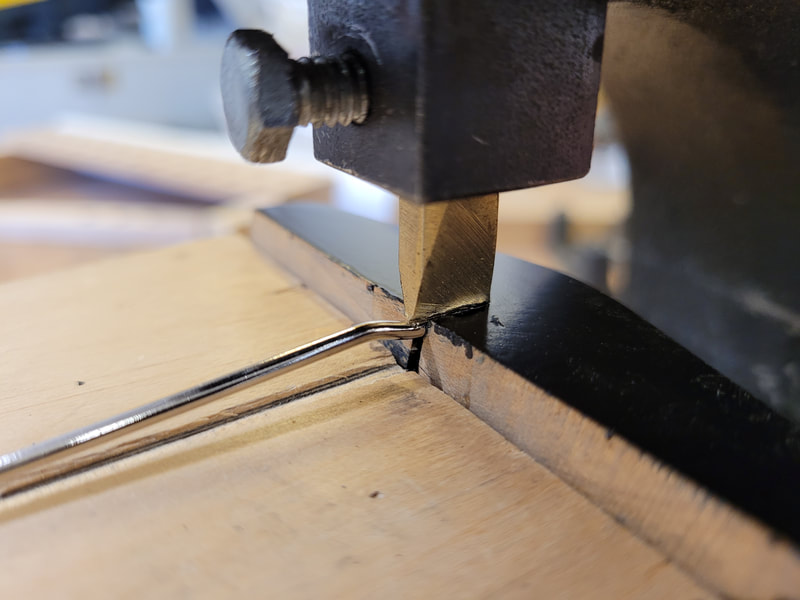
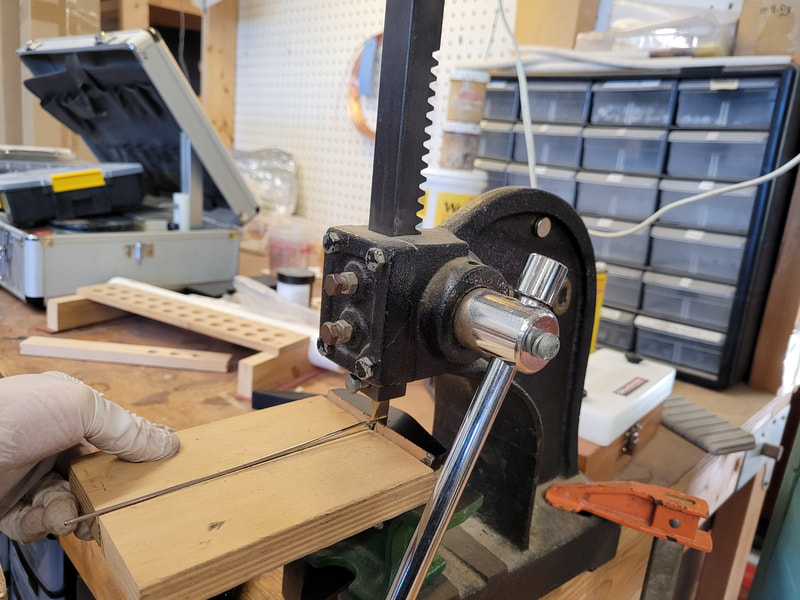
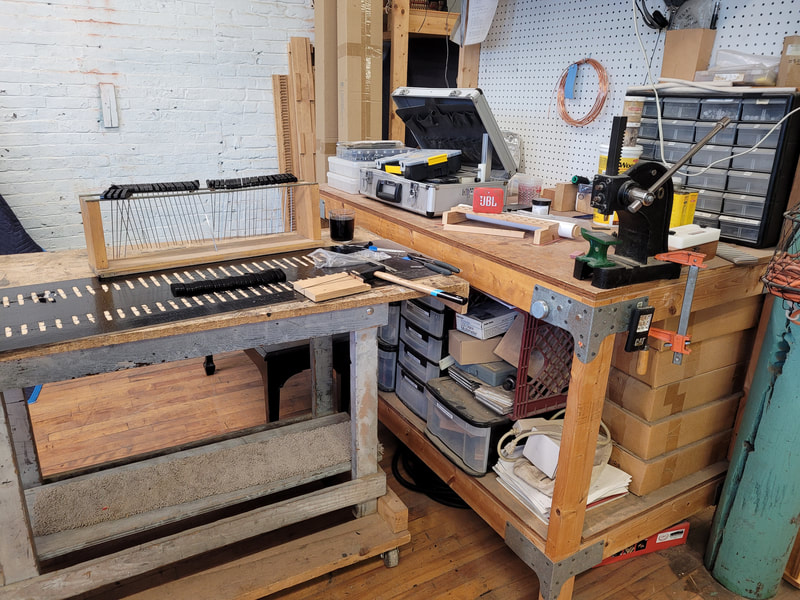
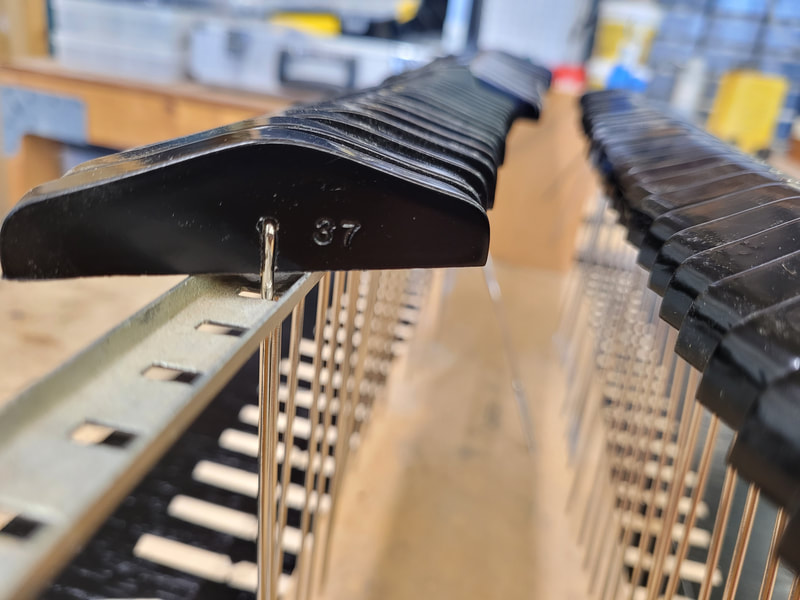
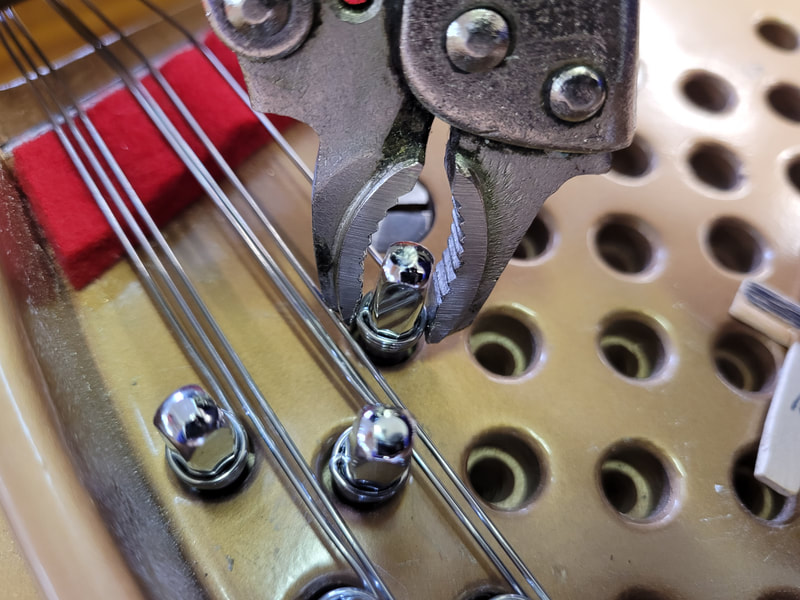
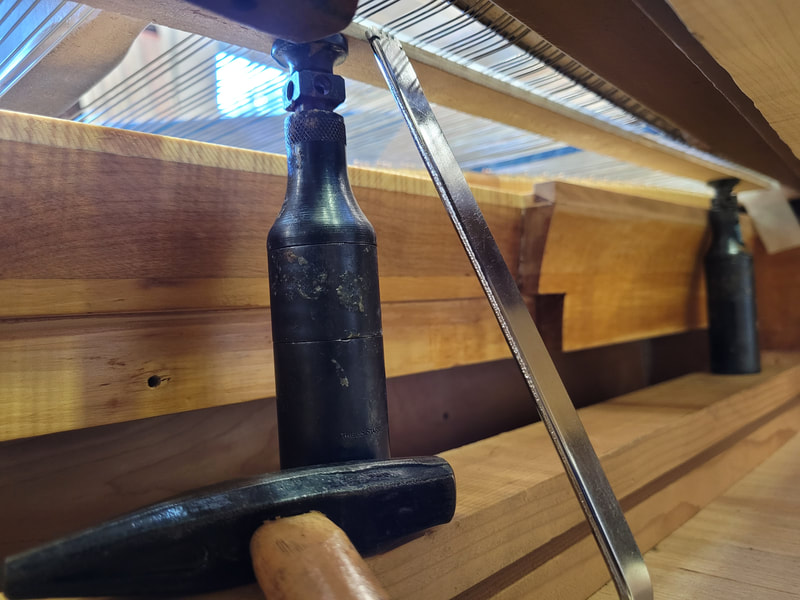
The process is recorded on different sets of dampers. We've tried all methods of damper felt removal that the brains could storm about. This is the fastest and cleanest way so far. Pull off felt with a plier dry, drop wall paper remover on old glue residue from note 1 (note 67 is usually the last note that has dampers. Steinway D is up to note 71), once all dampers are wet, the first damper received wall paper remover is ready to be worked on, the glue is soft enough to be scraped off. clamp damper head and scrape remaining felt and glue off. Hammer numbers on each damper head, then remove old damper wire by pushing out the fluted top part. These wires are too rusty to keep. If wires are in good condition, they can be polished. These damper heads were refinished per customer's request. We scrubbed the old finish with 3M Scotch-Brite to smooth them out then sprayed them, this batch took 4 thin layers of lacquer. They look better with several thin even coats than one thick ugly coat. Take out new wires, bend the top down a bit for easy installation. Without bending, the fluted top always want to flatten itself. Hammer the wire top into damper head, then press in with homemade device (thanks to our boss). Press firmly till the wire is solidly bonded in the head. Work (crime) scene. The dampers are now ready to be trimmed, bent, and installed into piano ^ ^
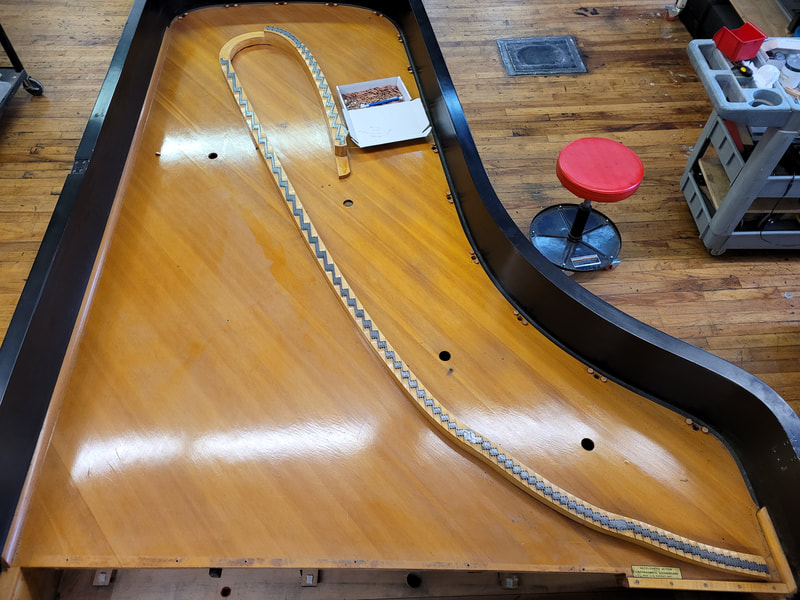
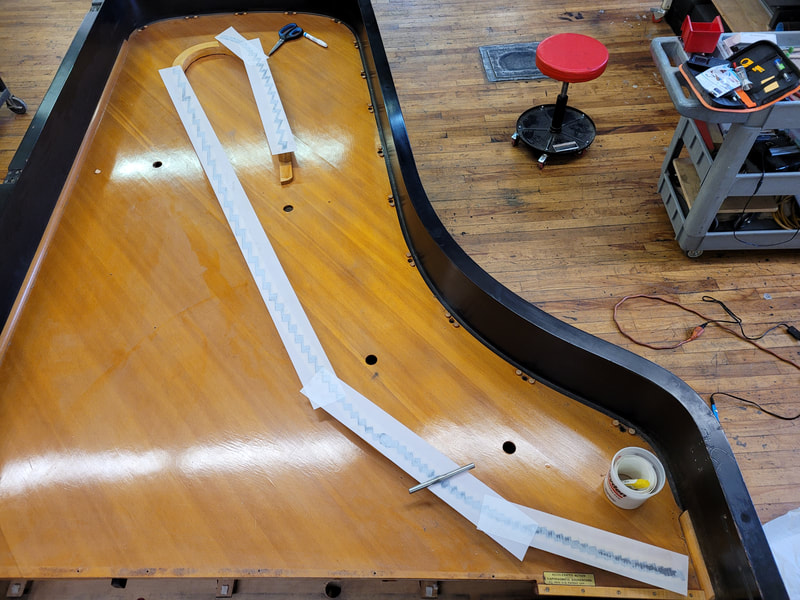
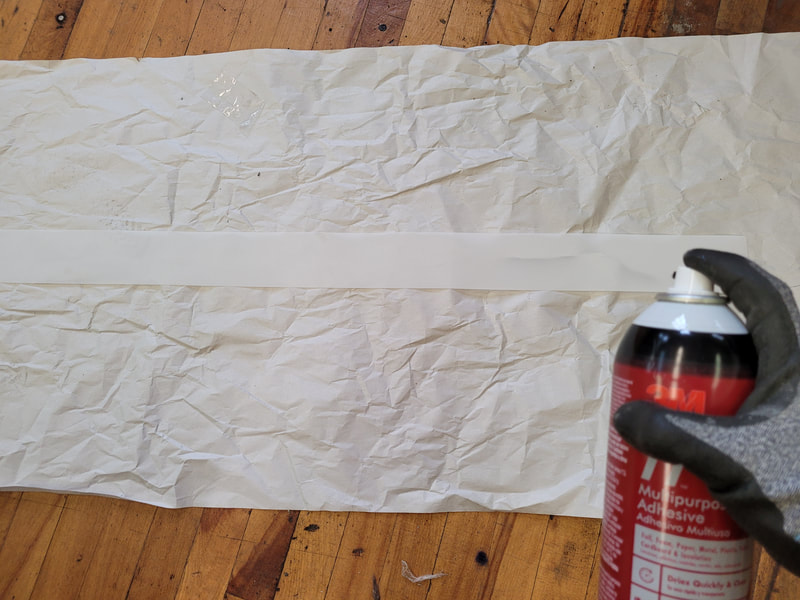
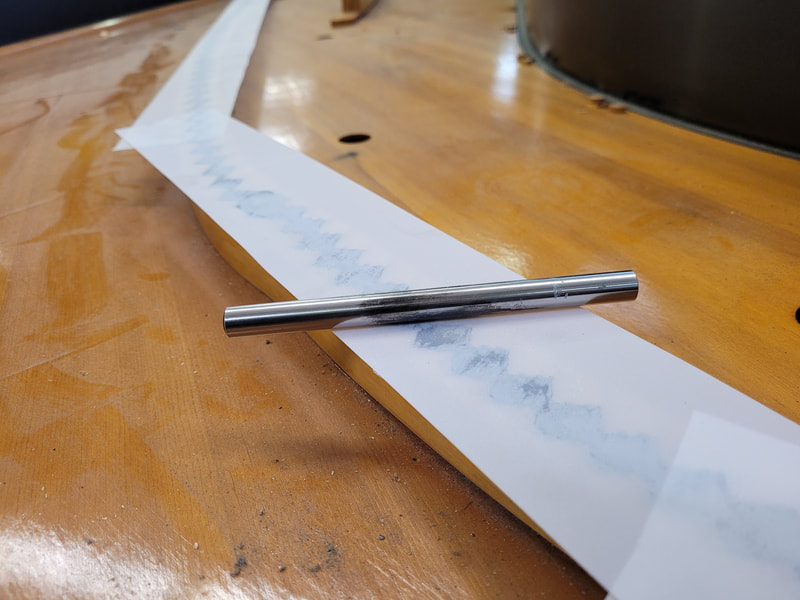
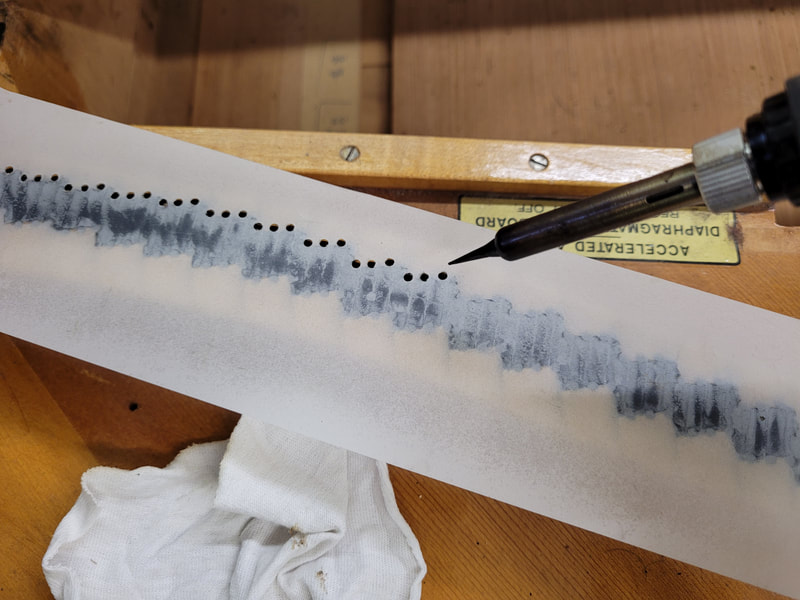
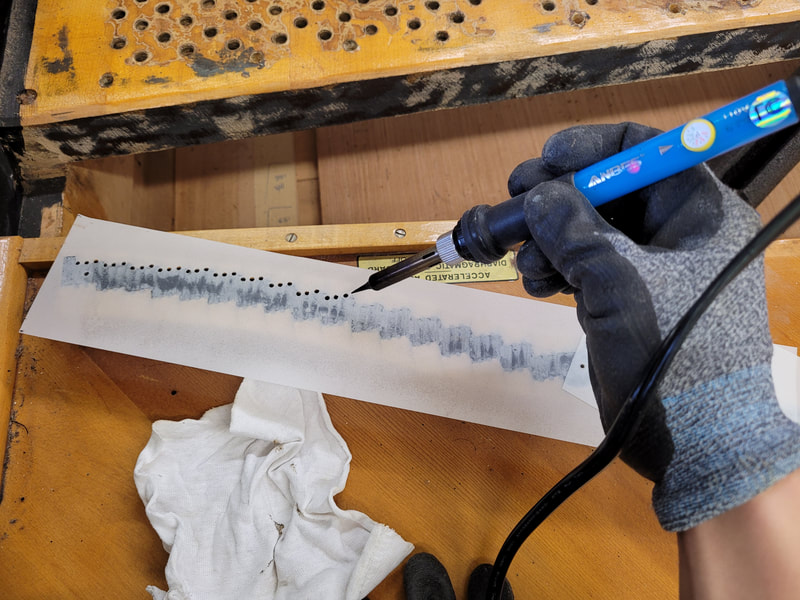
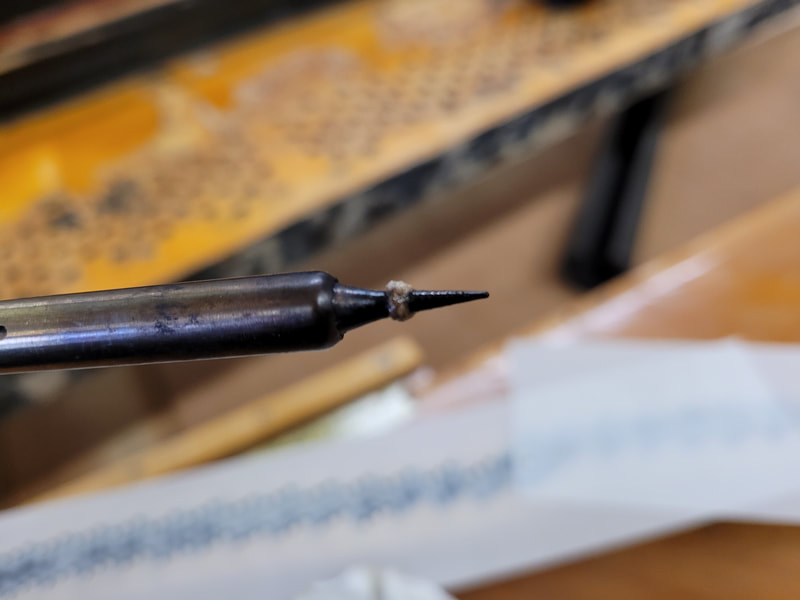
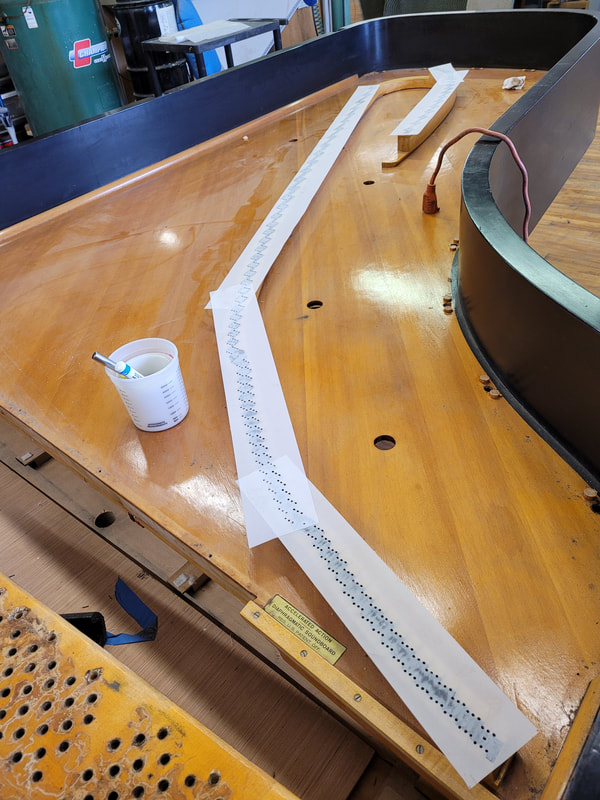
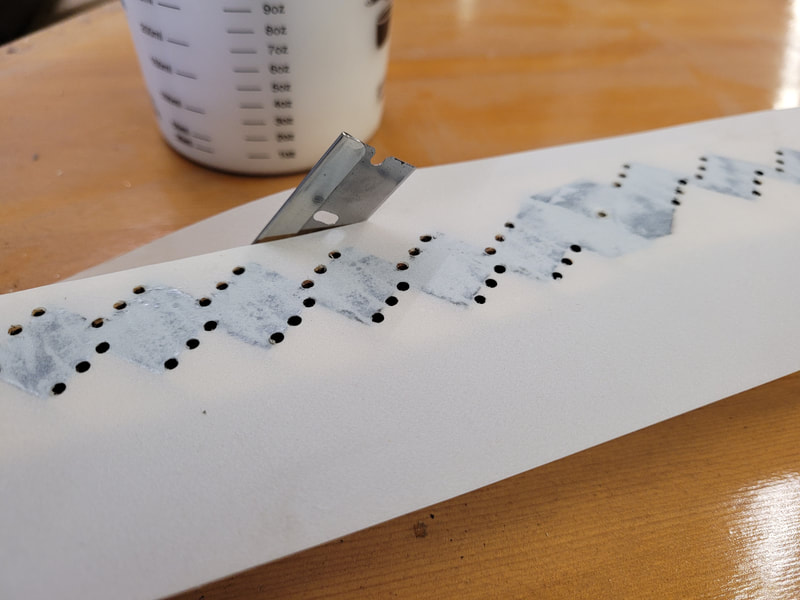
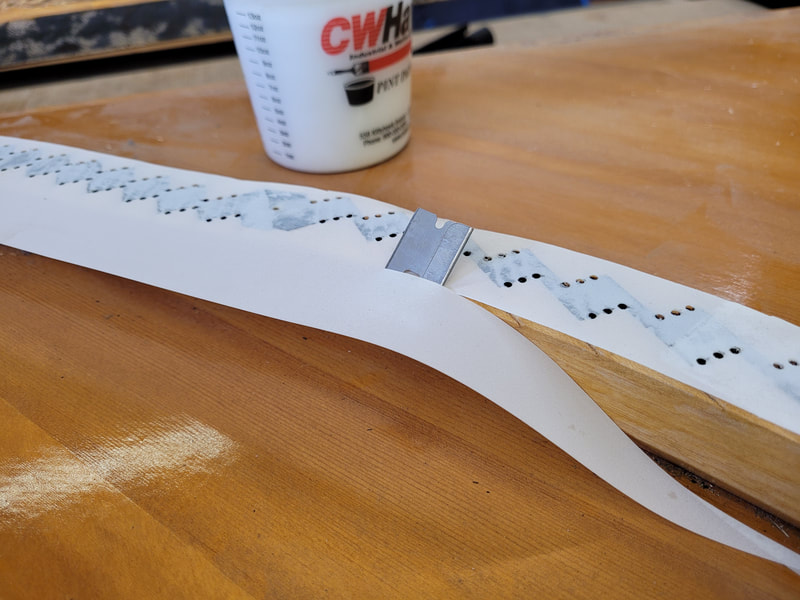
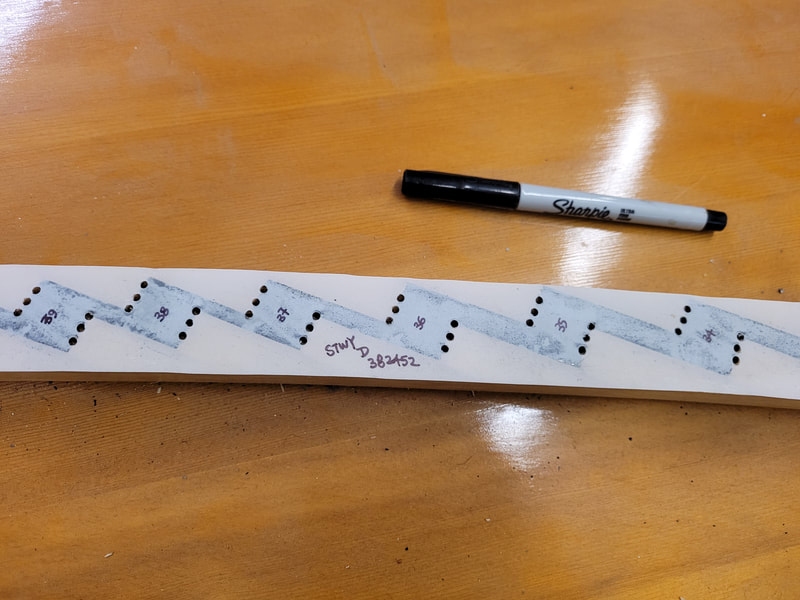
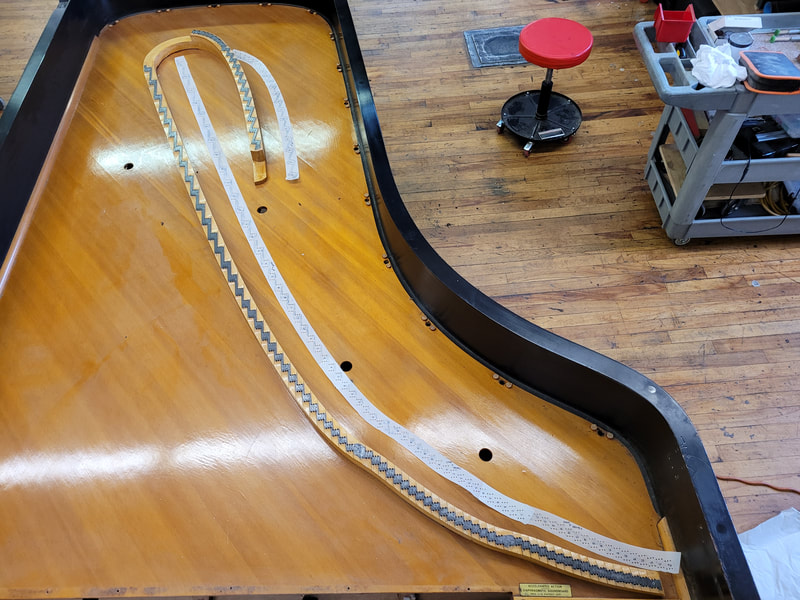
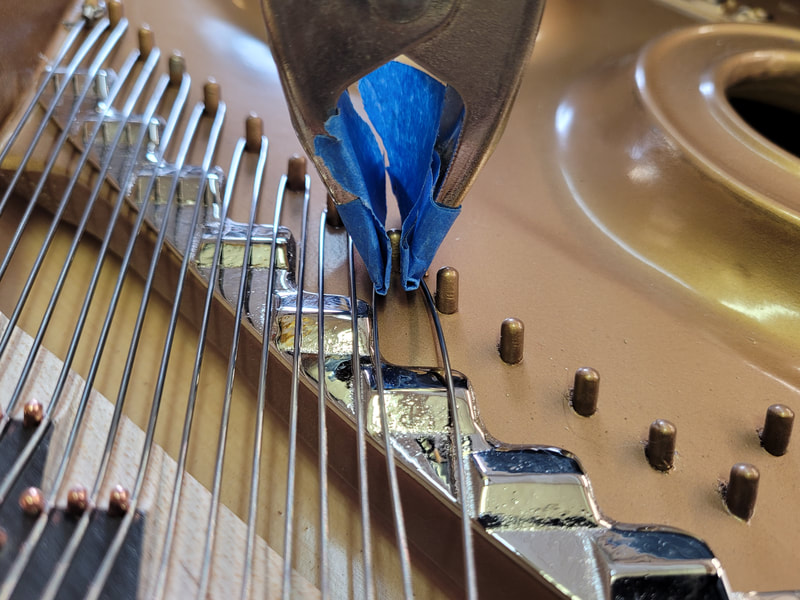
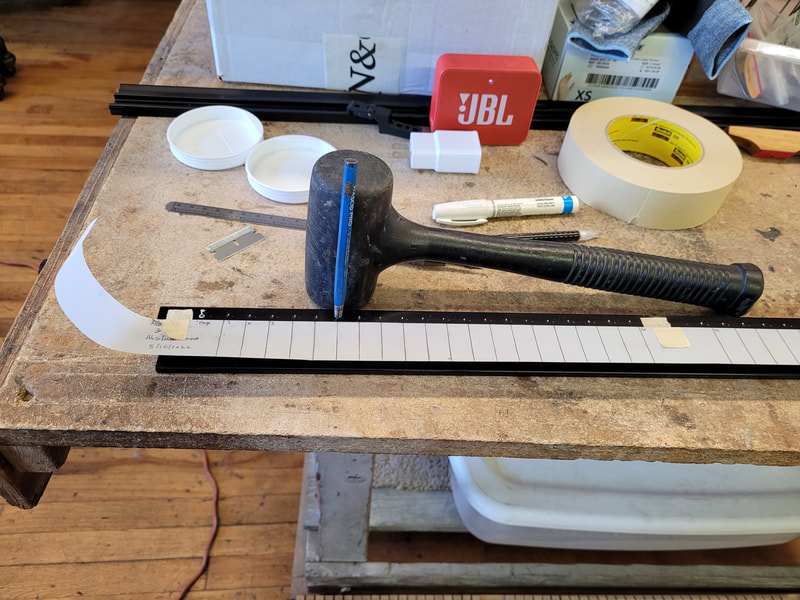
A bridge pattern is made before bridge top is taken off. The pattern will be reference to new bridge pin patterns once bridge top is replaced. Remove all old and rusty bridge pins, take out pre-sliced mylar strips and cut to fit on the bridge top. Each piece of mylar shall over lap to secure each other. Plug in soldering pen to allow it to heat up. It is better to get some black paint transferred onto mylar pattern from old bridge top. Spray mylar with adhesive, then lay on bridge and rub vigorously with a piece of metal dowel/stick to let the black paint stick onto mylar. Take the hot soldering pen, carefully punch into each bridge pin hole. Note, the front and back holes are drilled at opposite directions. Melted mylar sticks on soldering iron, wipe constantly for the accuracy of the pattern. After all holes are poked, double check if there is any part missing. Cut 2 sides of the pattern with a razer blade, blade bottom pressed against bridge wall. Number note numbers, write piano make and serial number on each section of mylar incase any piece gets unglued or fell off. Carefully take the pattern off bridge and store till new bridge top is installed and new bridge pin pattern ready to be laid out.
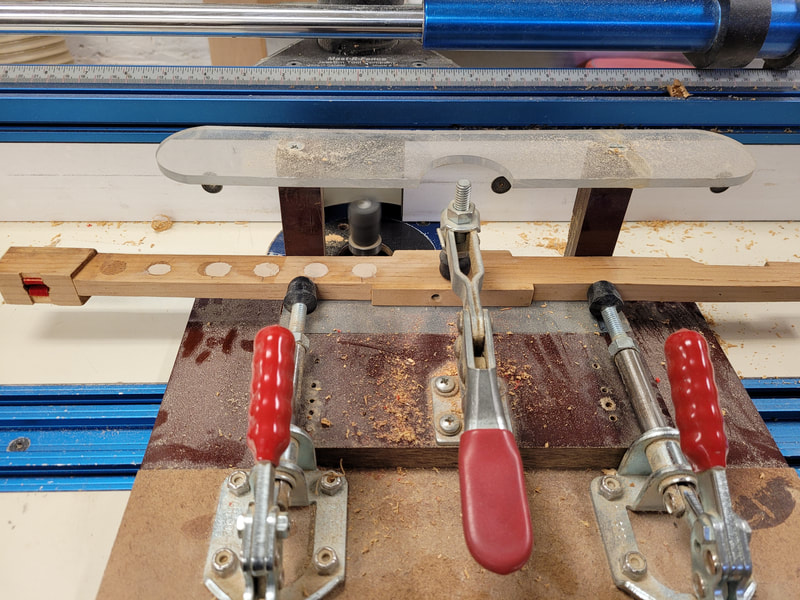
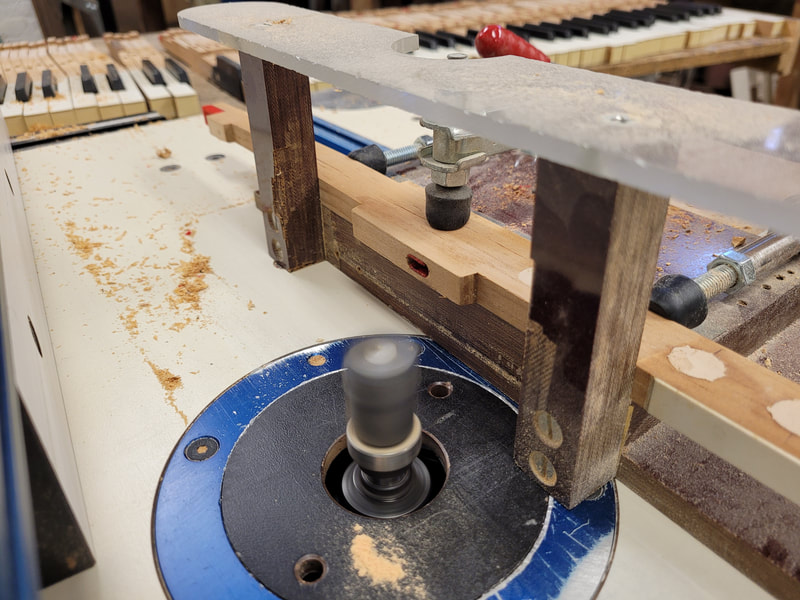
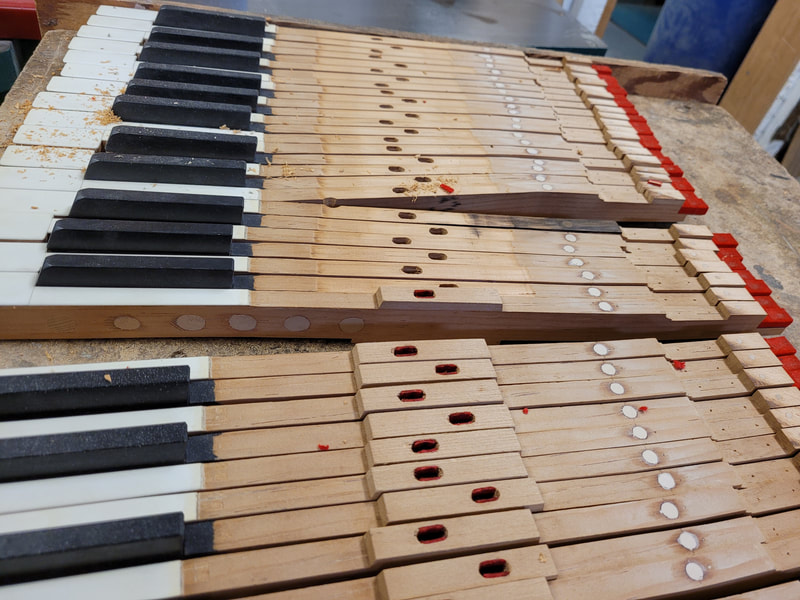
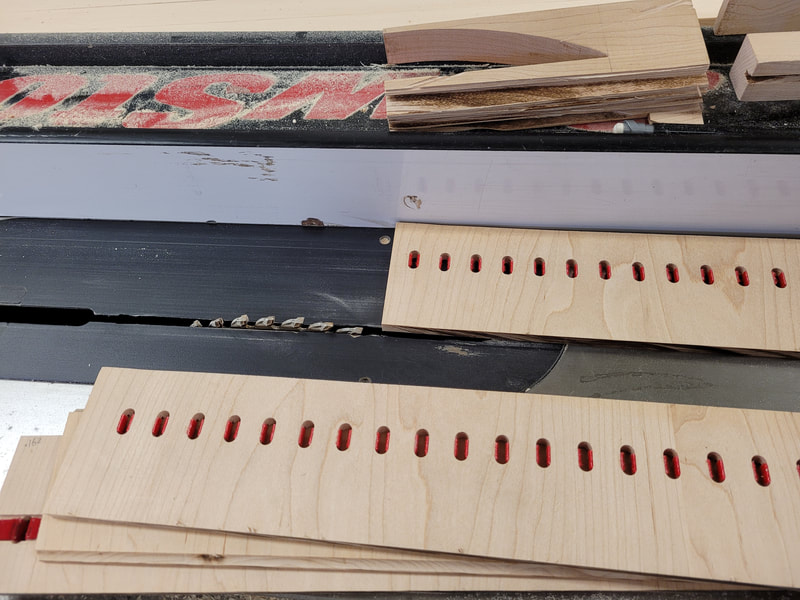
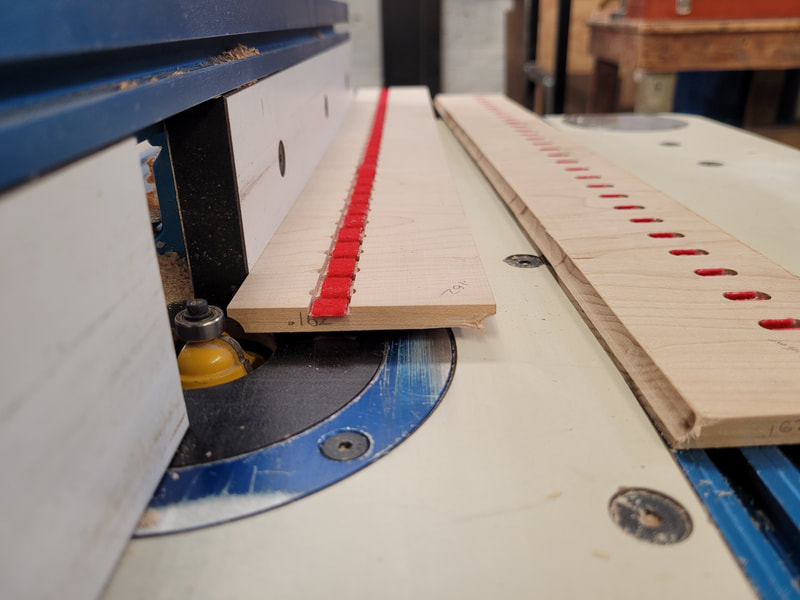
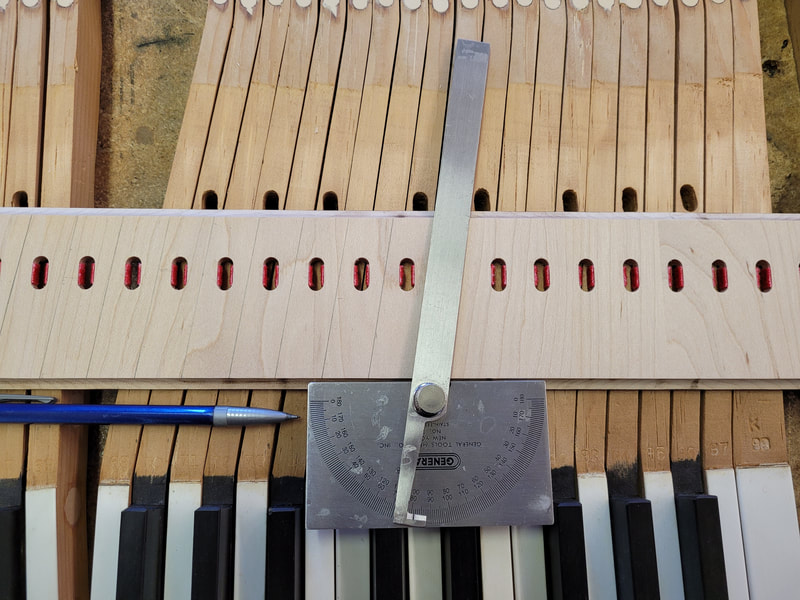
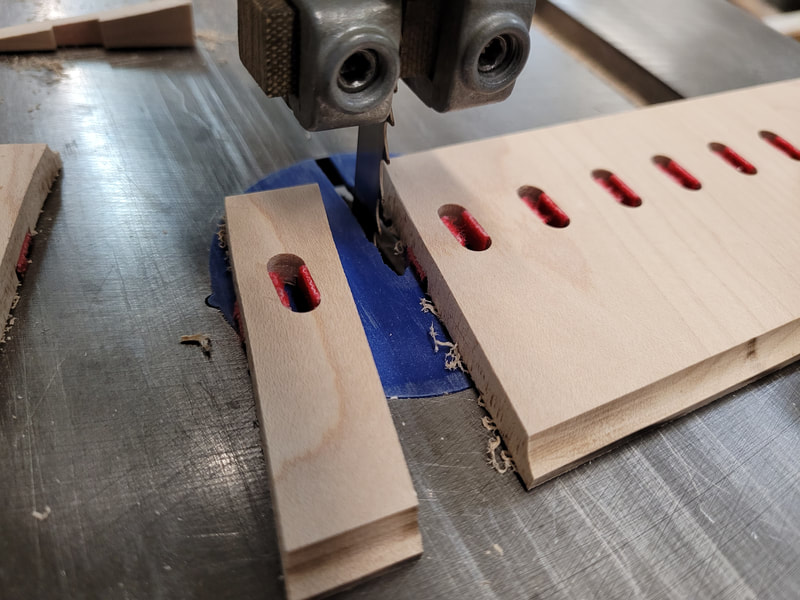
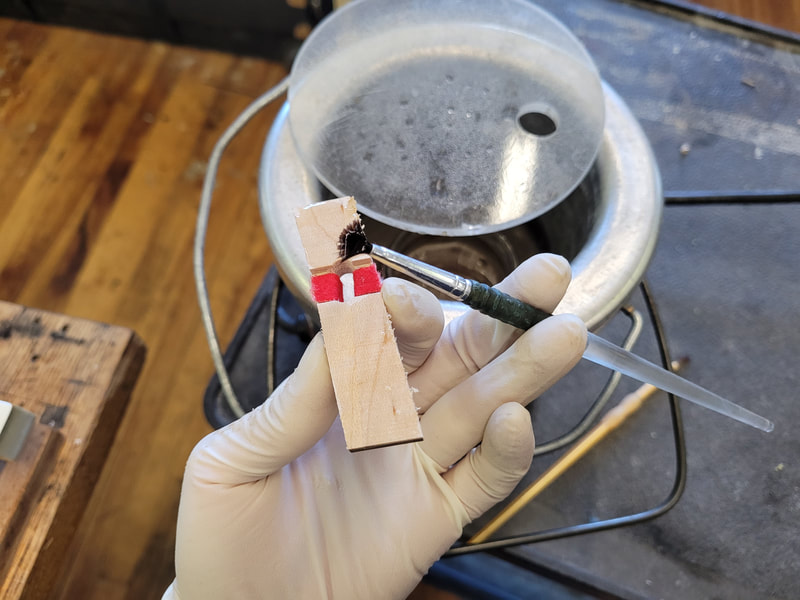
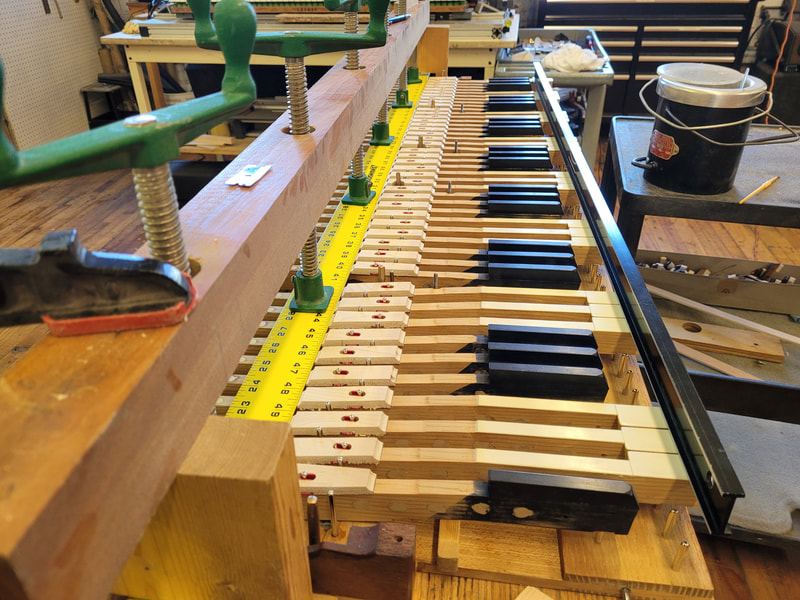
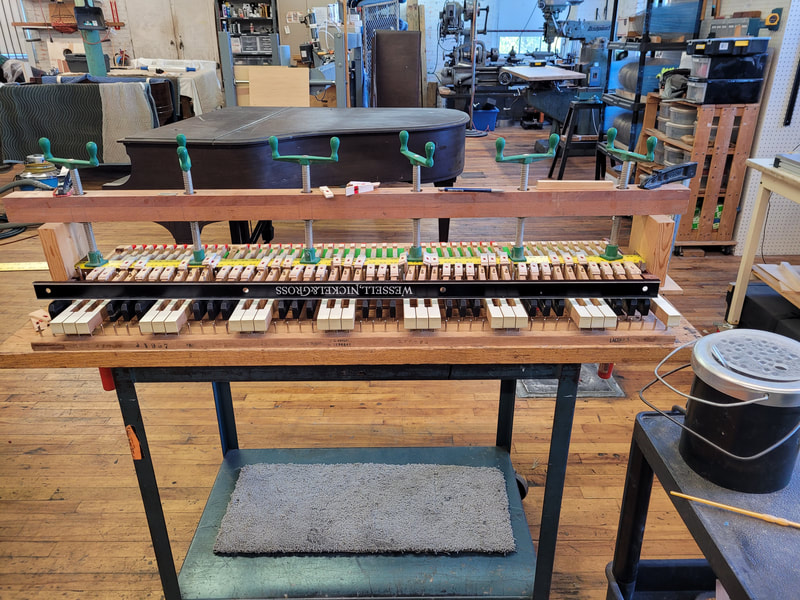
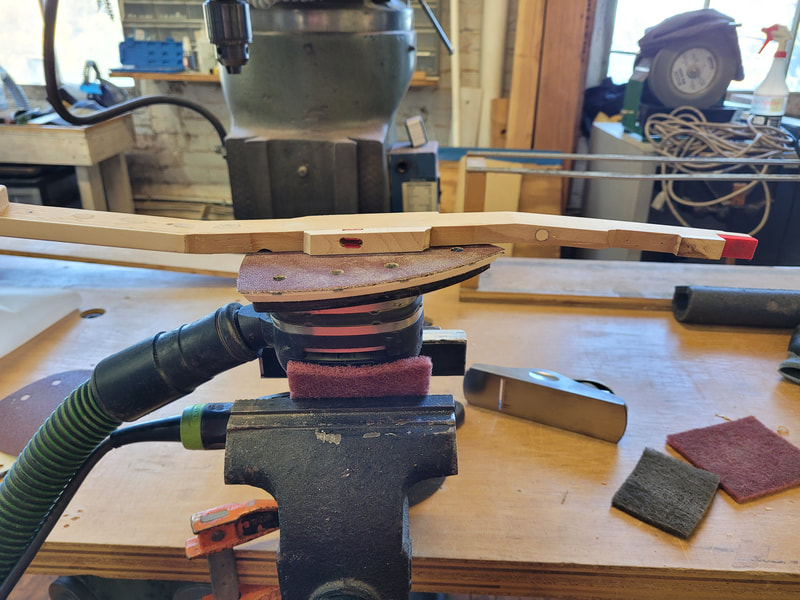
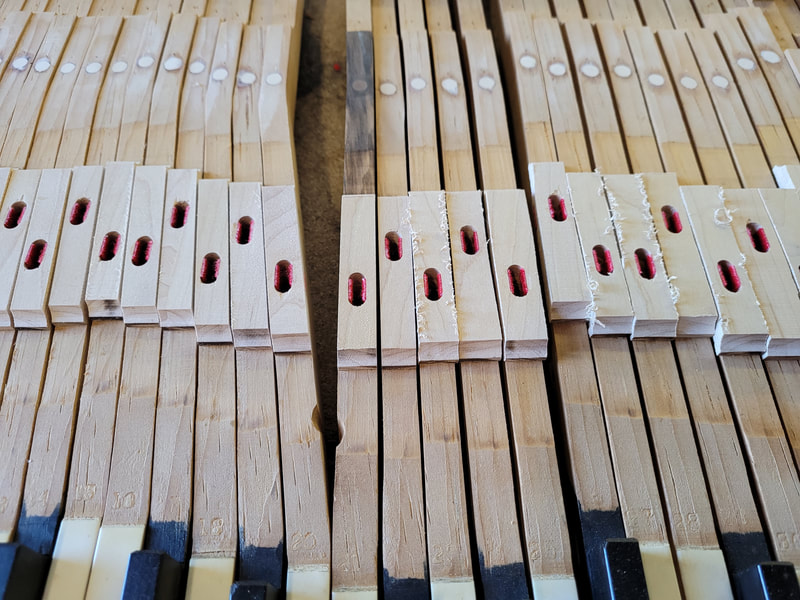
Remove old key buttons on router table with a jig, or clamp key on vise then remove key buttons with a felt knife. Trim key button stock to width, route decorative edges, and mark them according to angle of keys. On a bandsaw, cut off each key button according to the angled lines marked, set up jig to glue the buttons, apply hot hide glue for this job. The glue sets in seconds, so work fast but as accurately as can be. For each round of gluing, work on every other key because the buttons are cut wide to give room to be trimmed flush to two sides of keys. Let them dry for an hour, then rough trim on bandsaw (not shown in pictures). The last pass is to sand them on an clamped up side down Festool detail sander. The sander is very heavy, and gets heavier as work goes by. This way, one can work fast and save energy.
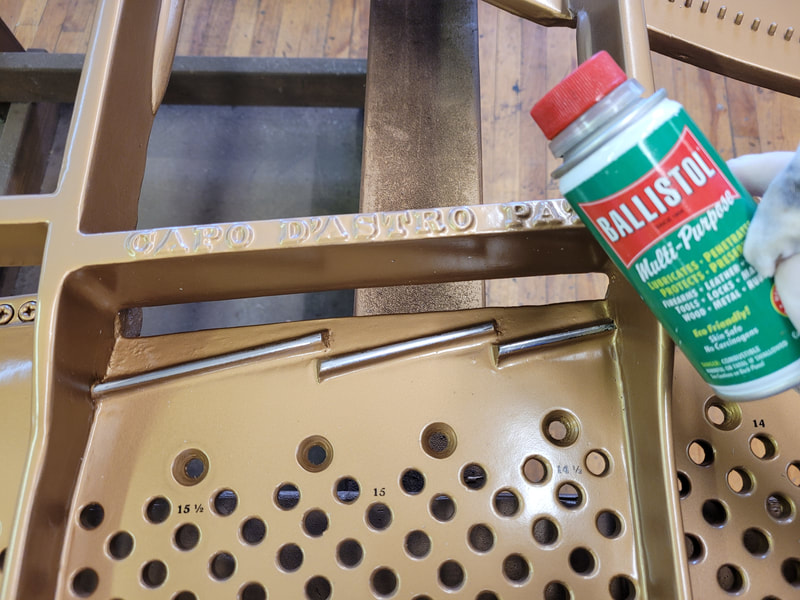
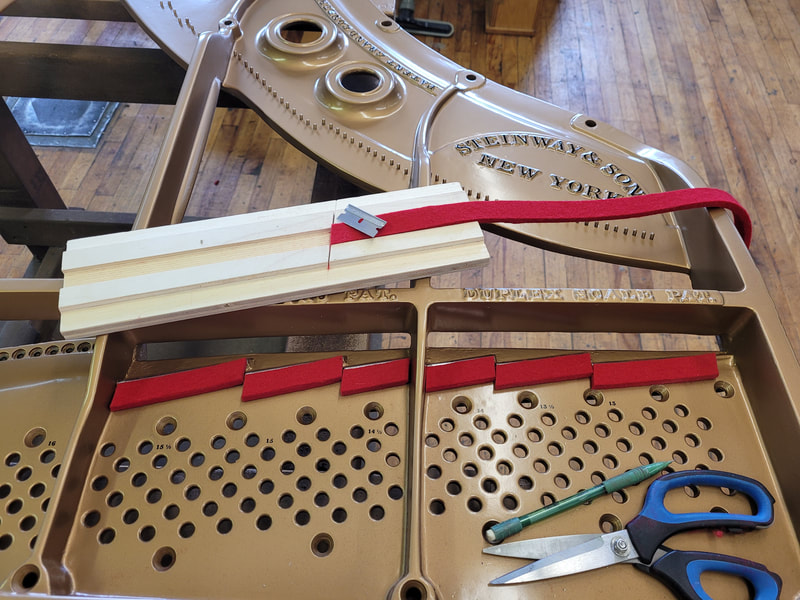
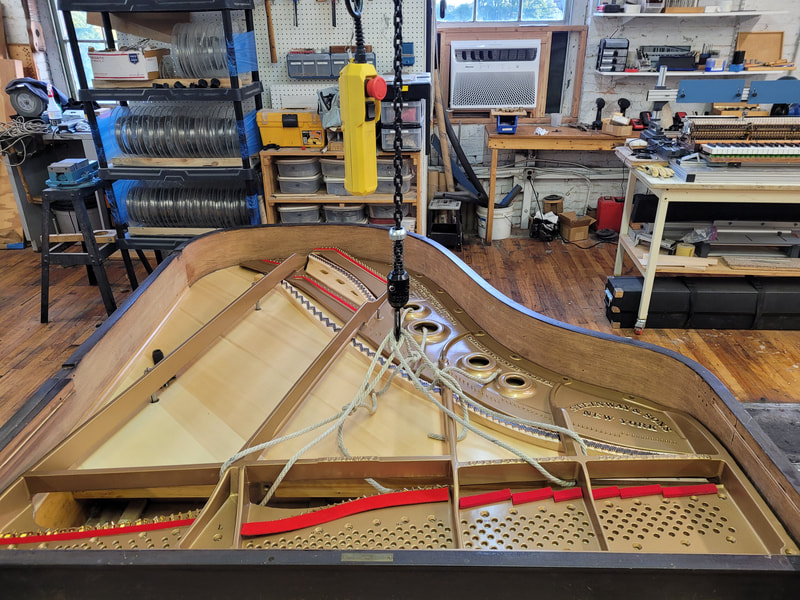
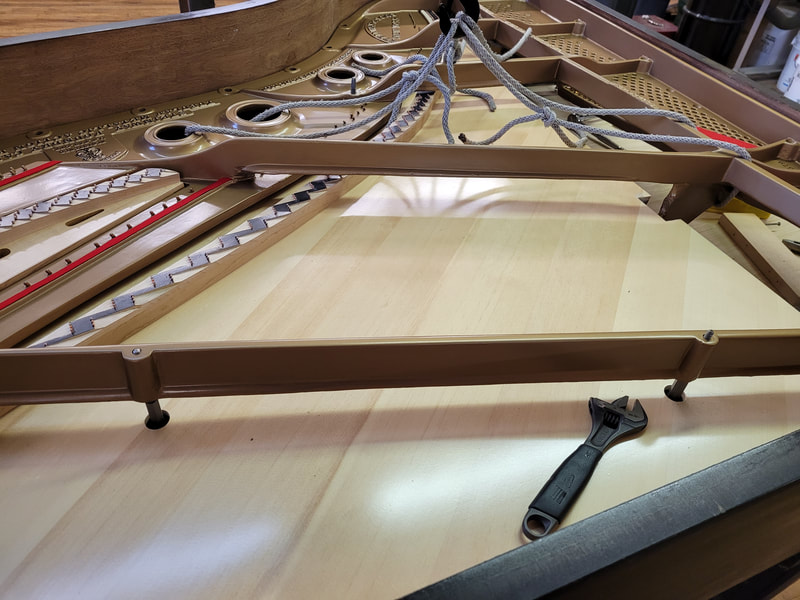
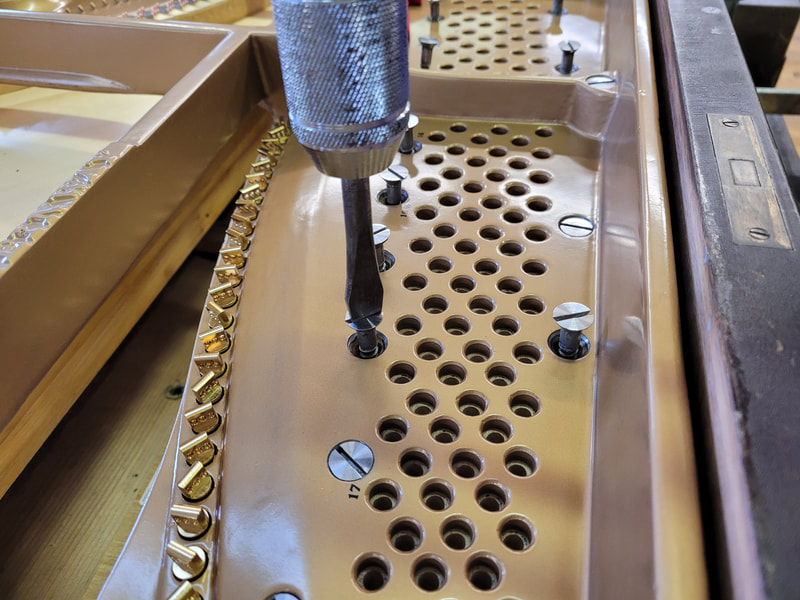
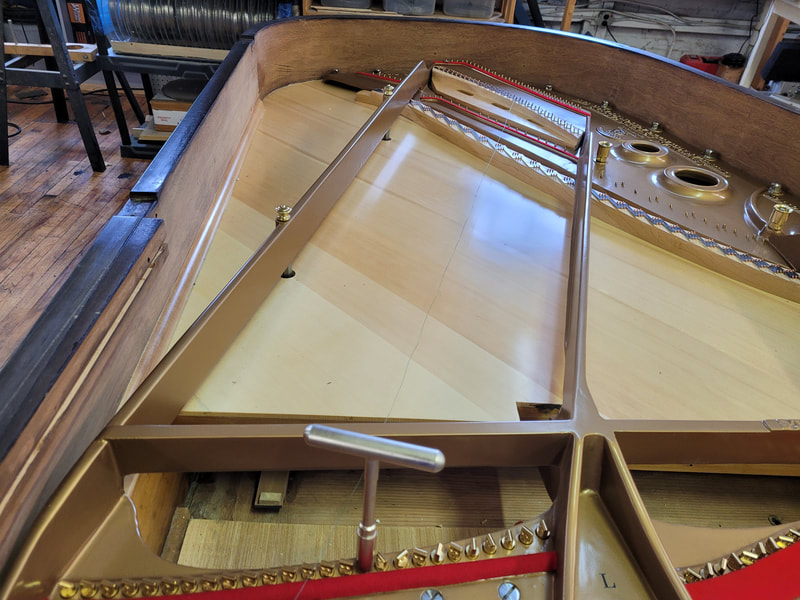
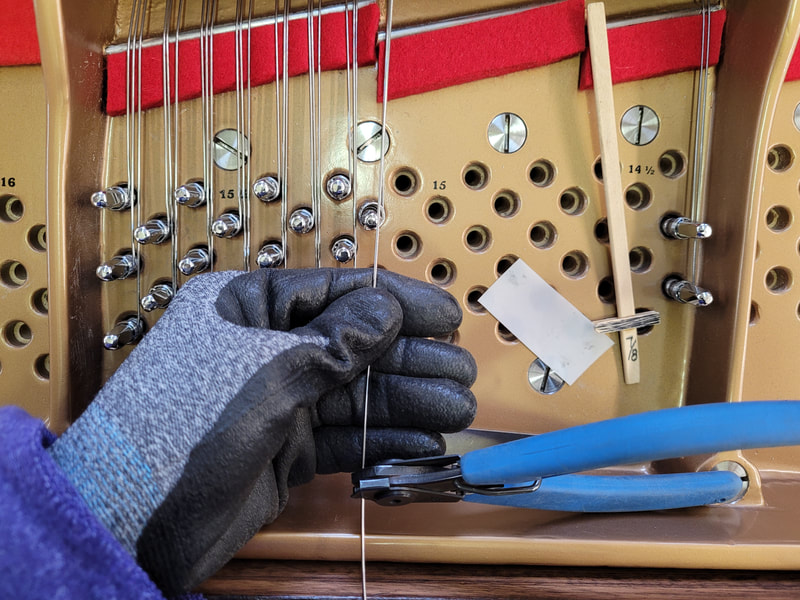
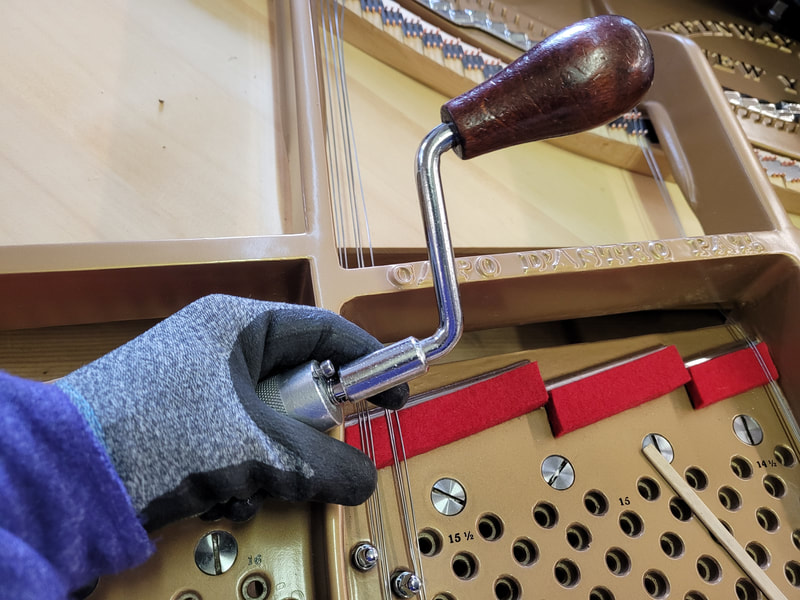
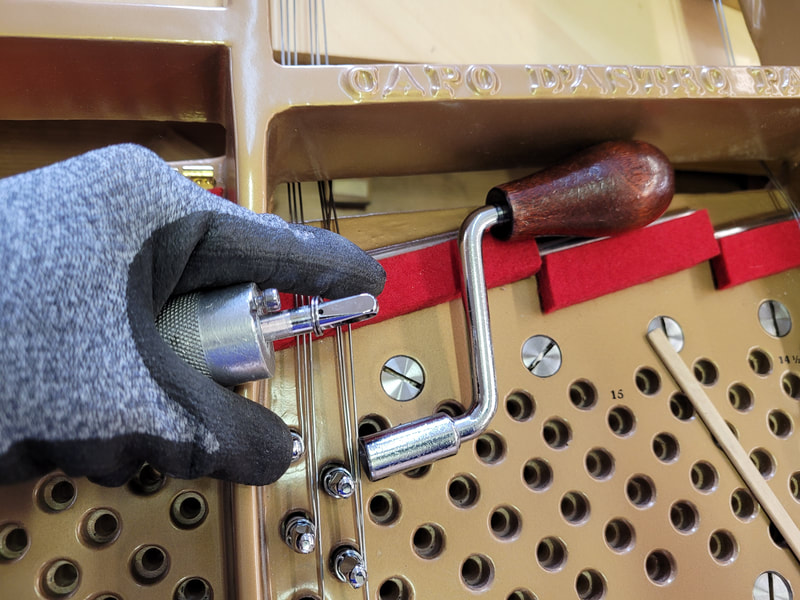
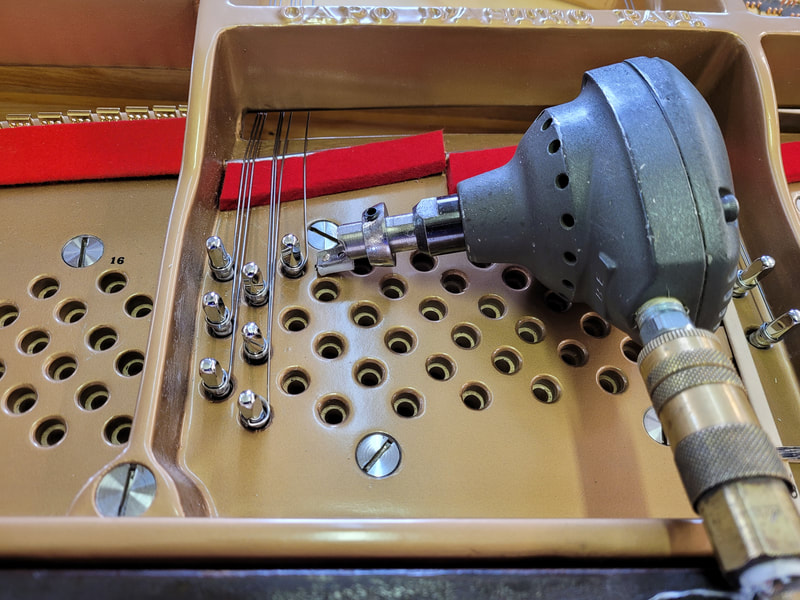
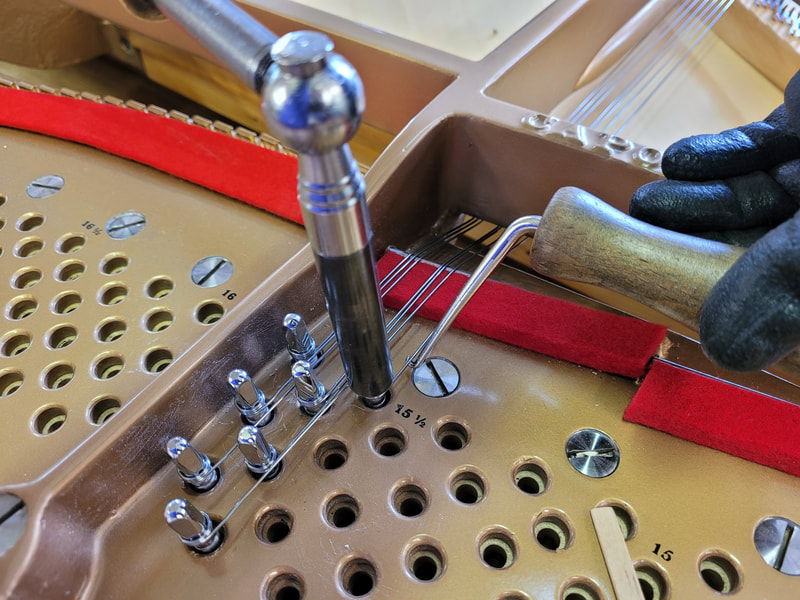
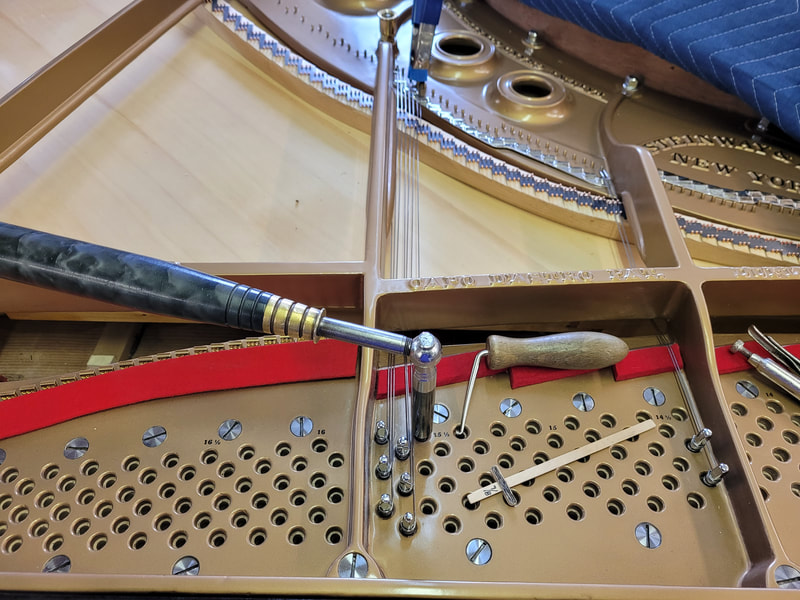
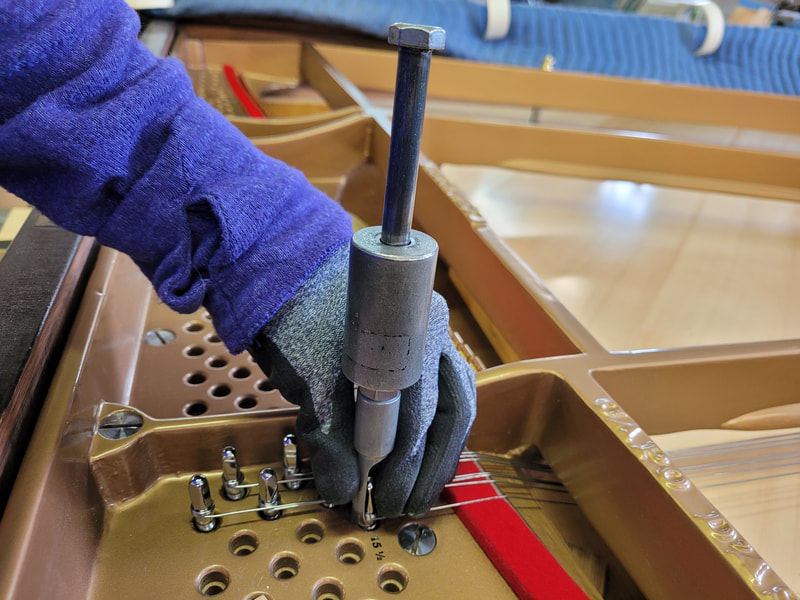
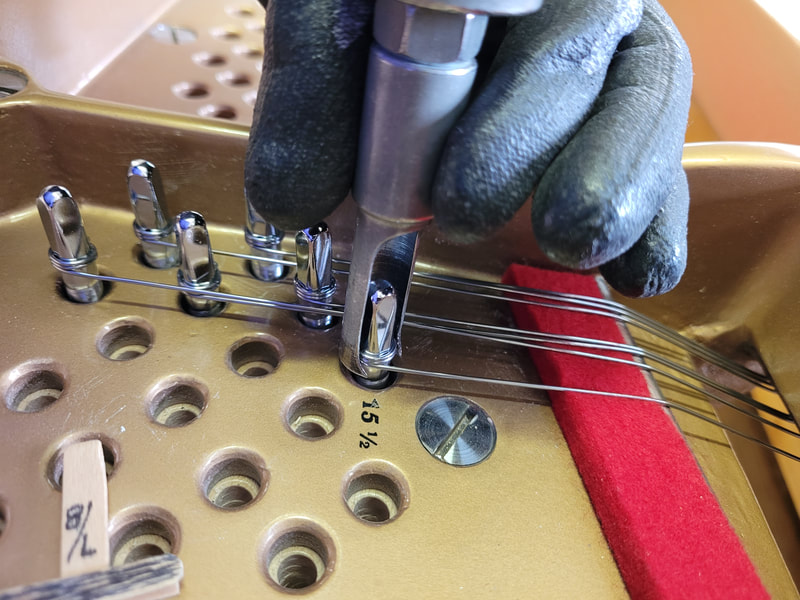
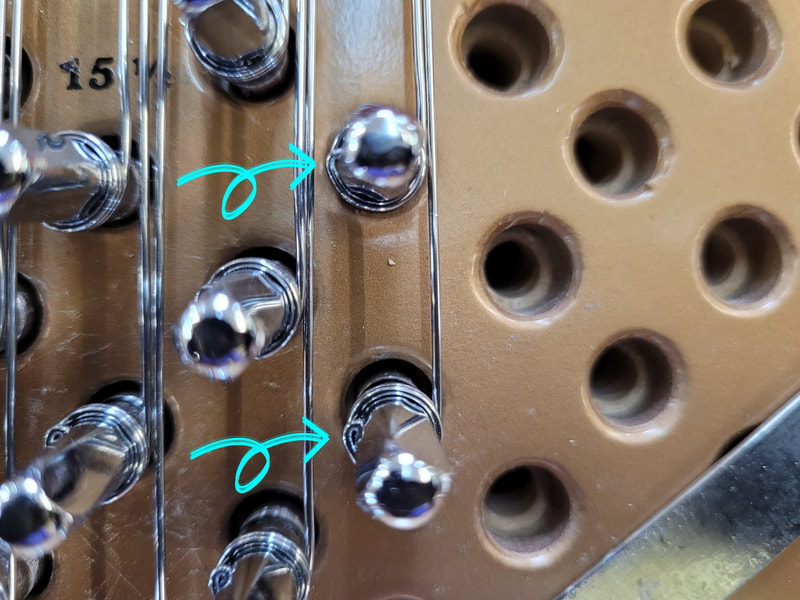
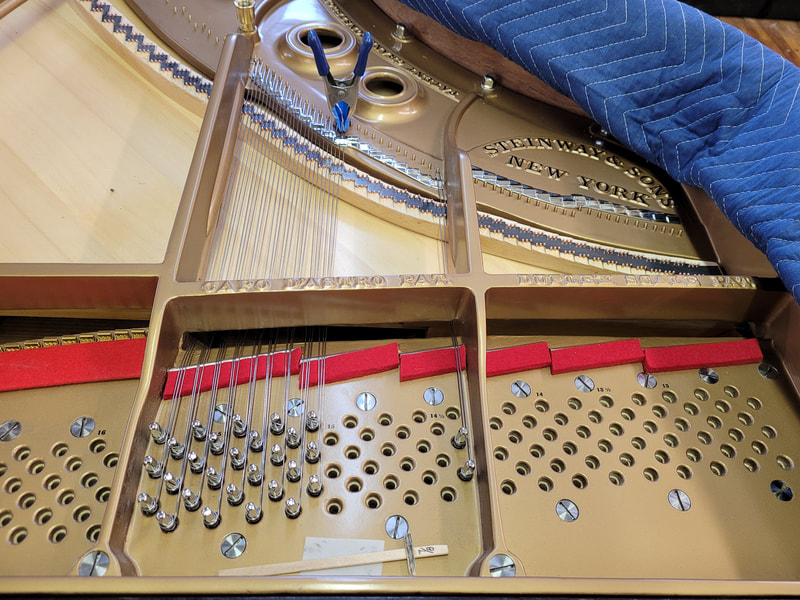
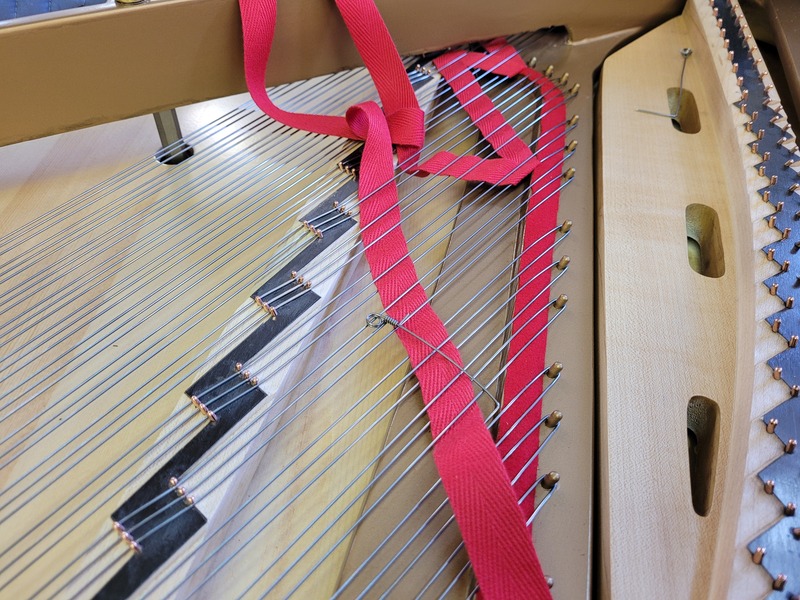
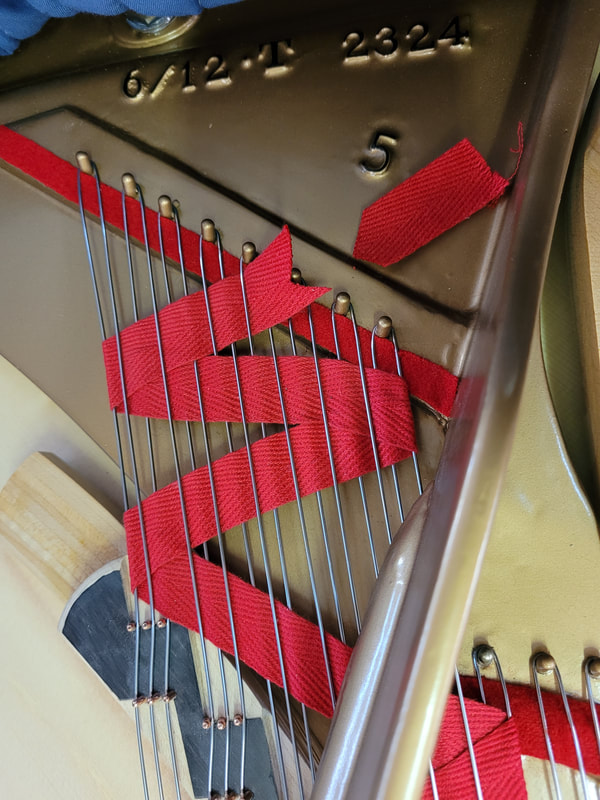
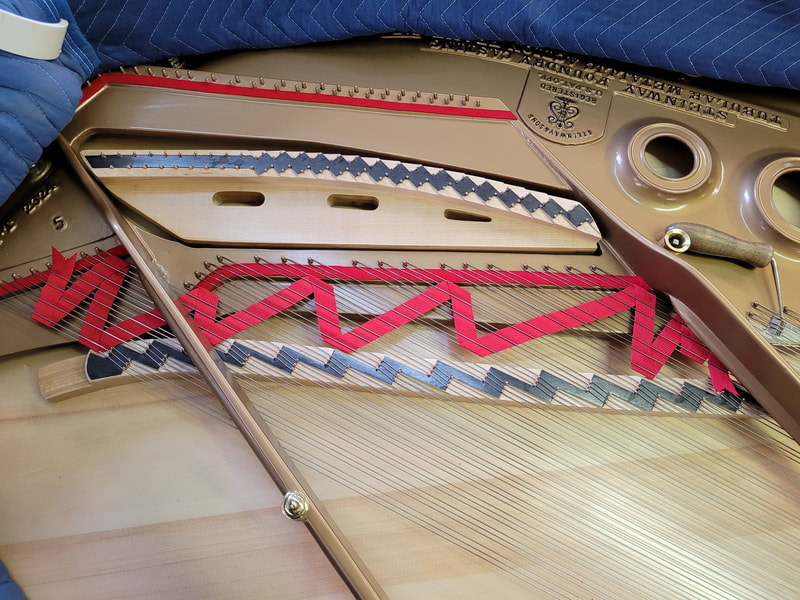
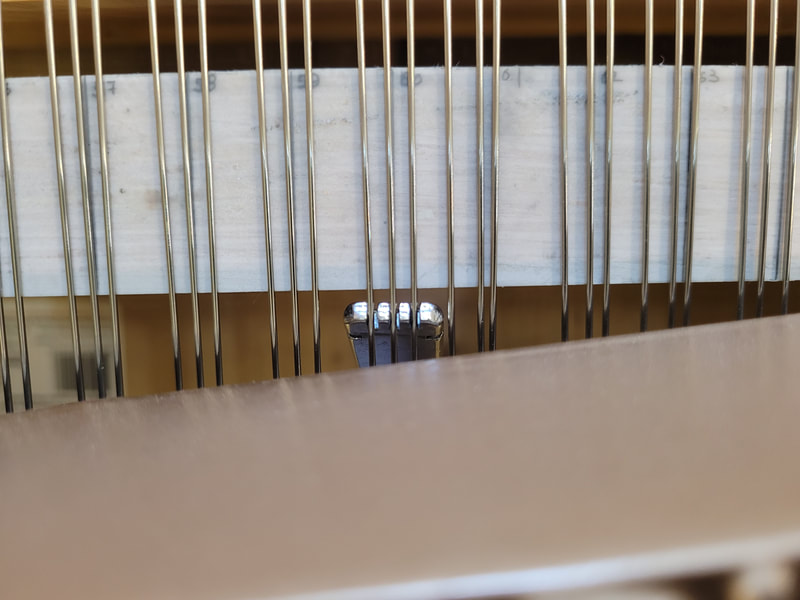
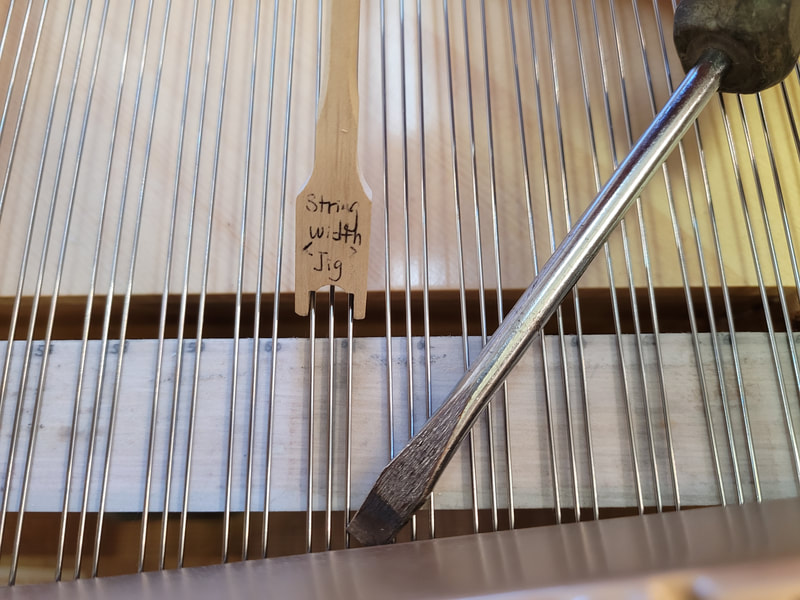
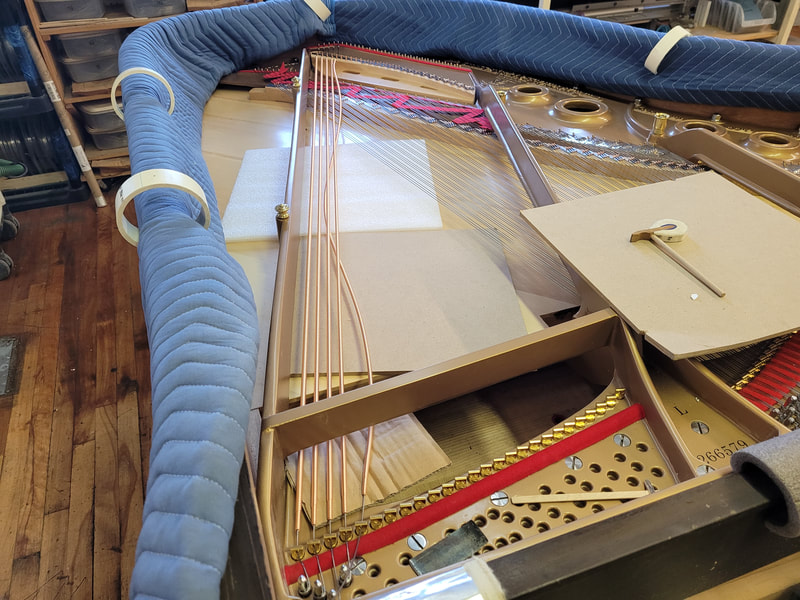
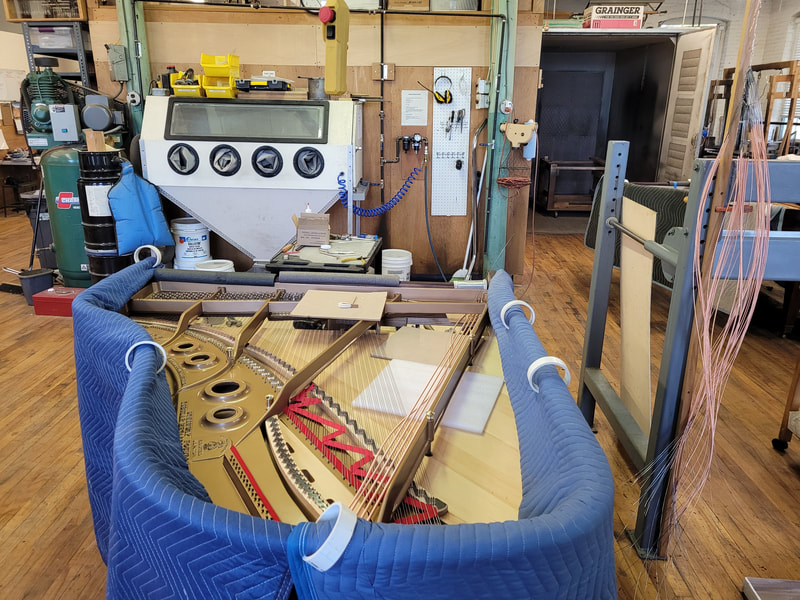
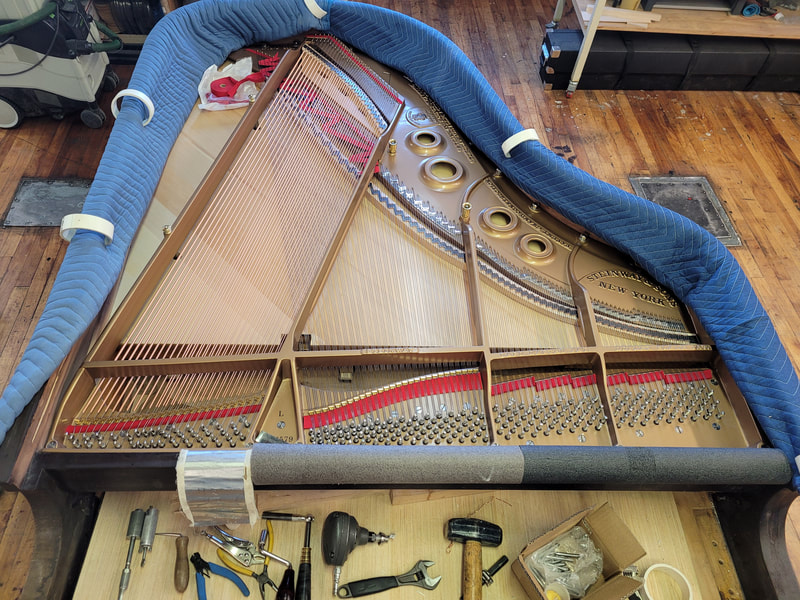
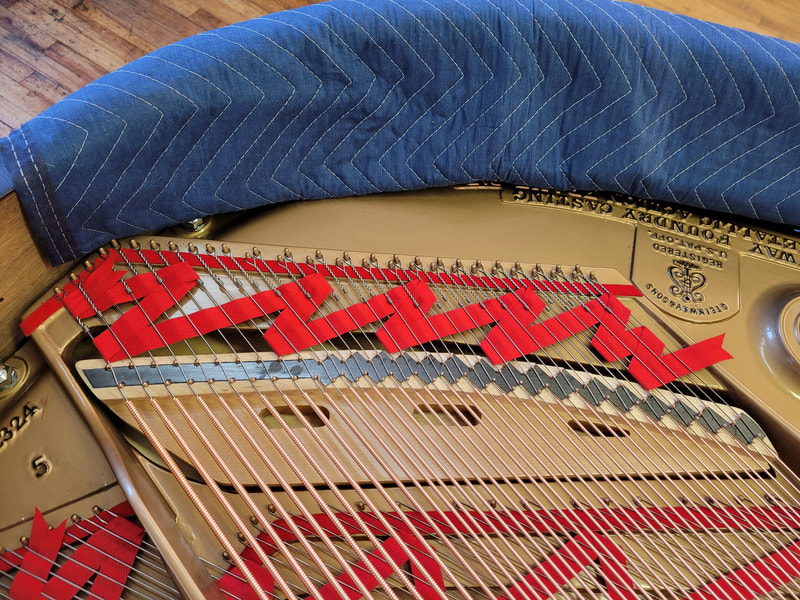
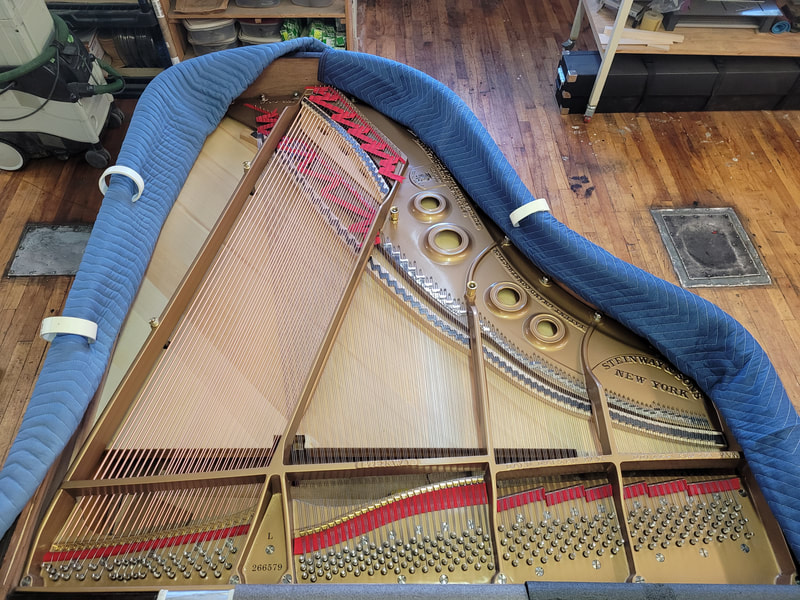
Lubricate areas where strings will go over, here shows front counter bearings lubed with ballistol. Cut and glue on felts for the strings also. Install nosebolts and place plate in piano. turn up nosebolts to just touching the plate, tighten all webbing screws and perimeter bolts. Align agraffes so they are perpendicular to the strings. One piece of wire makes a loop to make two strings. Cut string end to length. 4 fingers out of a small hand work well here. Make coils with coil maker or other tools. Pound down tuning pins with hammer or air pounder. After a loop is installed, lift strings and tighten them. Make sure coils are tight, no gap between coil loops. If possible, tighten coils with coil tightener, squeeze beckets tight also. In order that the strings stay put, secure them with a clamp at hitch pins. On each end of a loop, beckets shall face the same or similar direction. But this is only cosmetic. We are slowly making progress. Wave string braces on the back scale of tenor strings to reduce noise or over tone. On treble side where there is no agraffe, use scale copied from action as string spacing reference, secure spacer on each note/group of 3 strings, tap with hammer till center string is sitting on mark on the scale. Refine spacing with note width gage and a not-sharp-at-all screw driver to make sure each note is at the same width. Install base strings, one at a time. Protect soundboard with anything on hand. Install bass string braces then take a long break before chipping piano to pitch, tighten coils and beckets, even out tuning pin height, and so on.
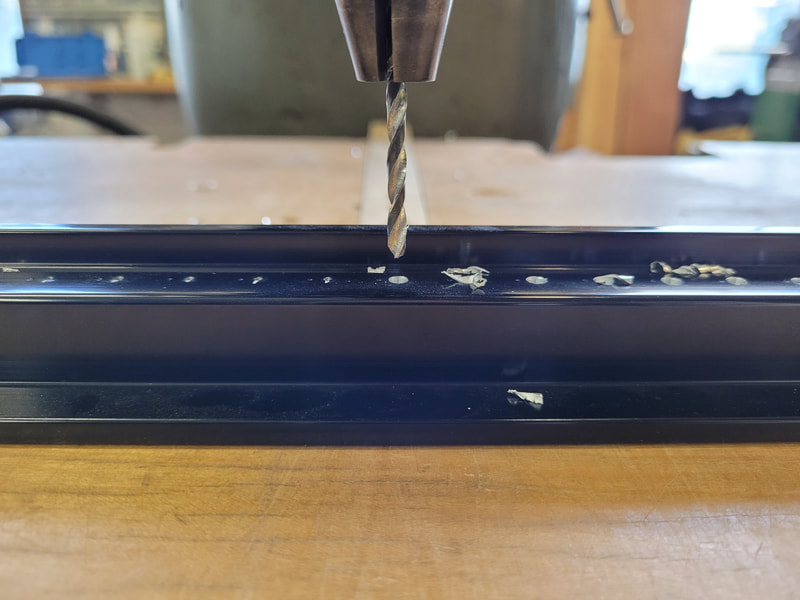
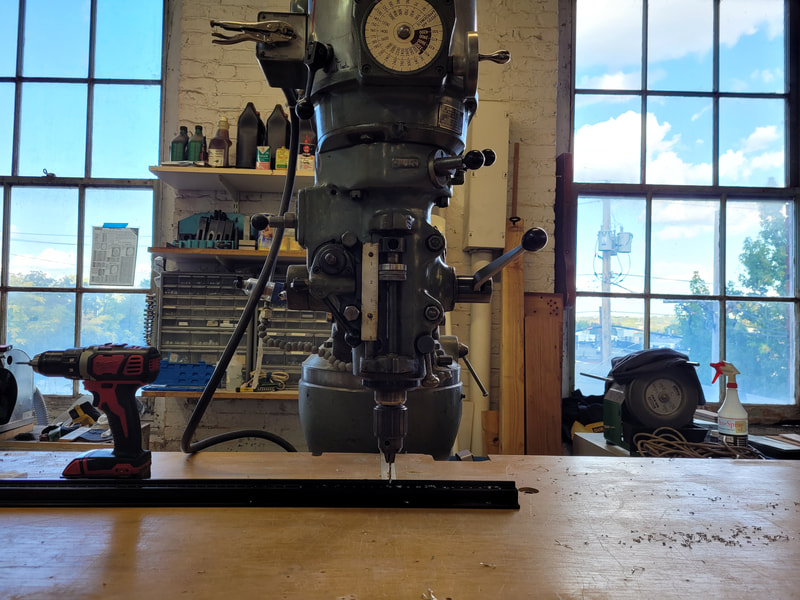
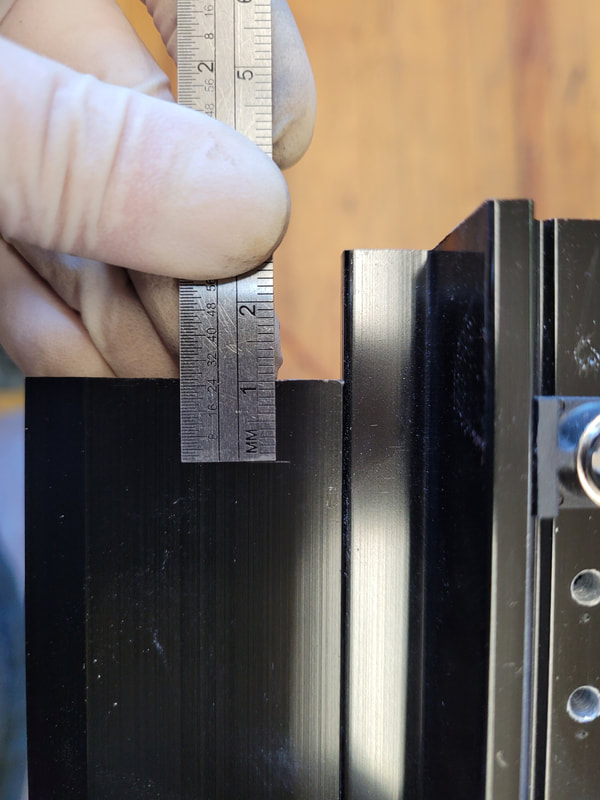
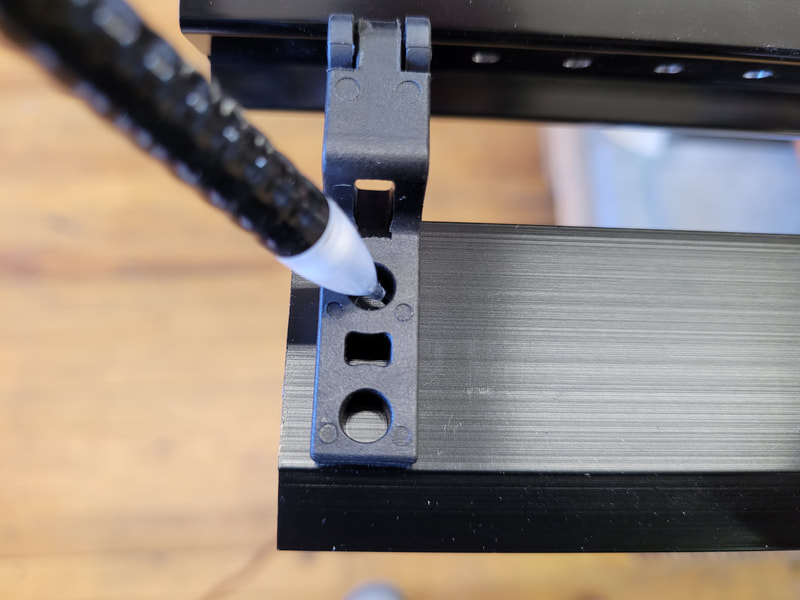
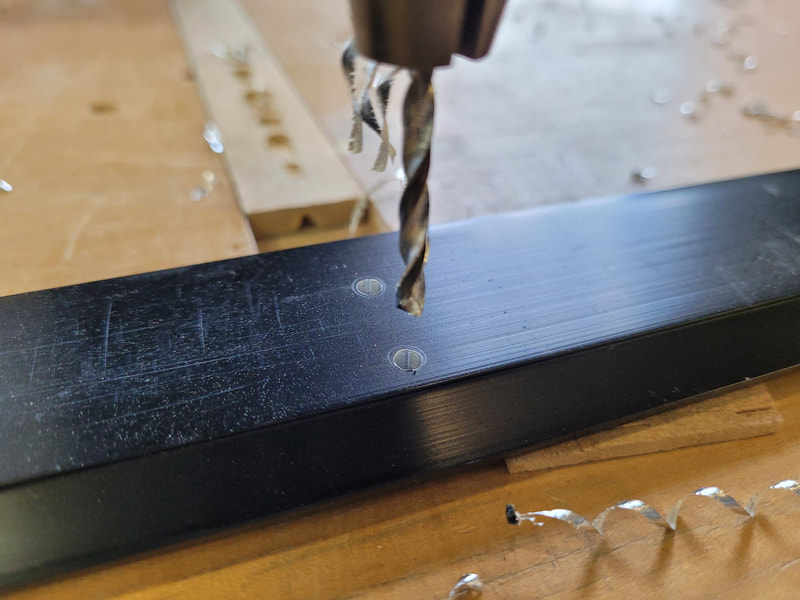
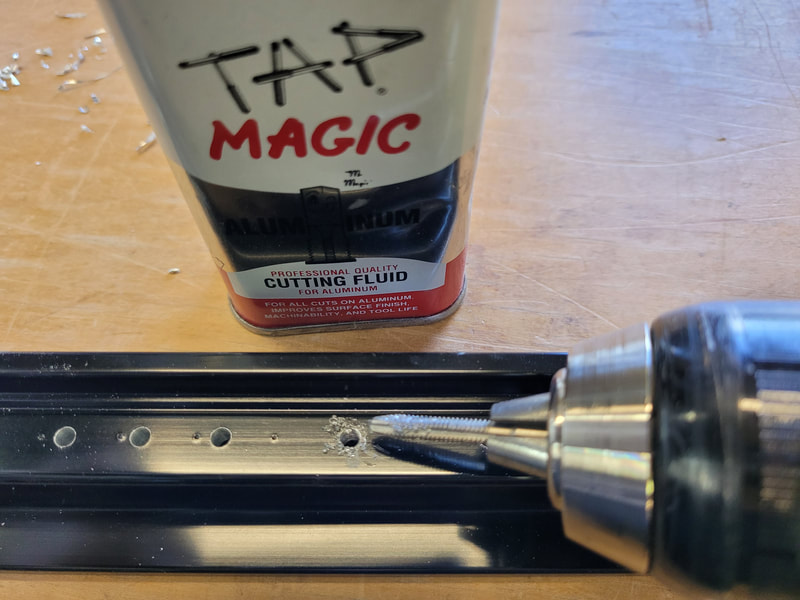
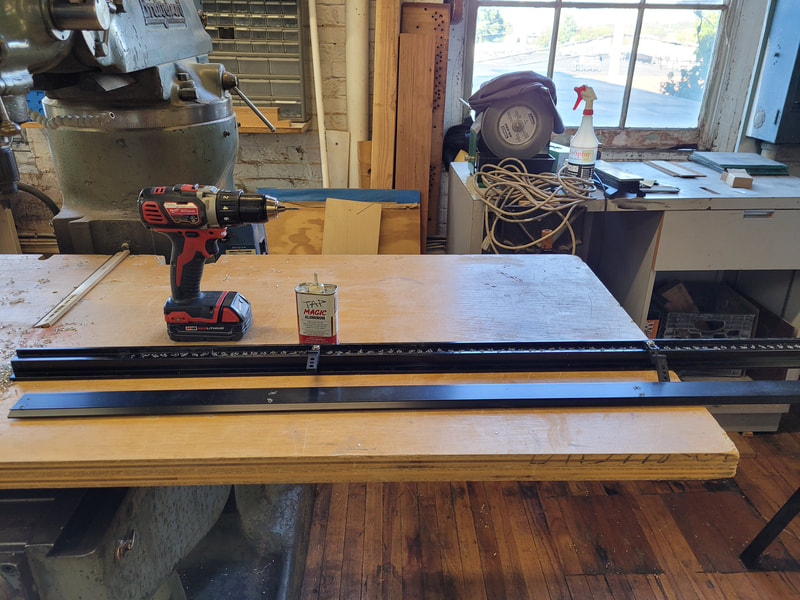
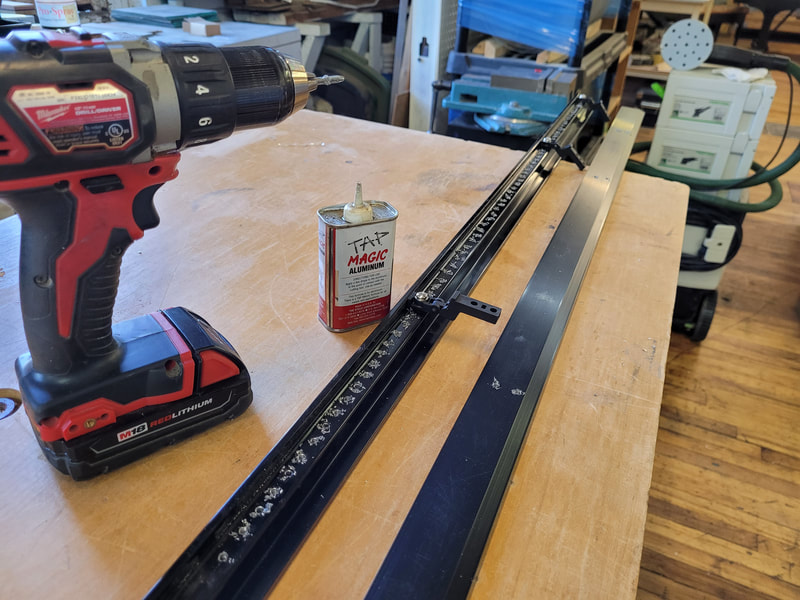
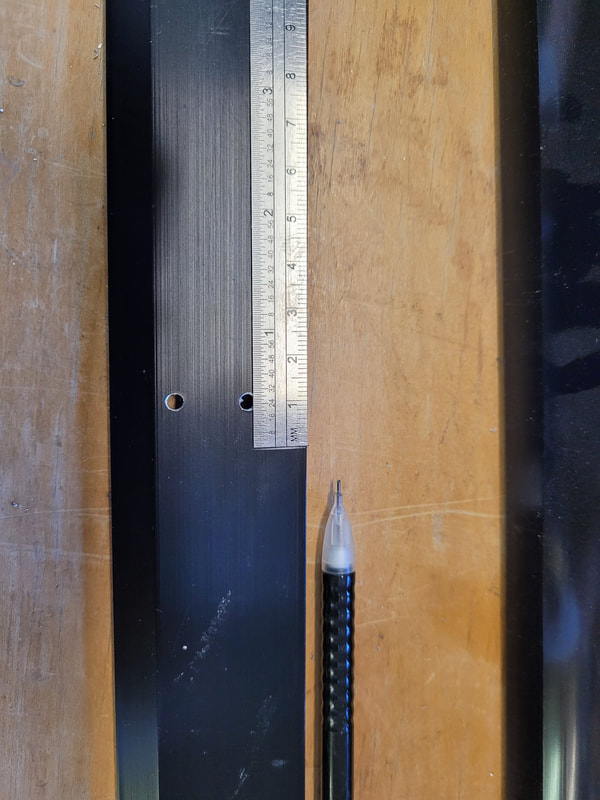
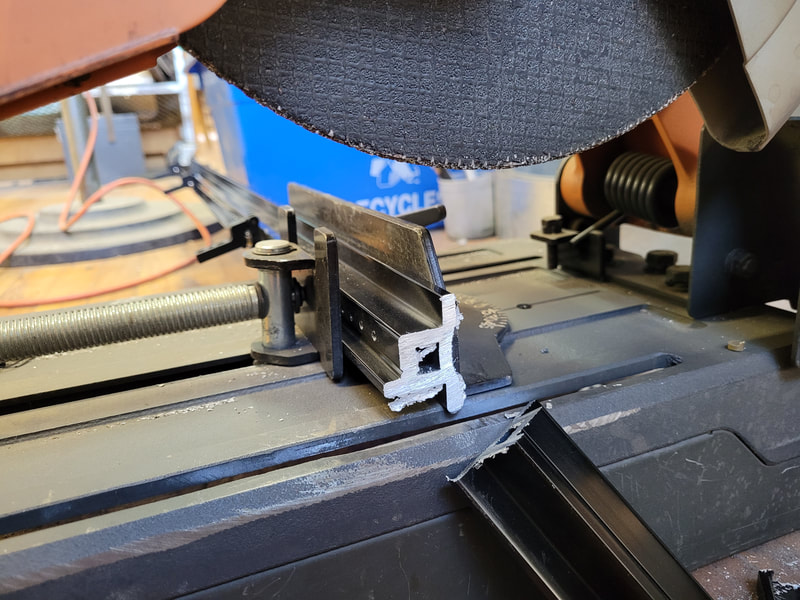
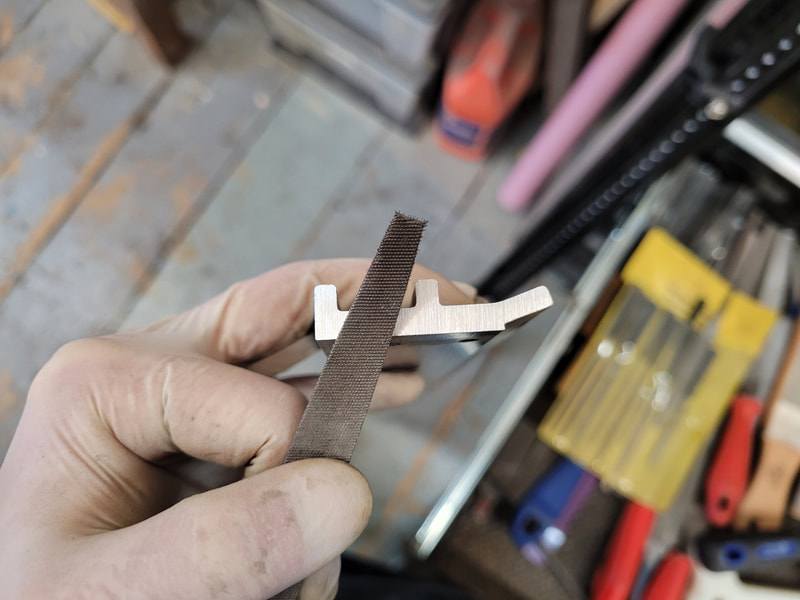
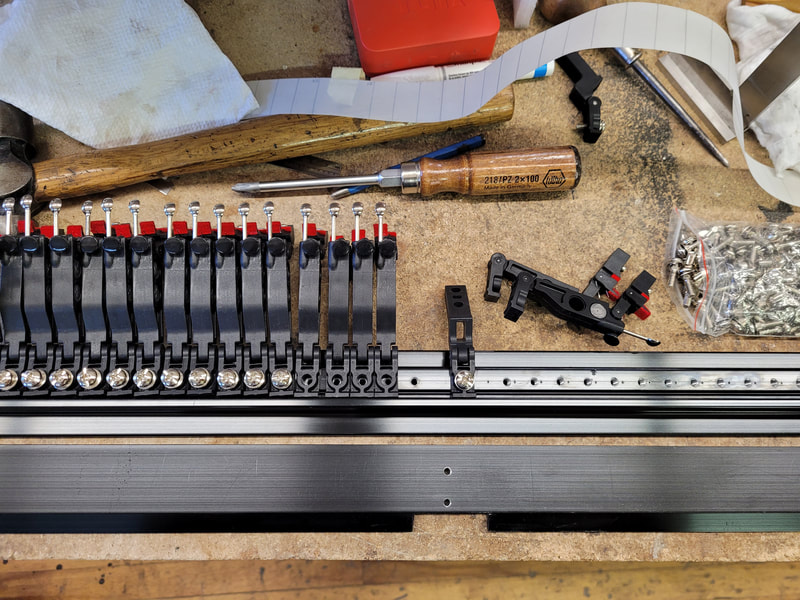
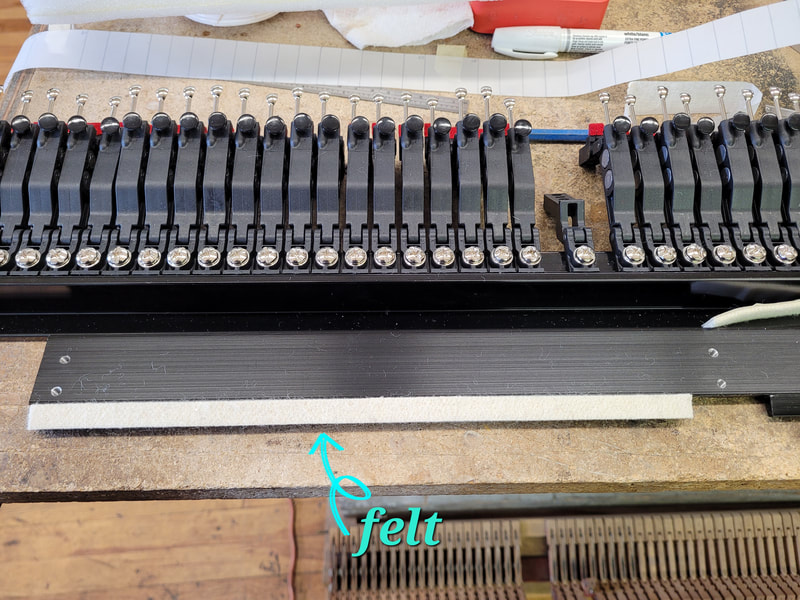
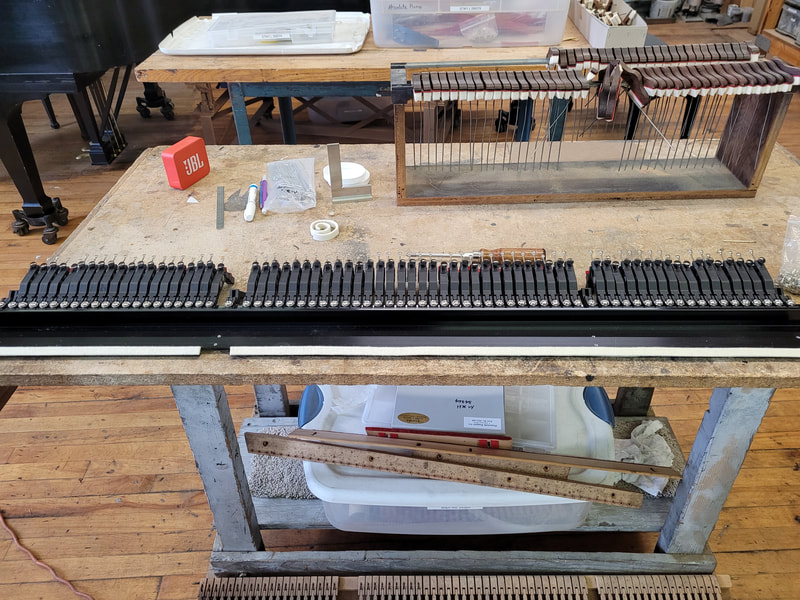
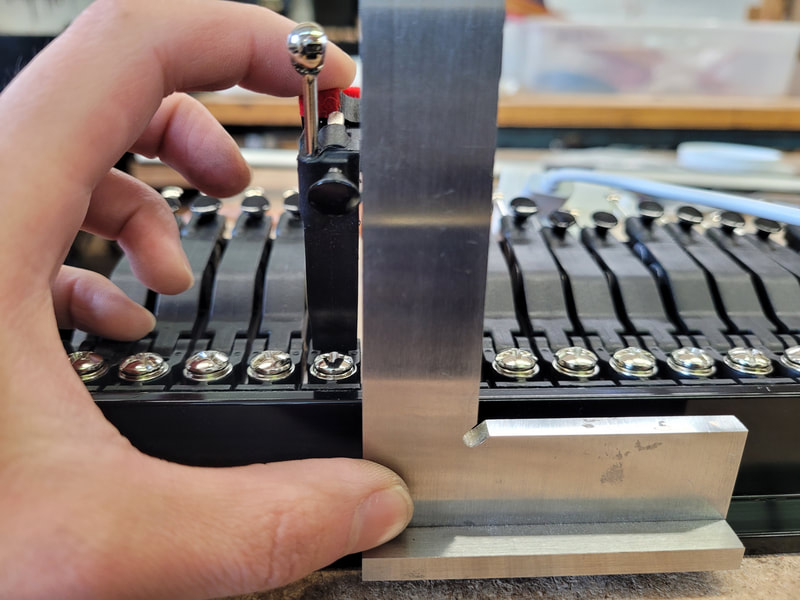
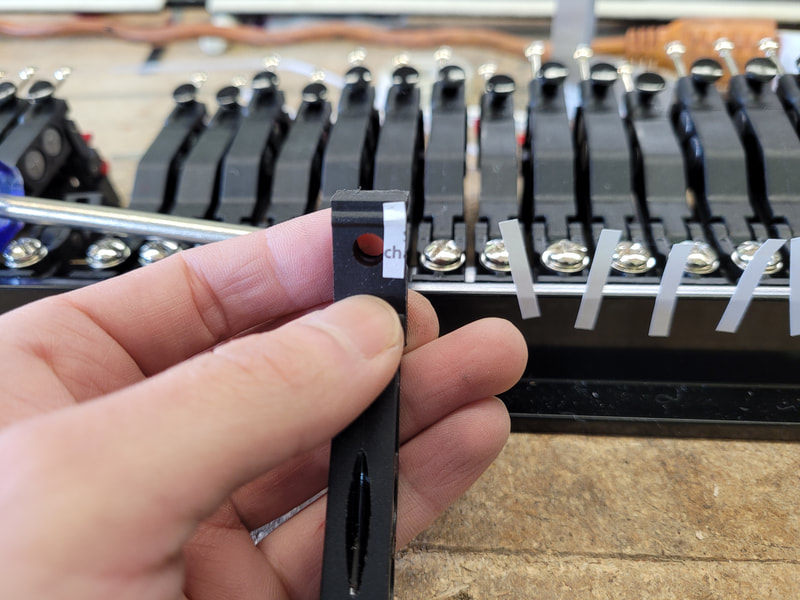
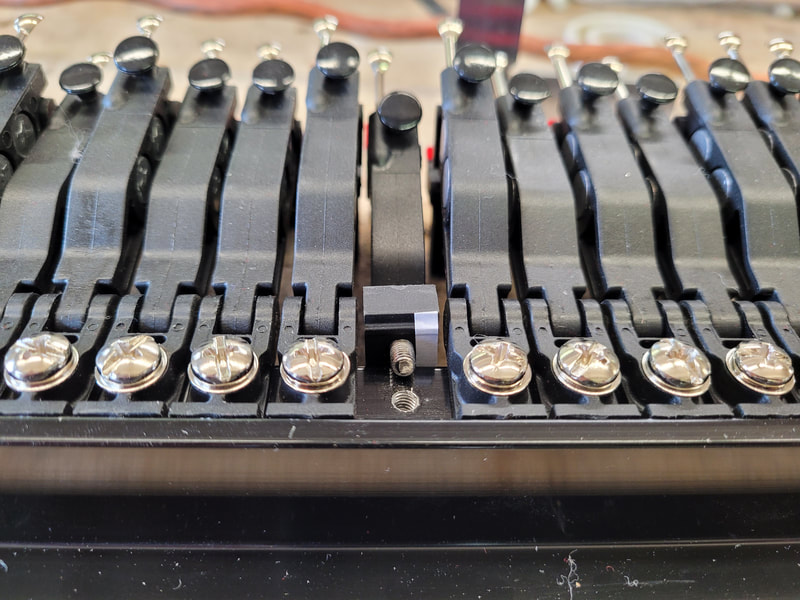
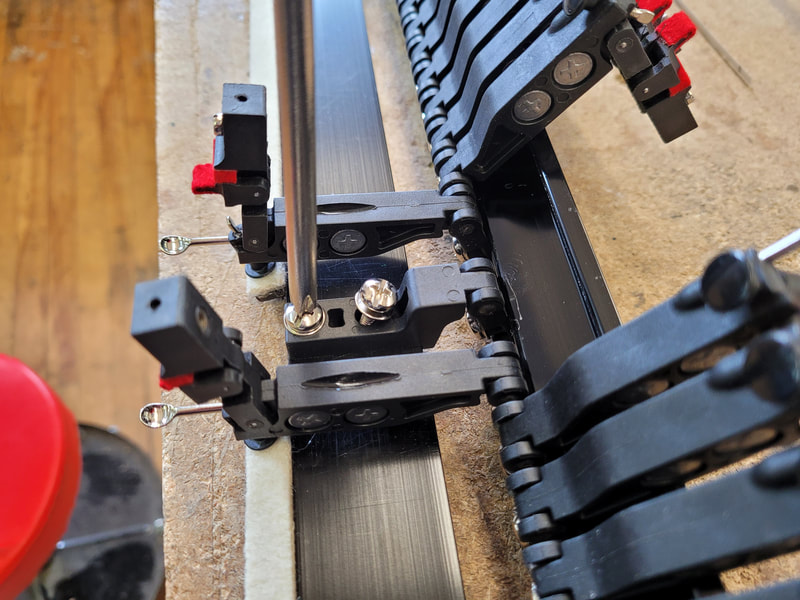
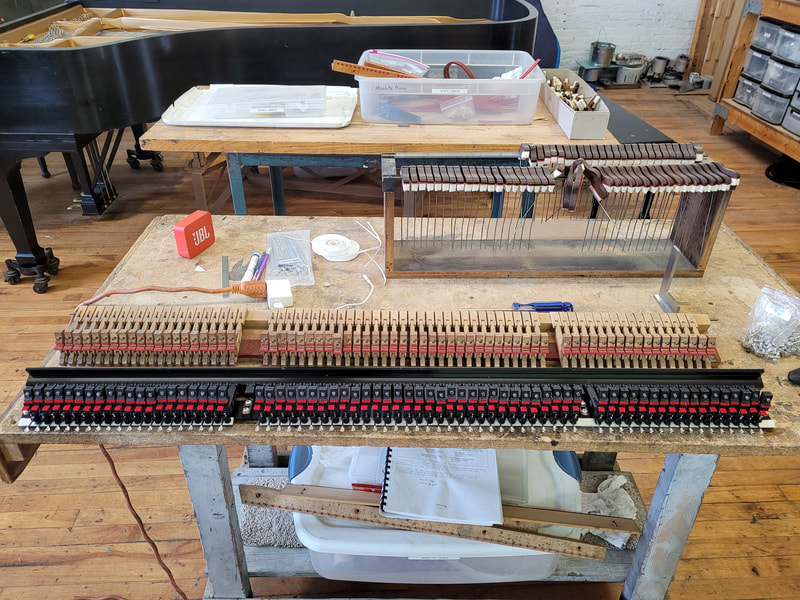
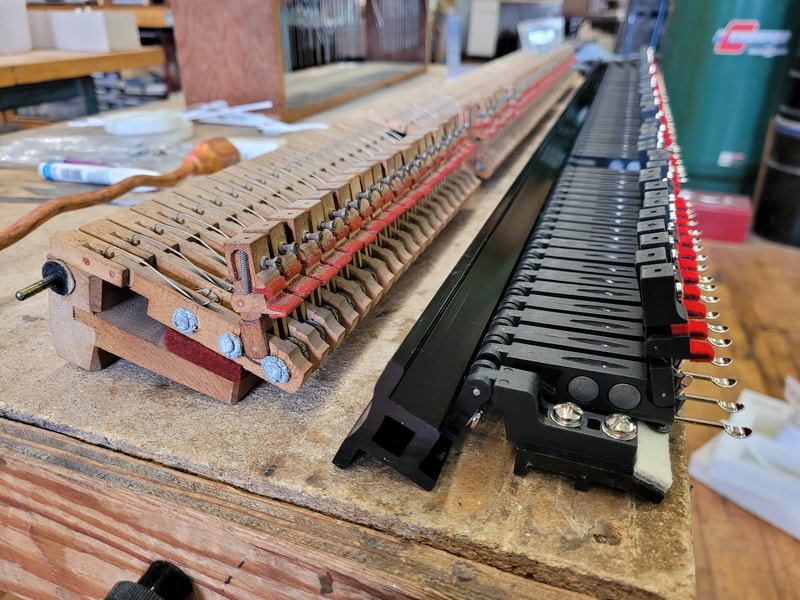
WNG backaction is made of aluminum. We made a scale stick according to top action. Transfer the marks/spacing to backaction rail, then drill open with 3.3mm drill bit. Tap for damper tray flanges with M4.7 thread tap, install flanges. On damper tray, mark 10mm from bass edge, then mark where flange screws will be. Drill with 3.3mm bit. Tap all drilled screw holes with M4.7 thread tap. Apply tapping fluid for every 3 to 4 holes, without fluid, it will be very hard to tap and bit can break. Mark where the tray ends, cut with metal cutter, clean cut surface with file. Install damper posts and damper tray felt. Use a square, check if under levers are square. If not, remove under lever, shim under screw surface, screw back, and double check. Install damper tray. Note that a slot to clear sostenuto monkey was cut off on damper tray. Old and new backaction comparison. At least we don't have those swelled leads anymore.
|
Archives
May 2024
|
