|
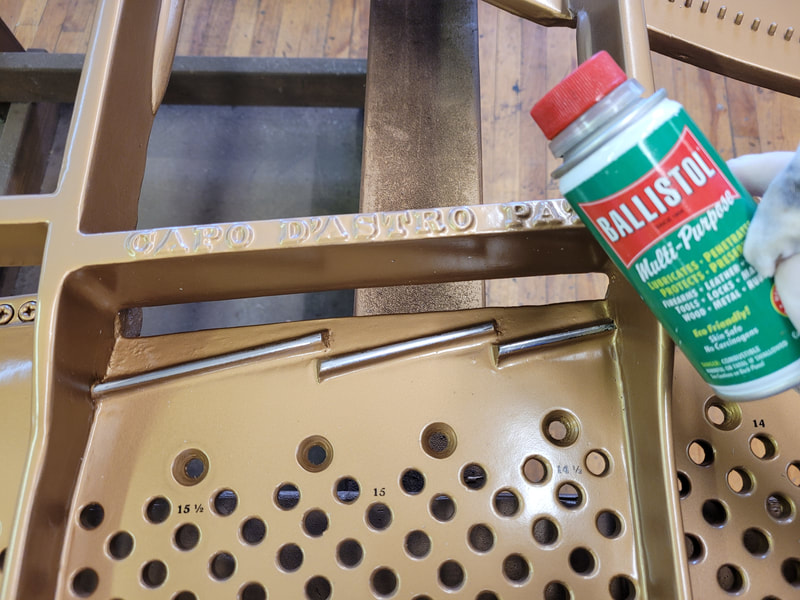
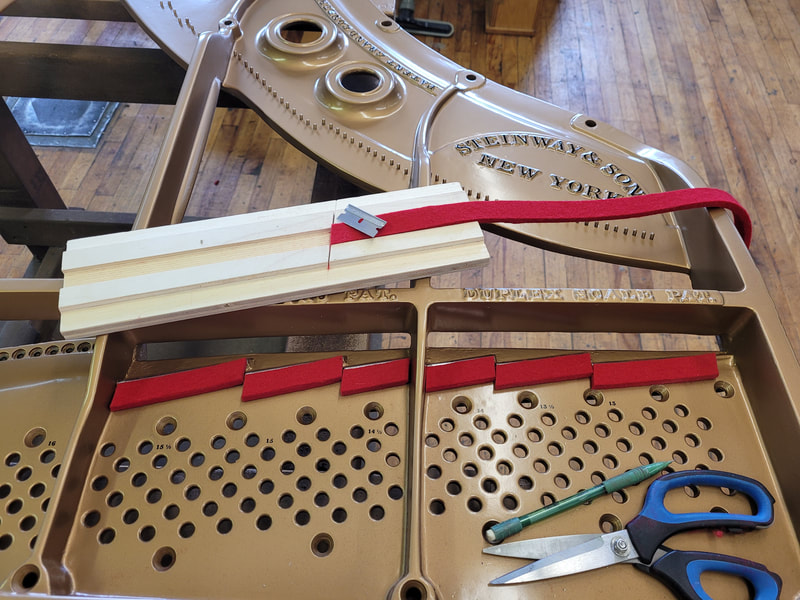
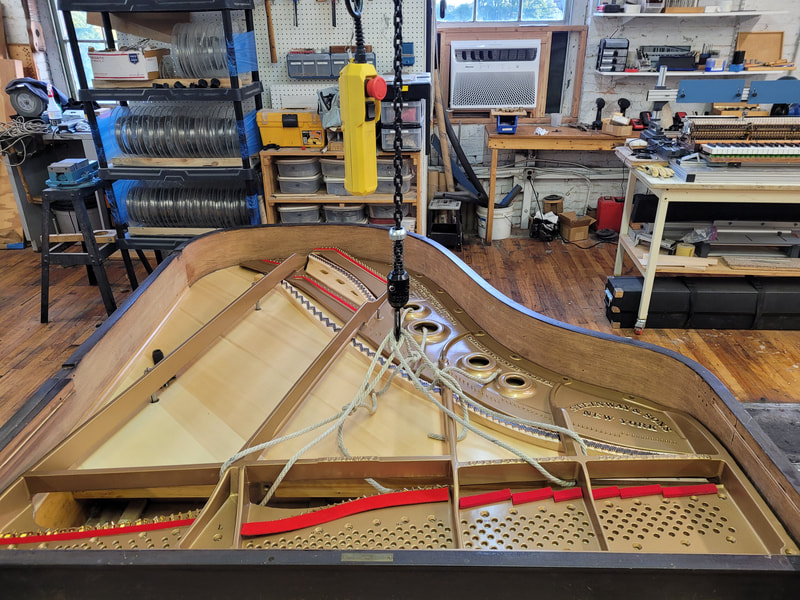
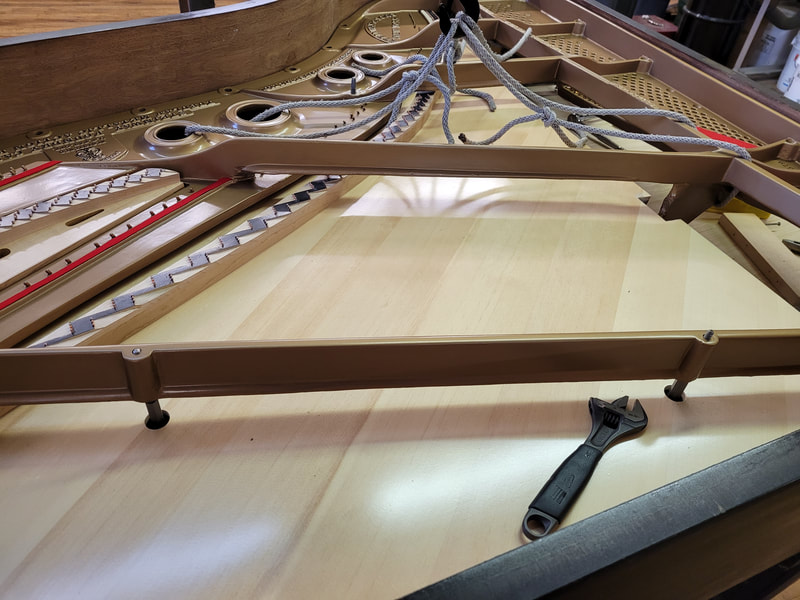
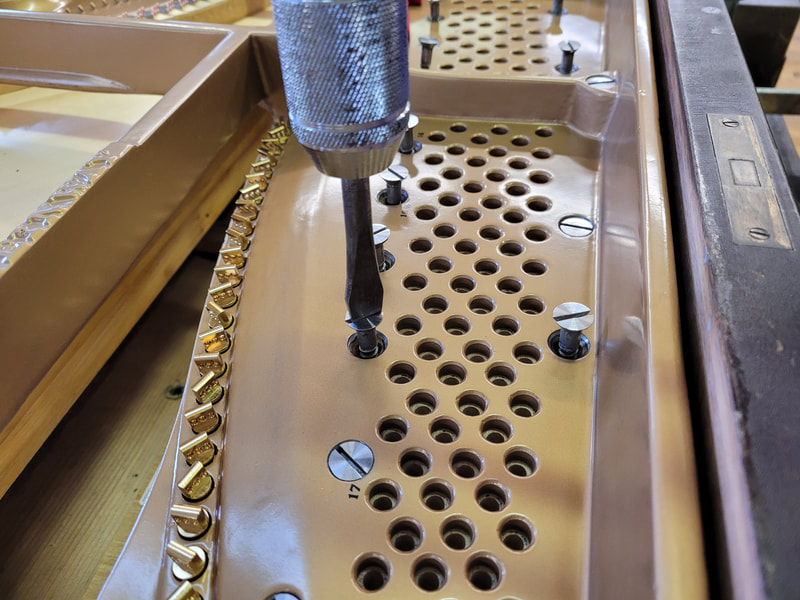
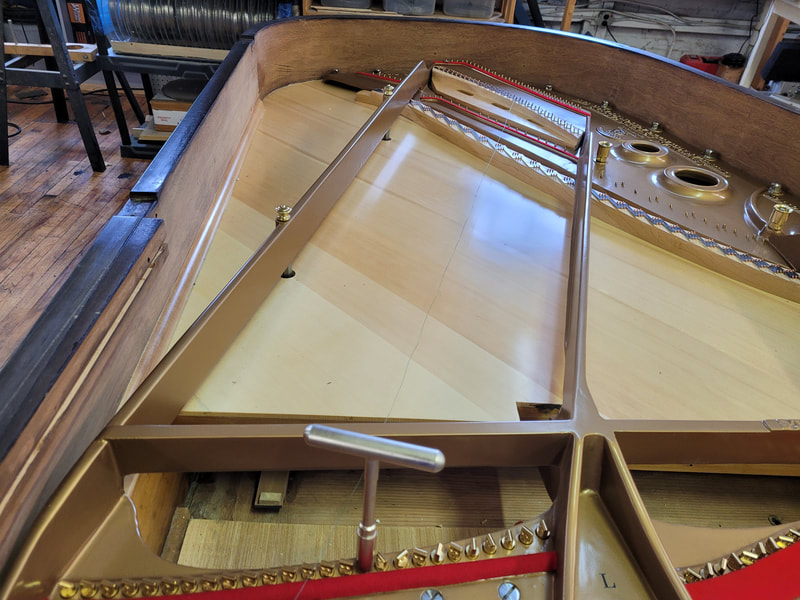
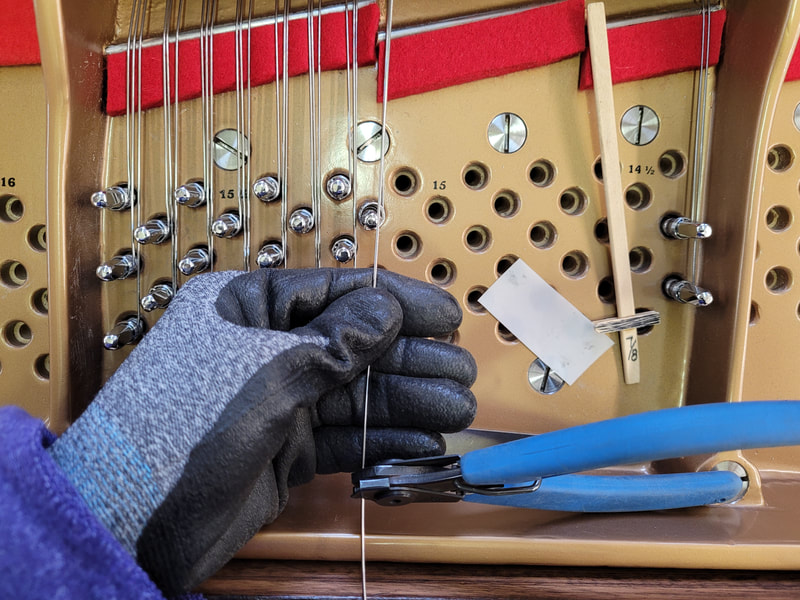
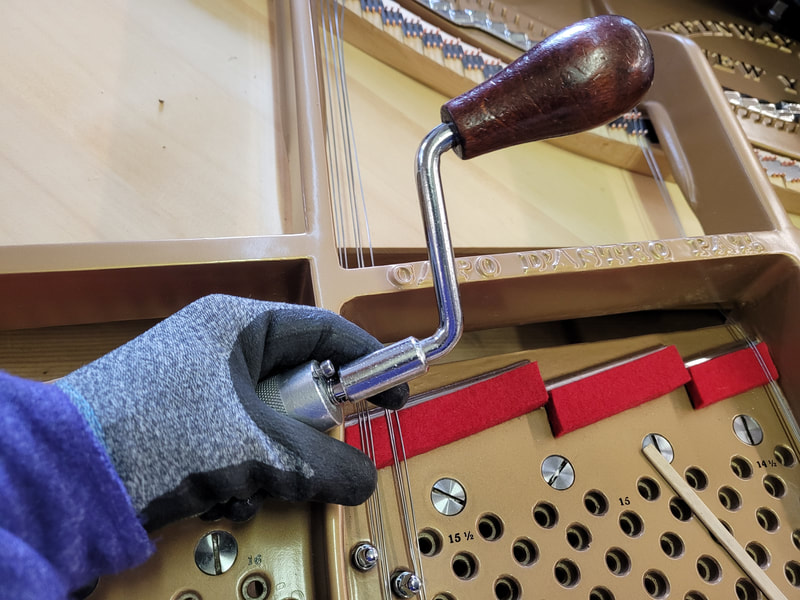
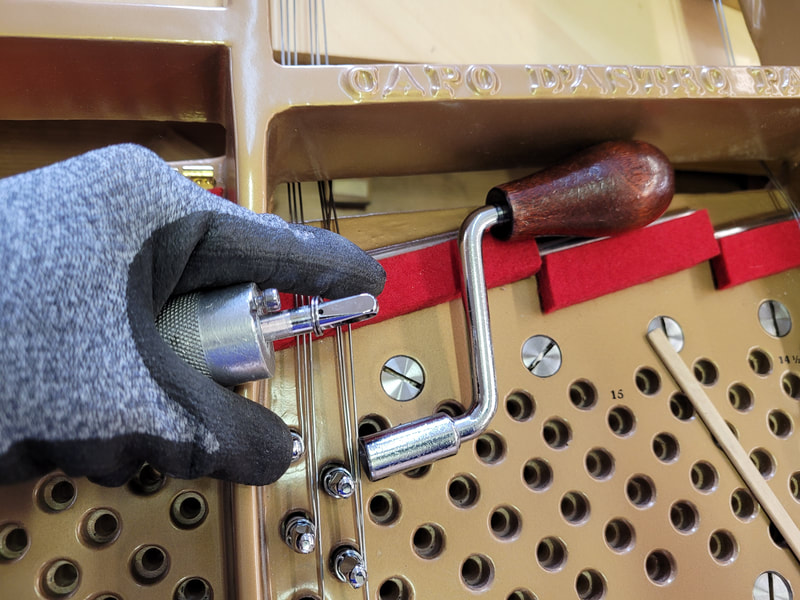
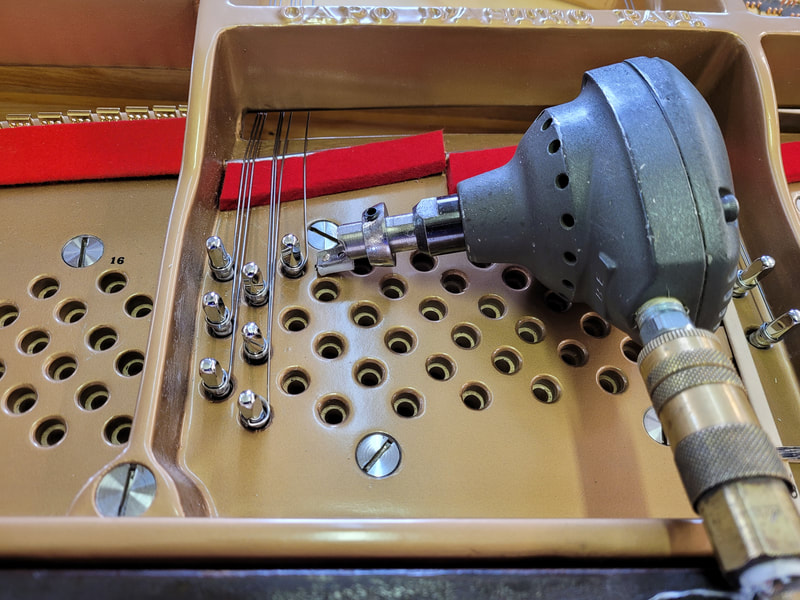
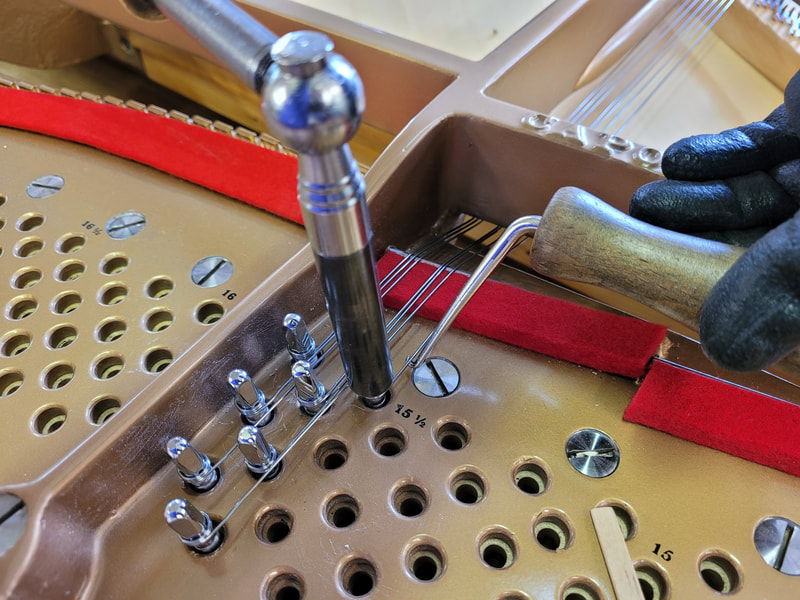
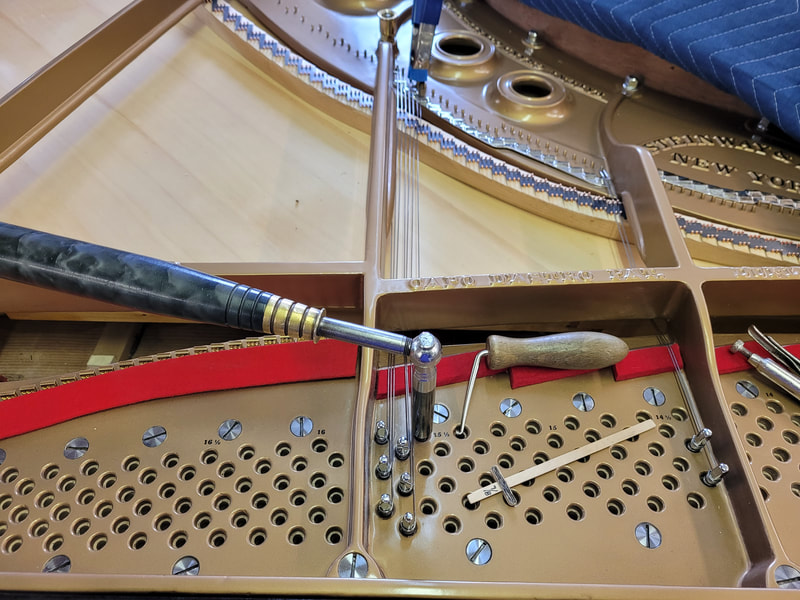
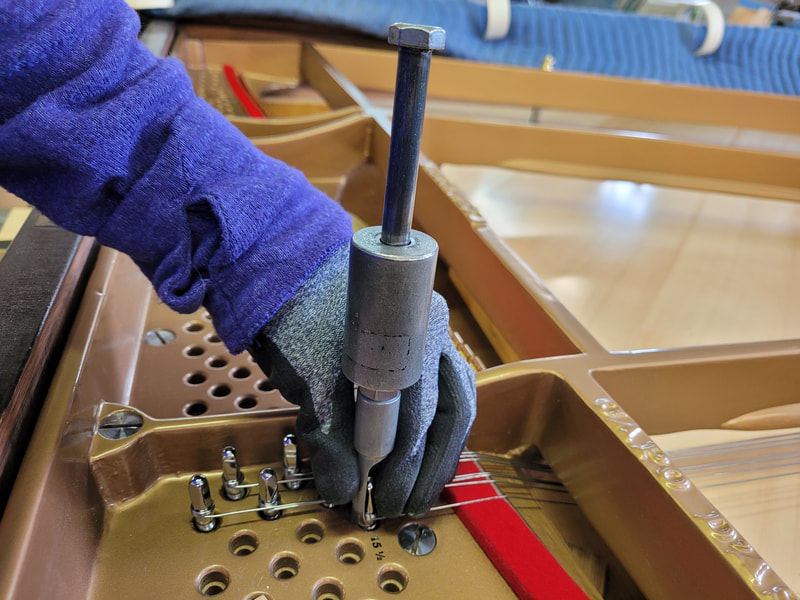
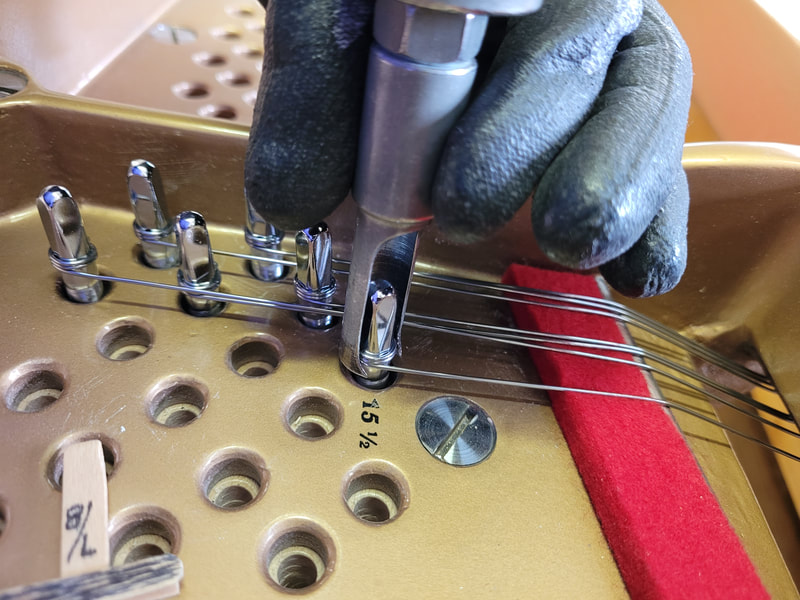
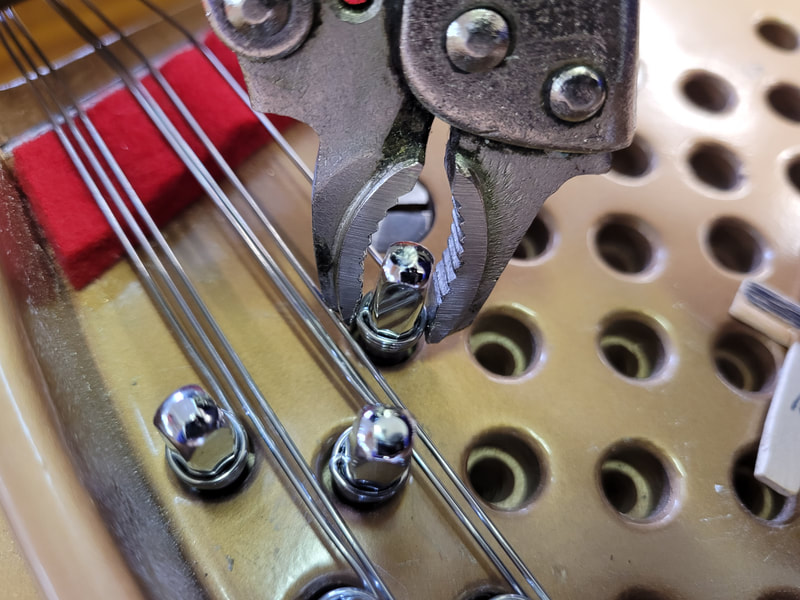
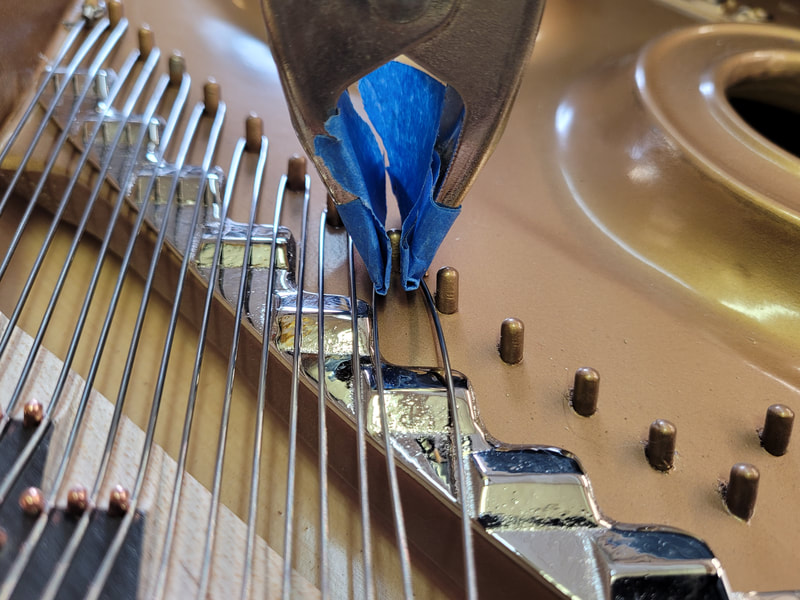
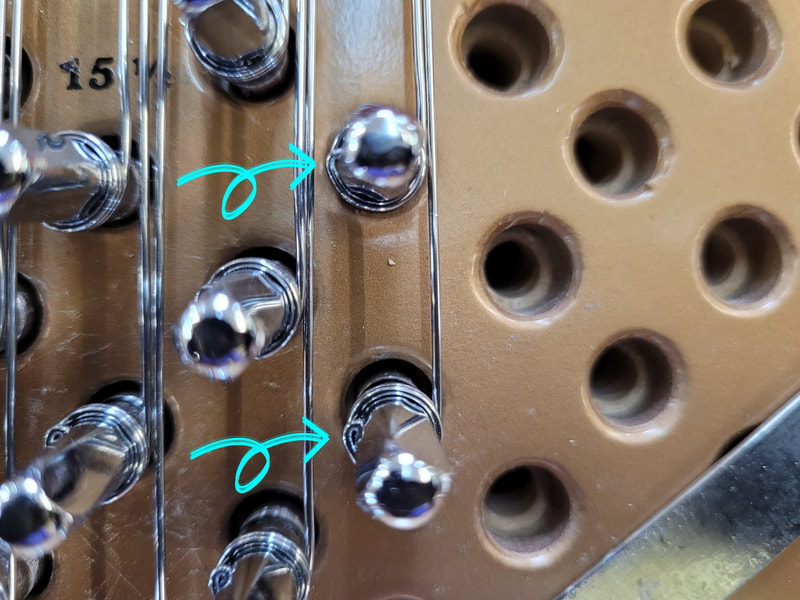
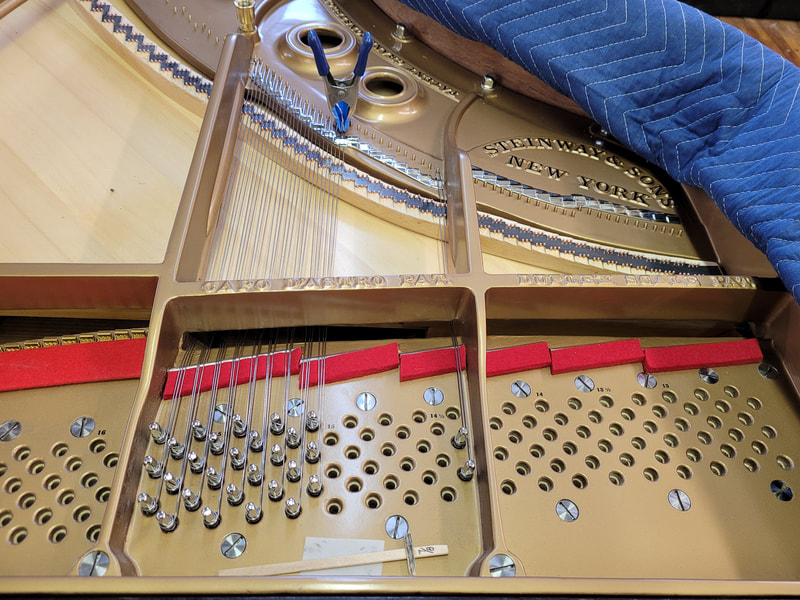
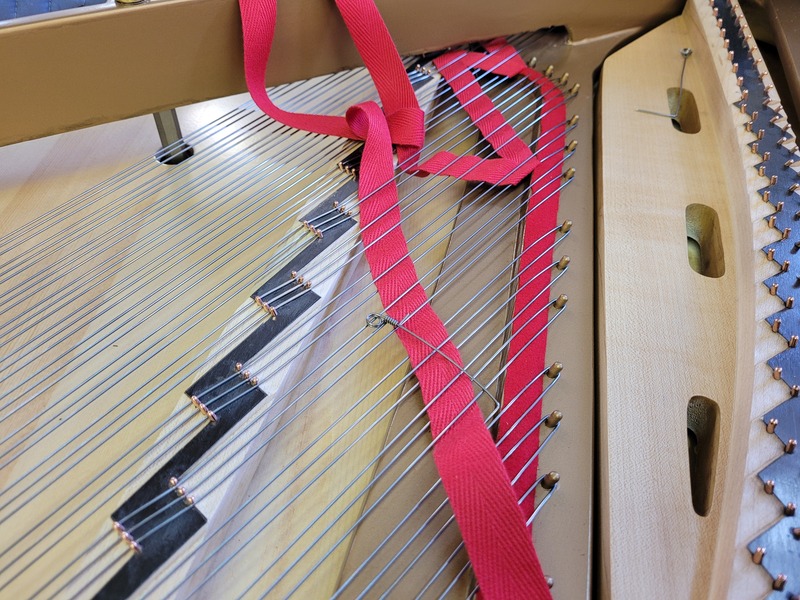
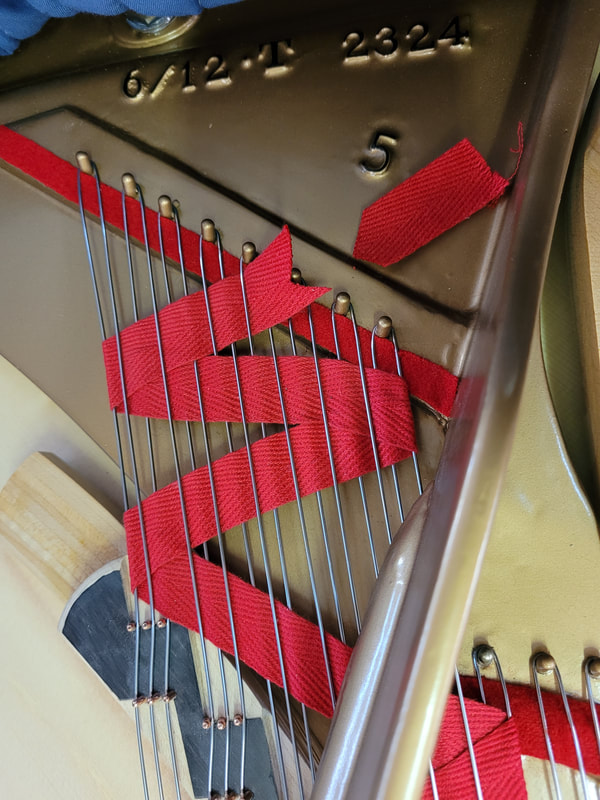
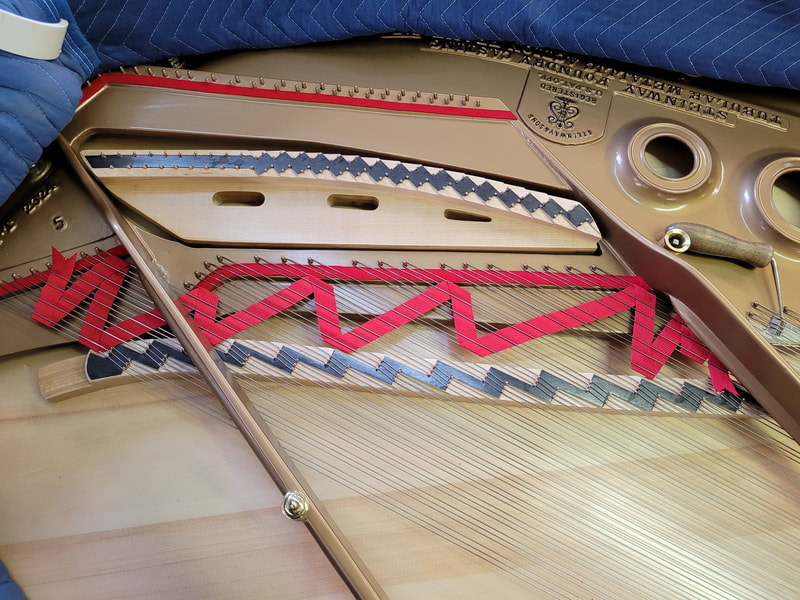
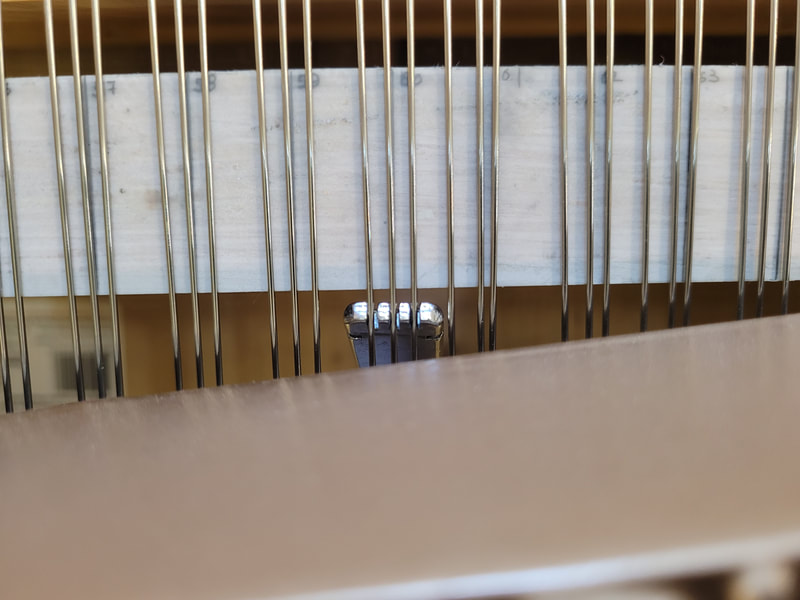
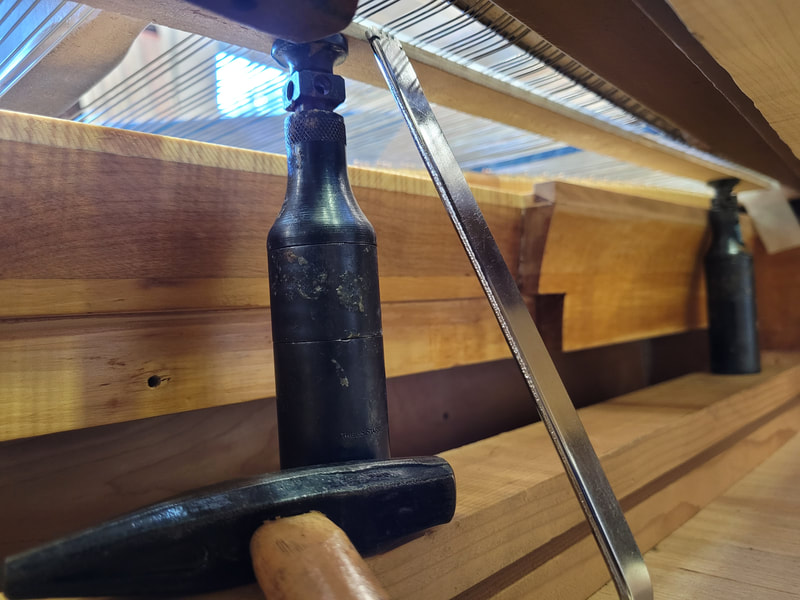
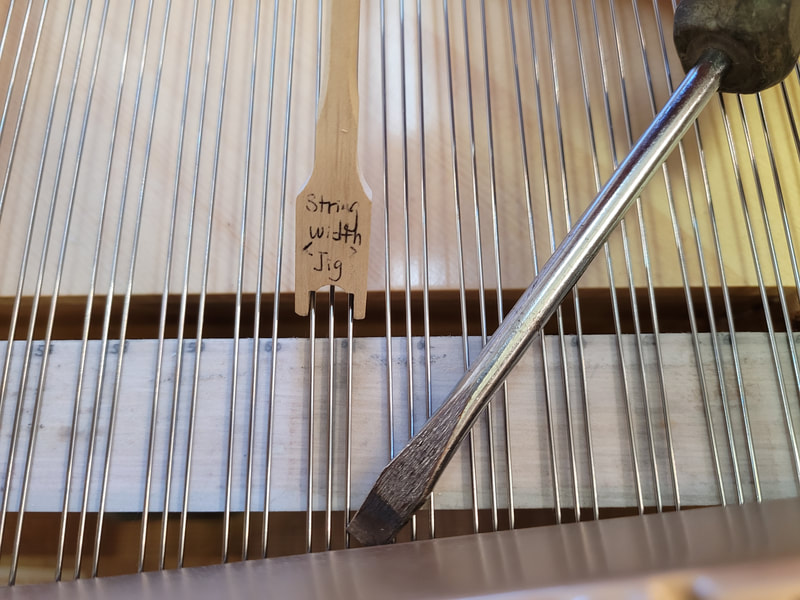
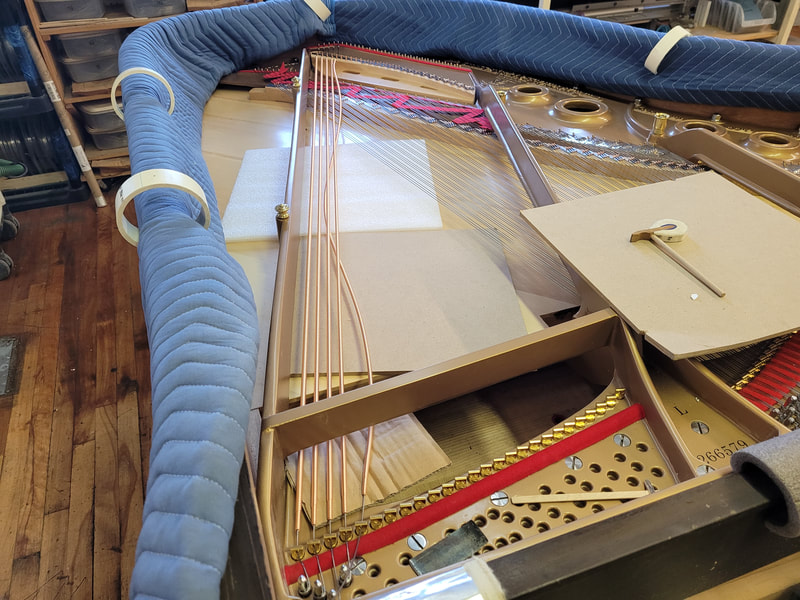
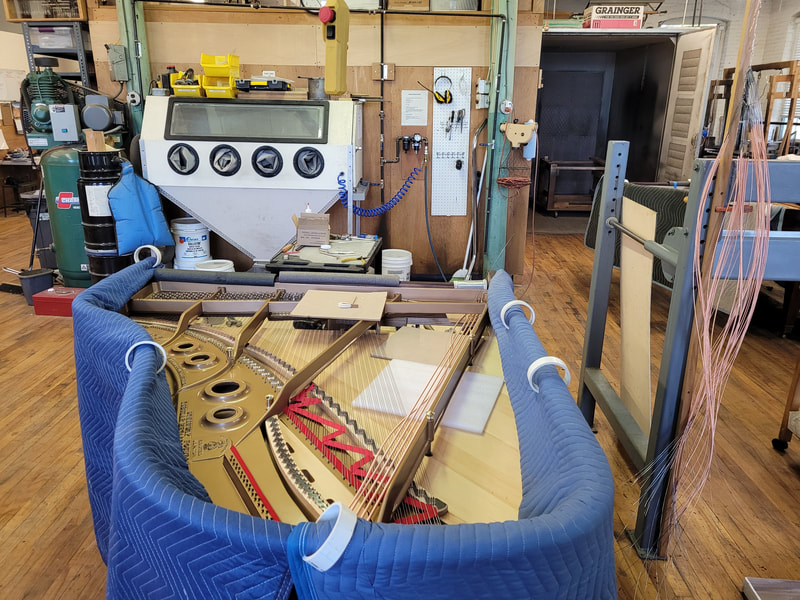
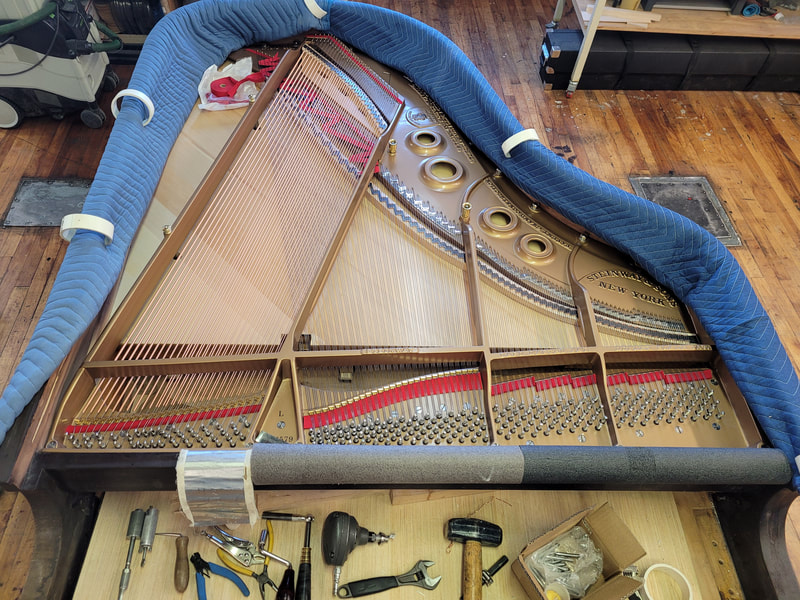
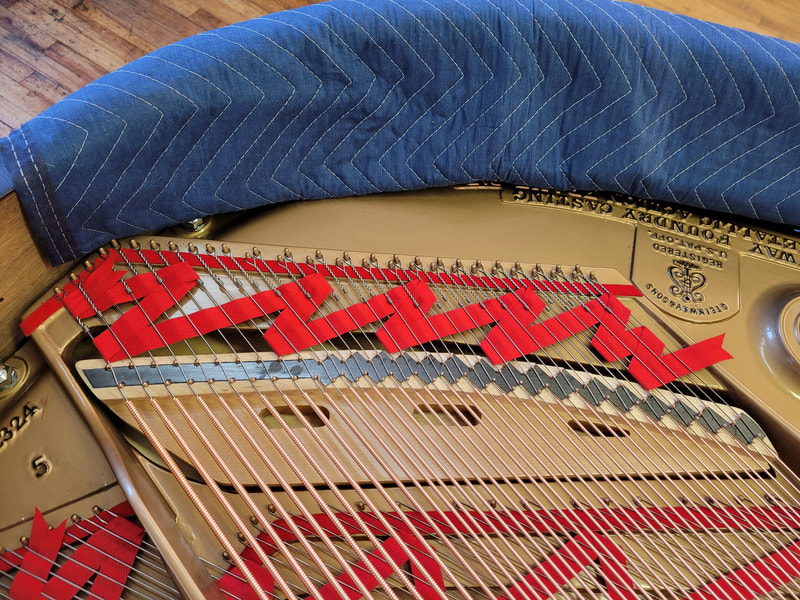
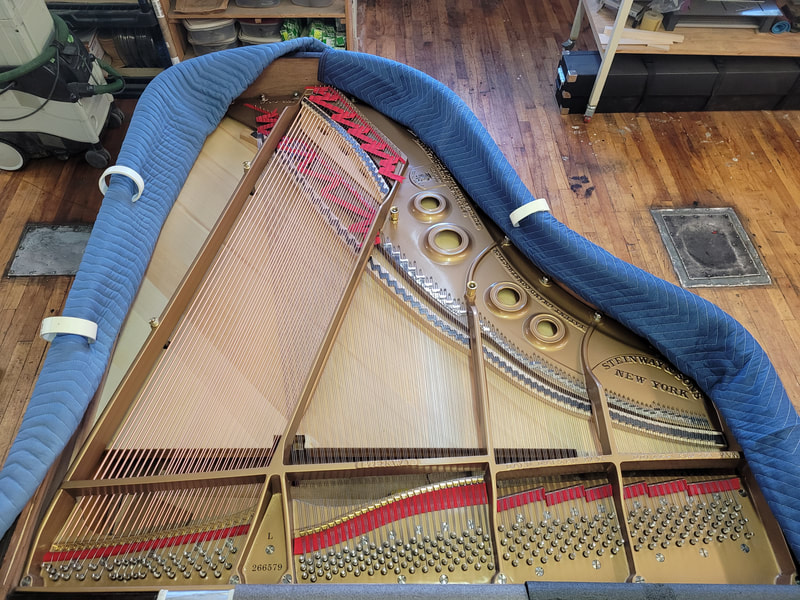
Lubricate areas where strings will go over, here shows front counter bearings lubed with ballistol. Cut and glue on felts for the strings also. Install nosebolts and place plate in piano. turn up nosebolts to just touching the plate, tighten all webbing screws and perimeter bolts. Align agraffes so they are perpendicular to the strings. One piece of wire makes a loop to make two strings. Cut string end to length. 4 fingers out of a small hand work well here. Make coils with coil maker or other tools. Pound down tuning pins with hammer or air pounder. After a loop is installed, lift strings and tighten them. Make sure coils are tight, no gap between coil loops. If possible, tighten coils with coil tightener, squeeze beckets tight also. In order that the strings stay put, secure them with a clamp at hitch pins. On each end of a loop, beckets shall face the same or similar direction. But this is only cosmetic. We are slowly making progress. Wave string braces on the back scale of tenor strings to reduce noise or over tone. On treble side where there is no agraffe, use scale copied from action as string spacing reference, secure spacer on each note/group of 3 strings, tap with hammer till center string is sitting on mark on the scale. Refine spacing with note width gage and a not-sharp-at-all screw driver to make sure each note is at the same width. Install base strings, one at a time. Protect soundboard with anything on hand. Install bass string braces then take a long break before chipping piano to pitch, tighten coils and beckets, even out tuning pin height, and so on.
Comments are closed.
|
Archives
May 2024
|
