|
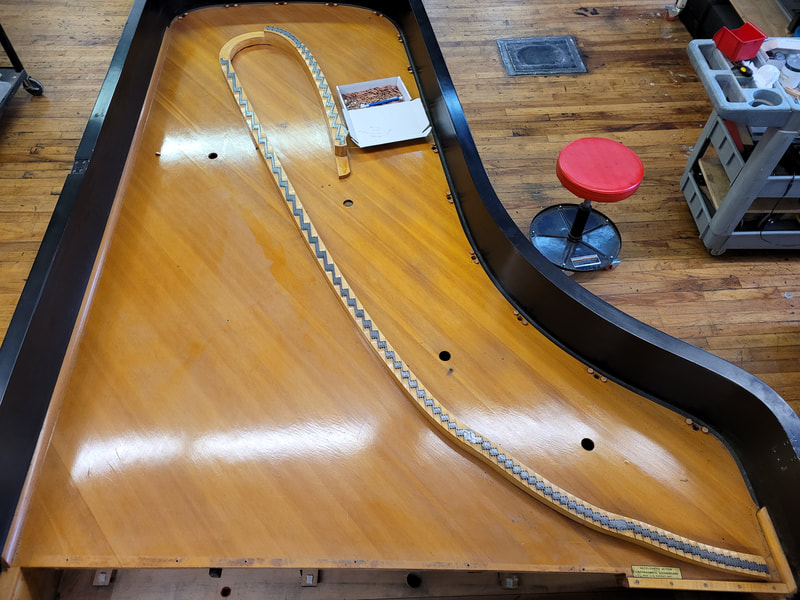
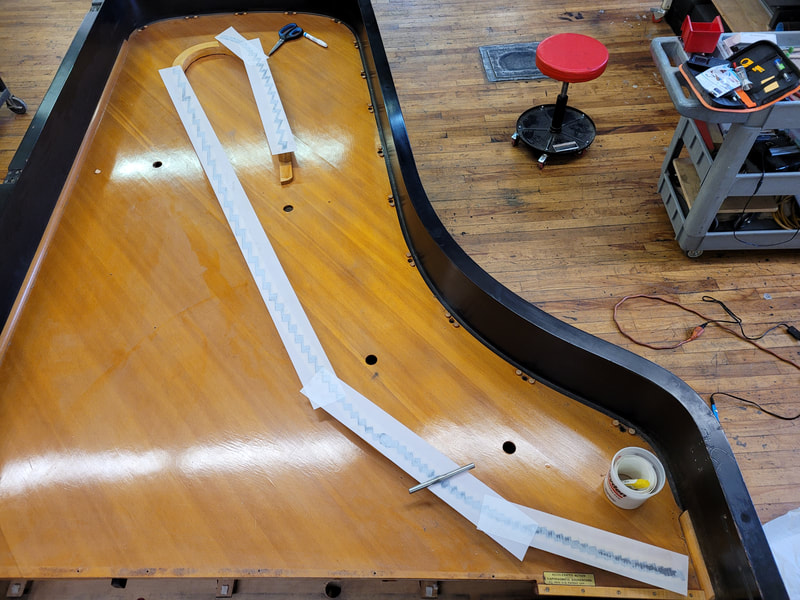
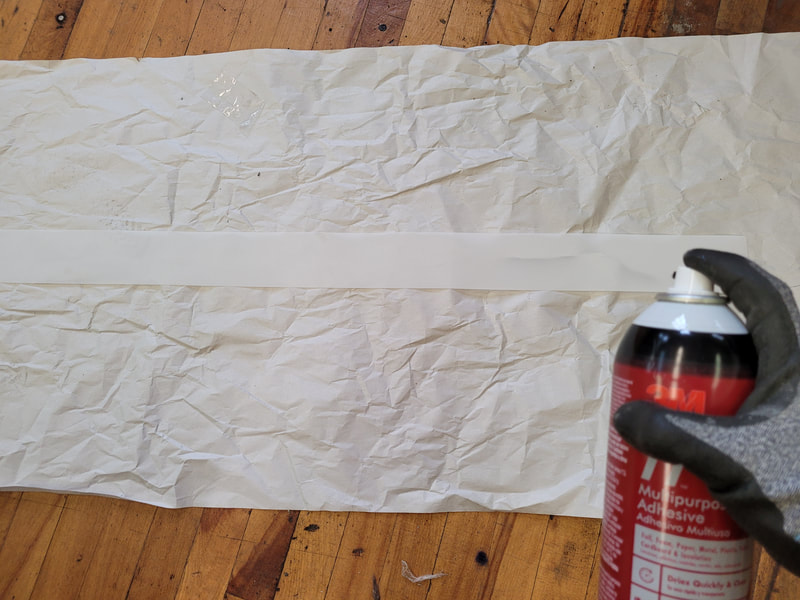
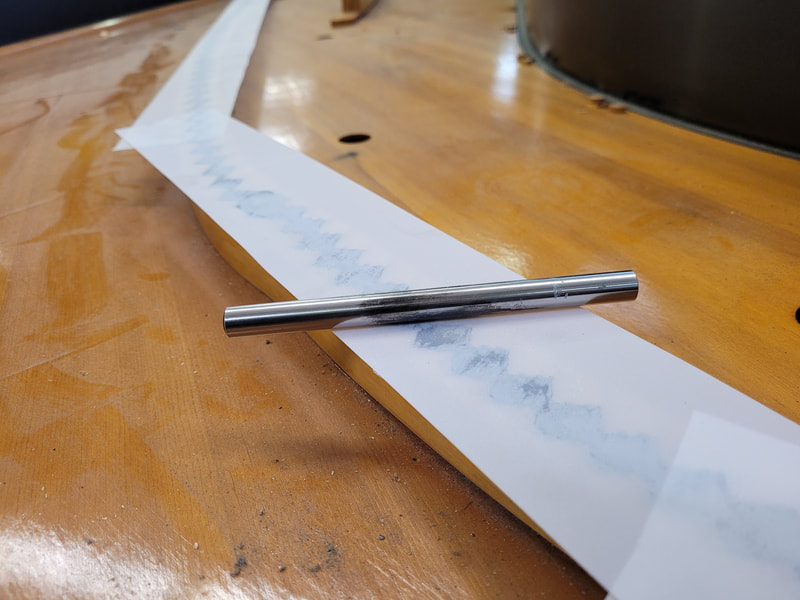
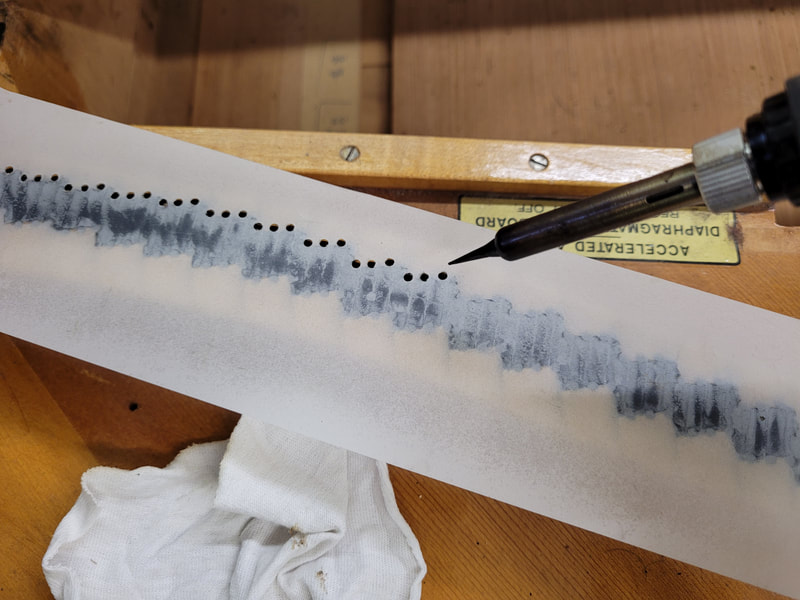
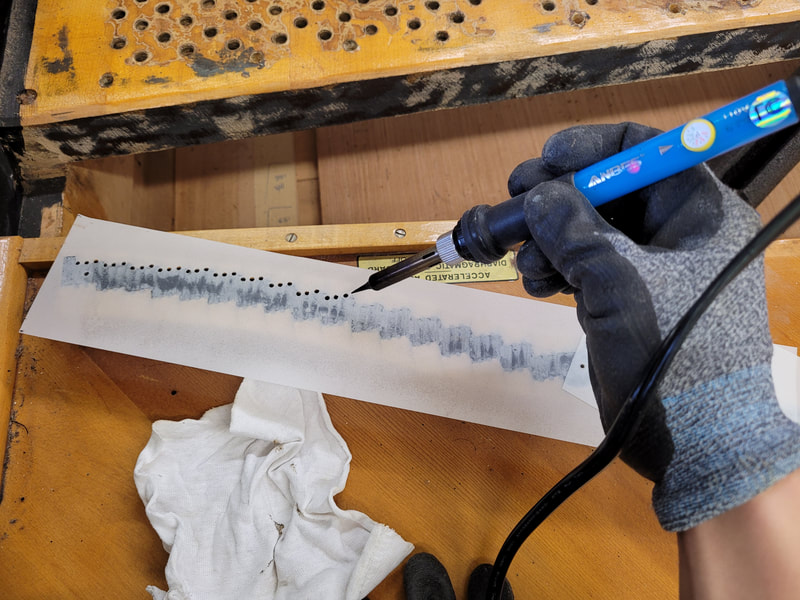
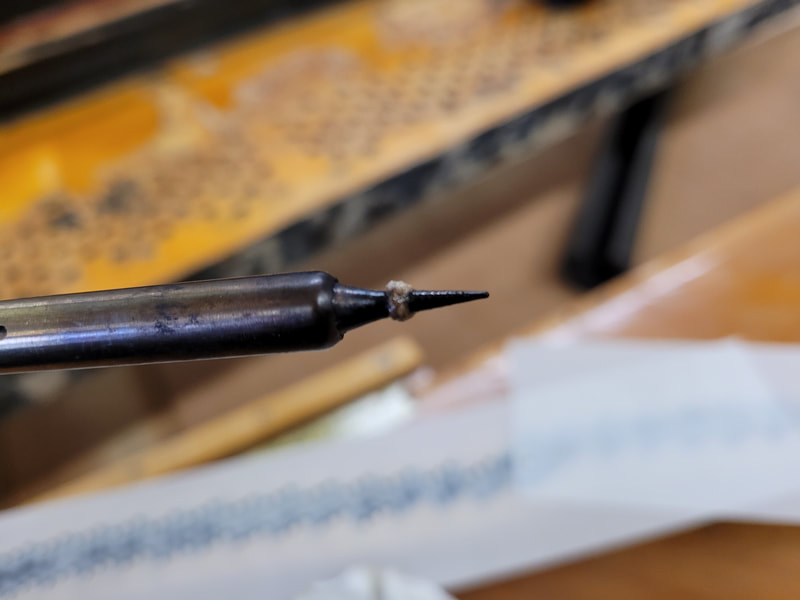
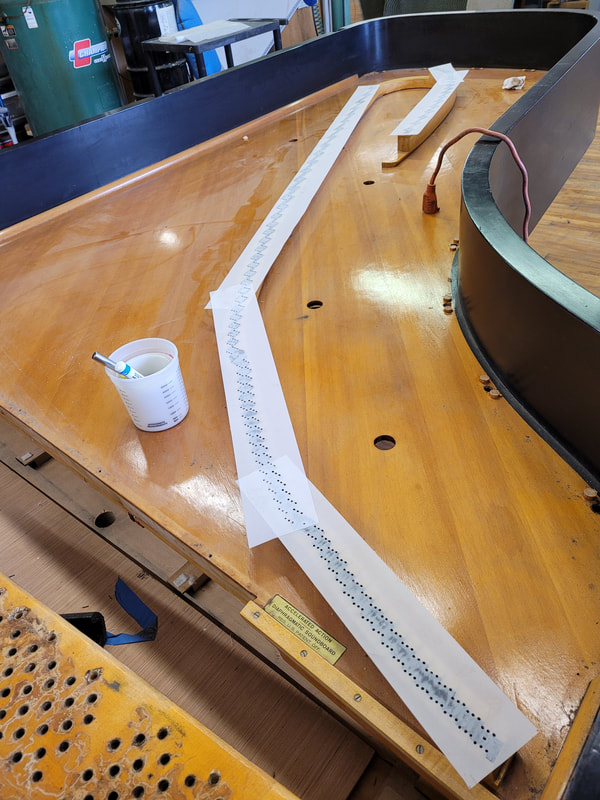
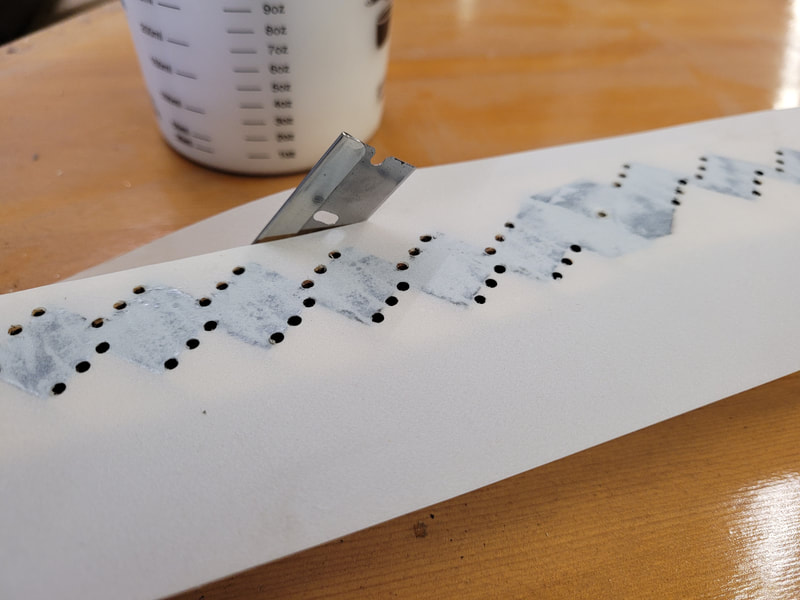
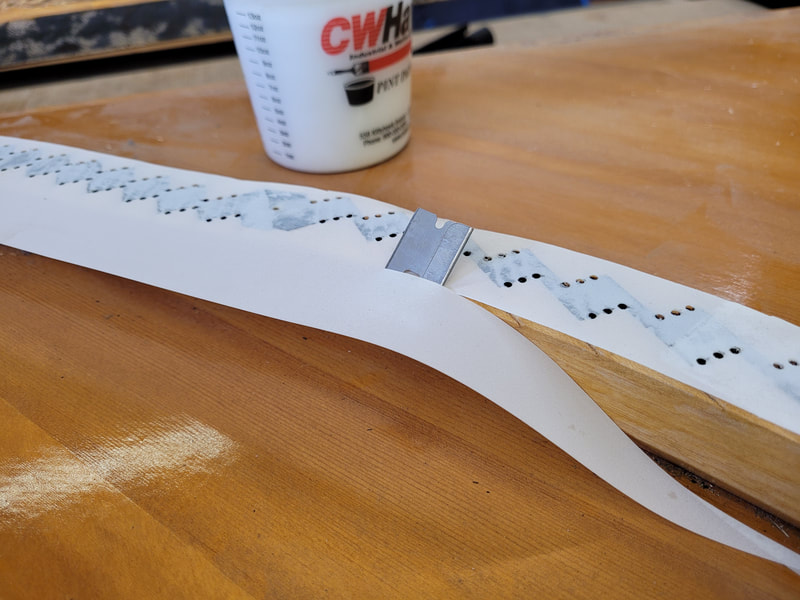
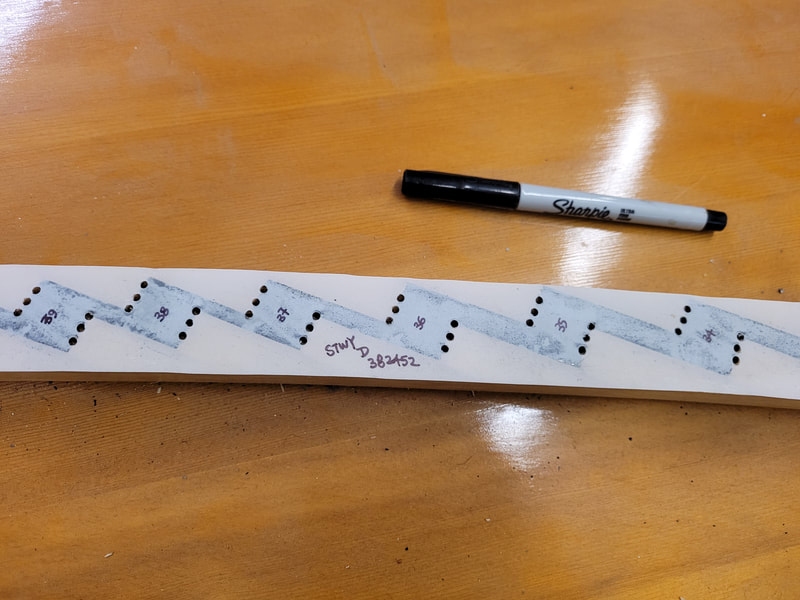
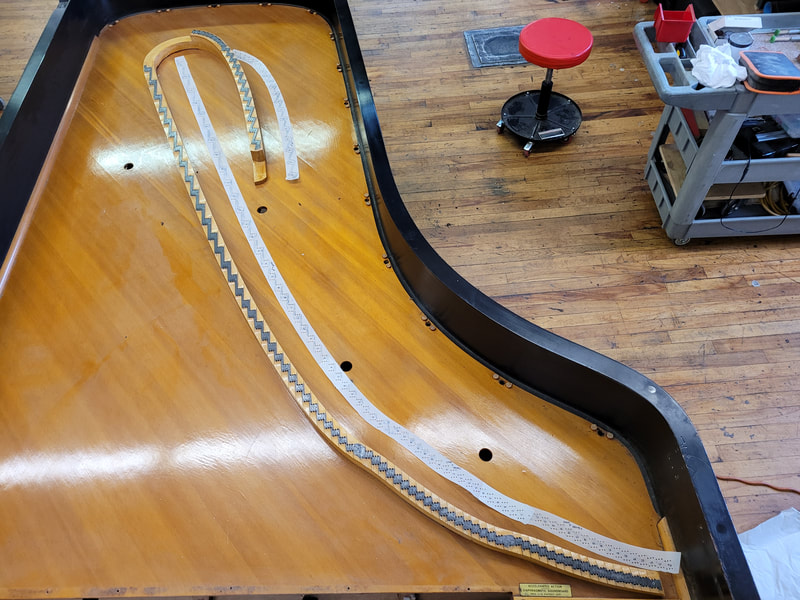
A bridge pattern is made before bridge top is taken off. The pattern will be reference to new bridge pin patterns once bridge top is replaced. Remove all old and rusty bridge pins, take out pre-sliced mylar strips and cut to fit on the bridge top. Each piece of mylar shall over lap to secure each other. Plug in soldering pen to allow it to heat up. It is better to get some black paint transferred onto mylar pattern from old bridge top. Spray mylar with adhesive, then lay on bridge and rub vigorously with a piece of metal dowel/stick to let the black paint stick onto mylar. Take the hot soldering pen, carefully punch into each bridge pin hole. Note, the front and back holes are drilled at opposite directions. Melted mylar sticks on soldering iron, wipe constantly for the accuracy of the pattern. After all holes are poked, double check if there is any part missing. Cut 2 sides of the pattern with a razer blade, blade bottom pressed against bridge wall. Number note numbers, write piano make and serial number on each section of mylar incase any piece gets unglued or fell off. Carefully take the pattern off bridge and store till new bridge top is installed and new bridge pin pattern ready to be laid out.
Comments are closed.
|
Archives
May 2024
|
