|
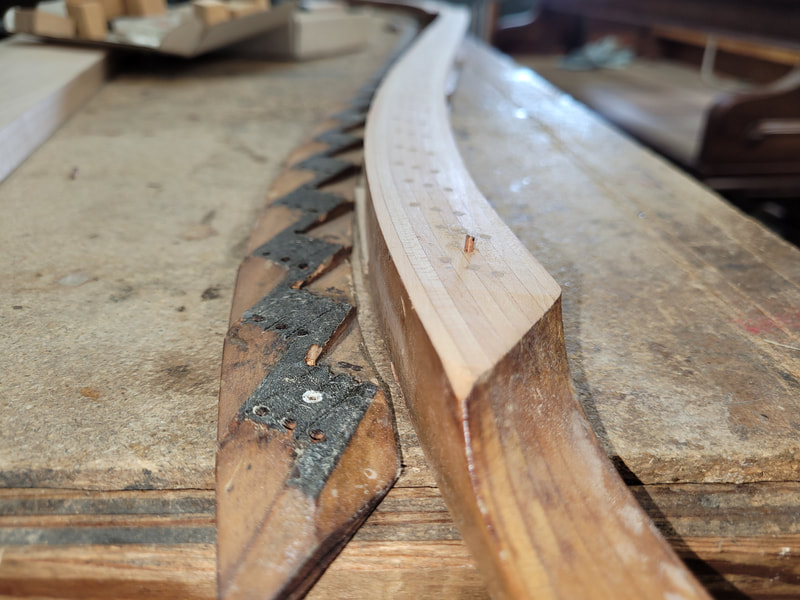
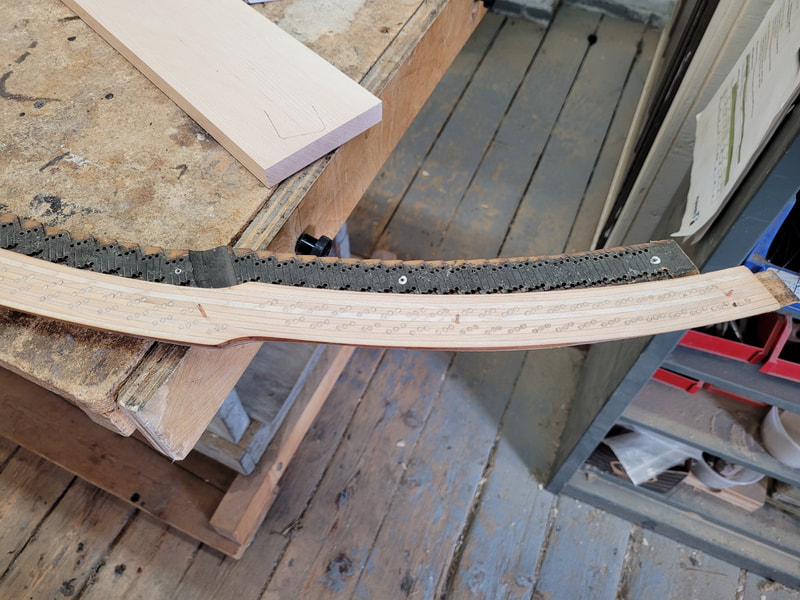
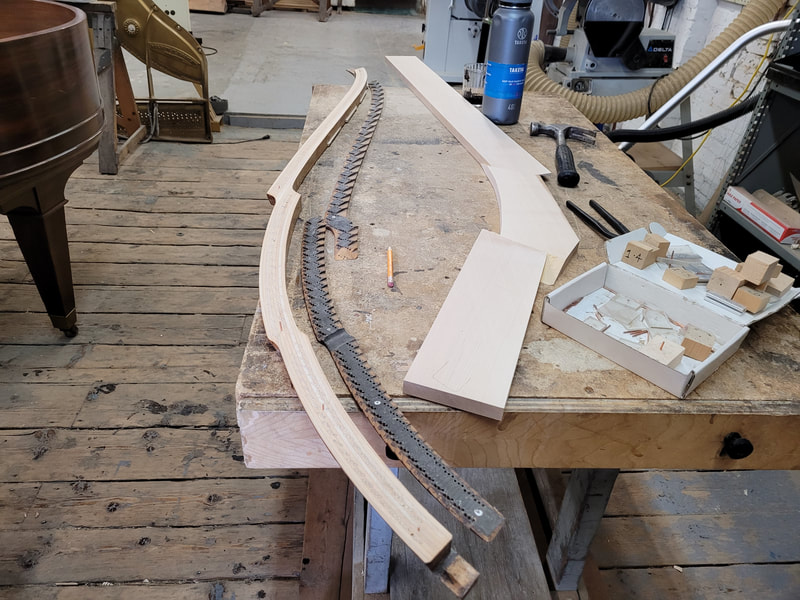
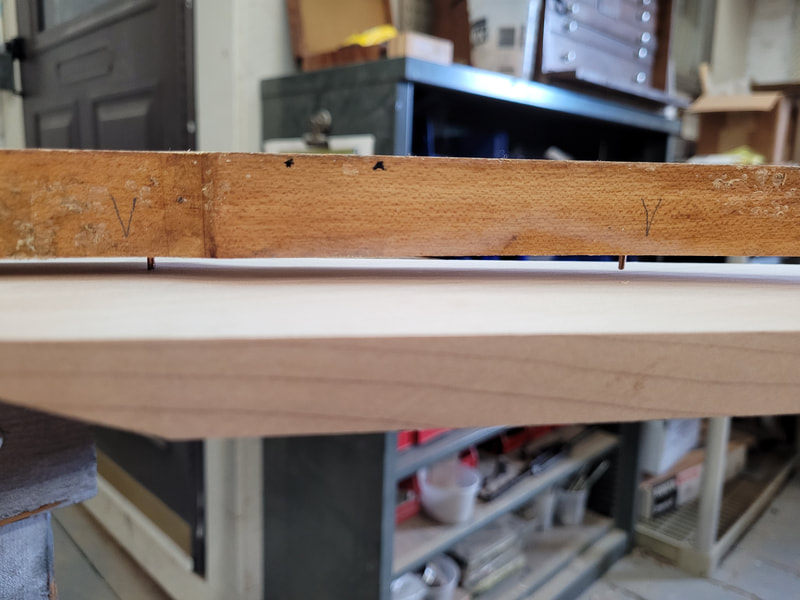
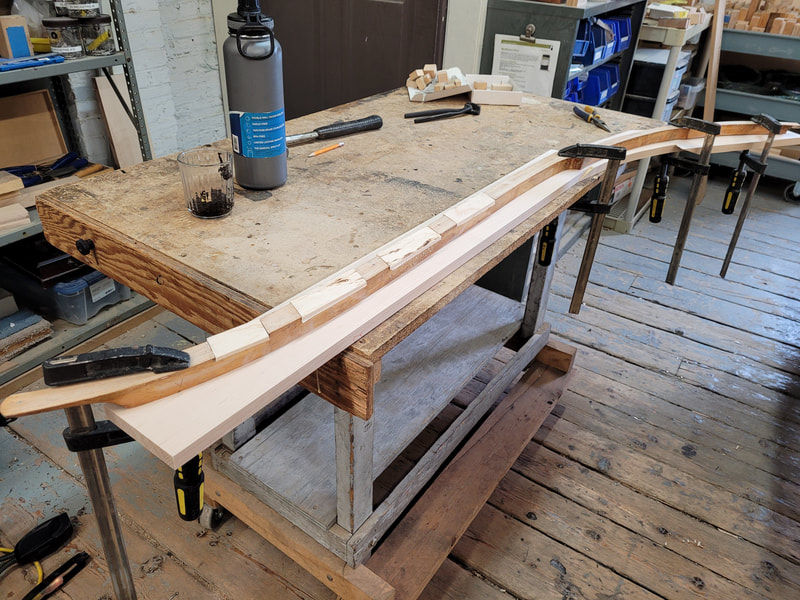
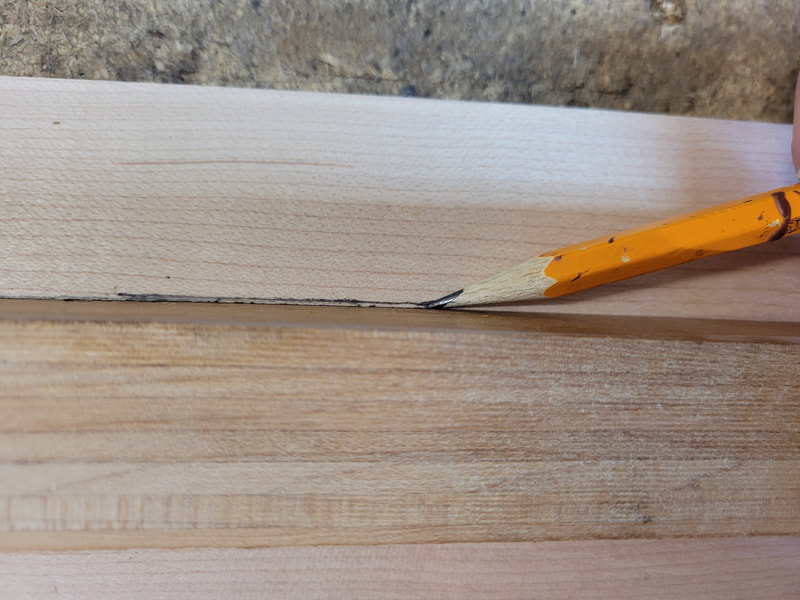
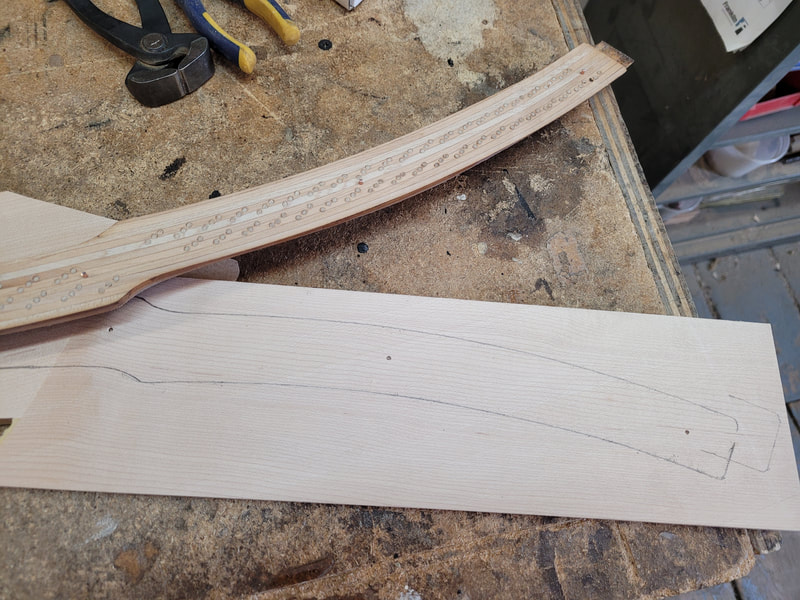
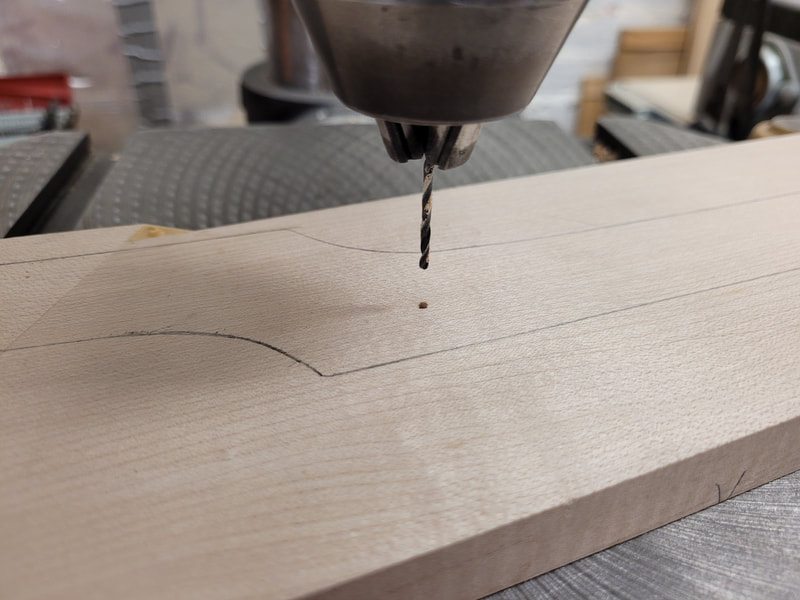
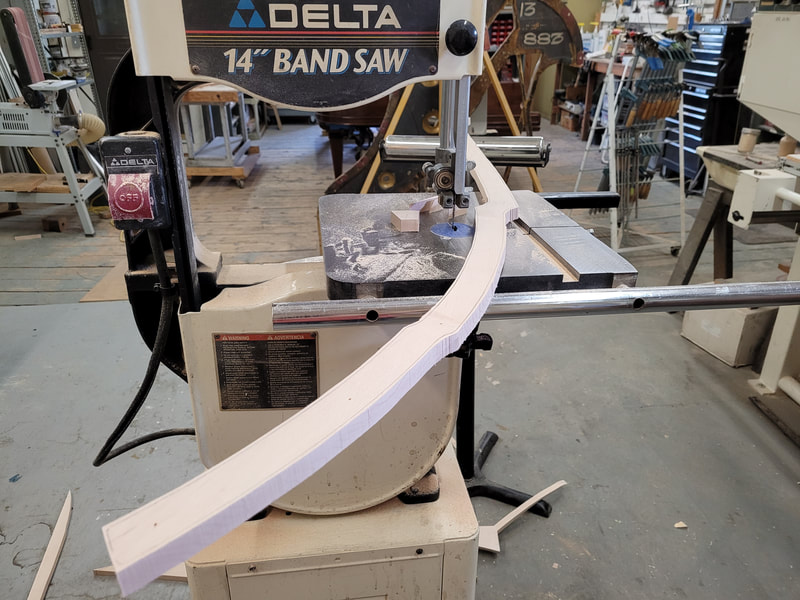
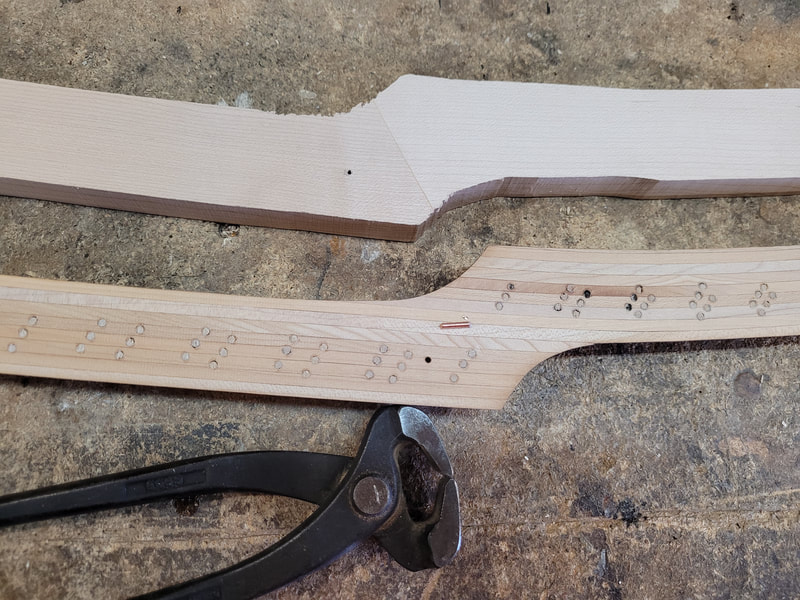
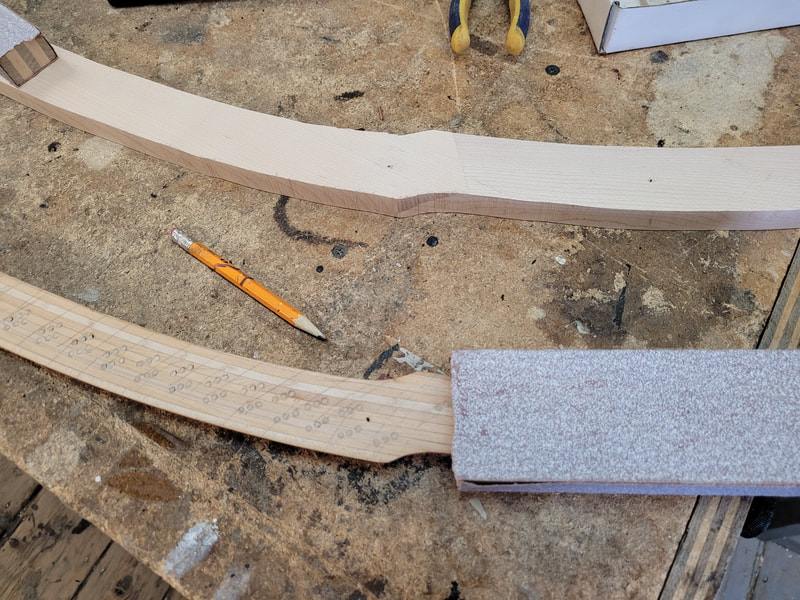
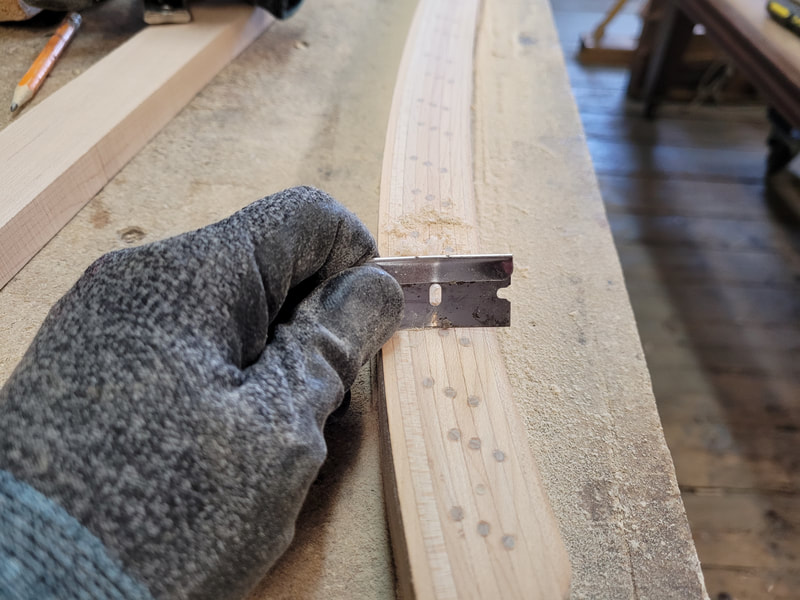
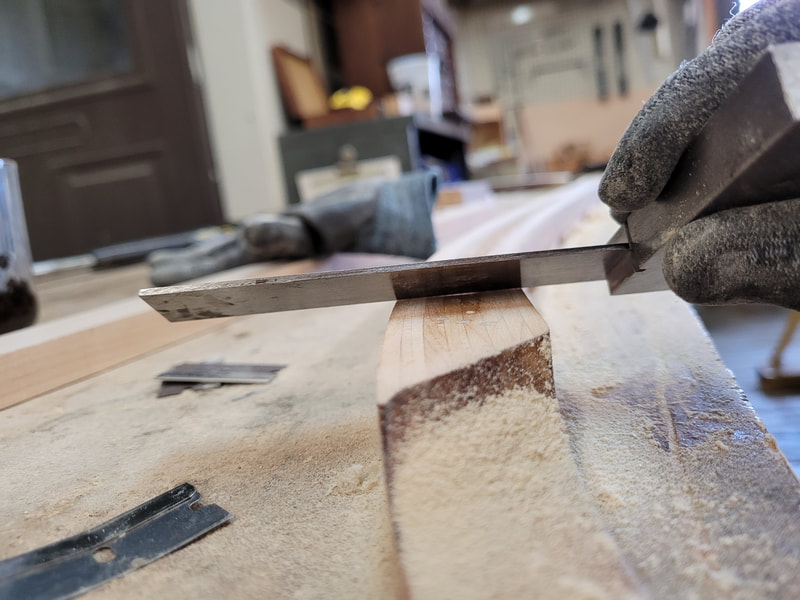
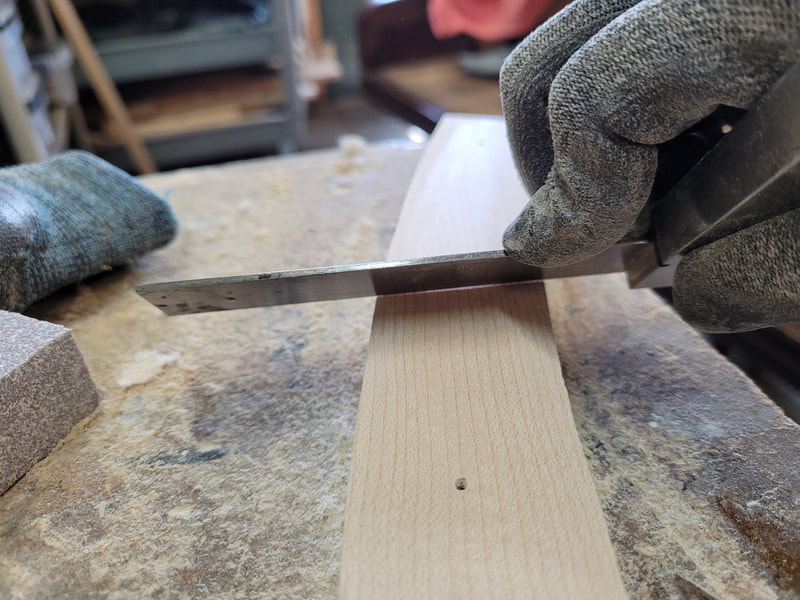
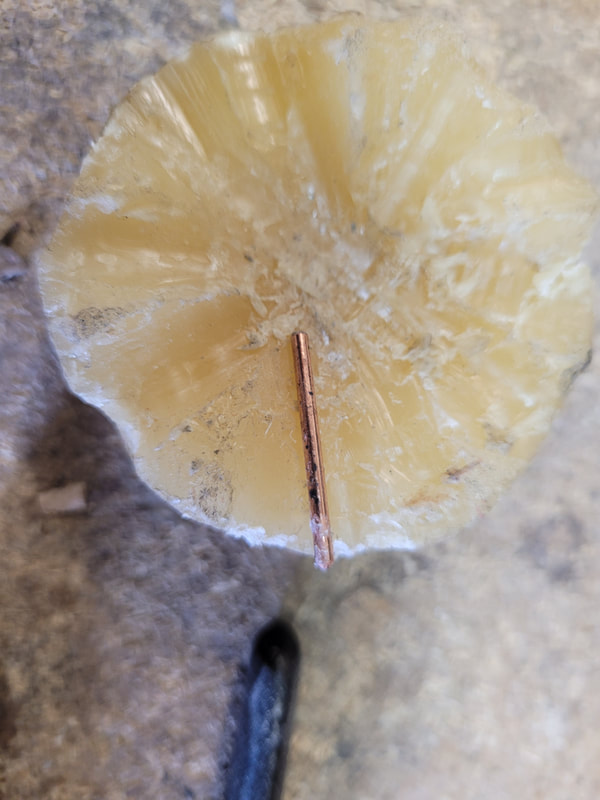
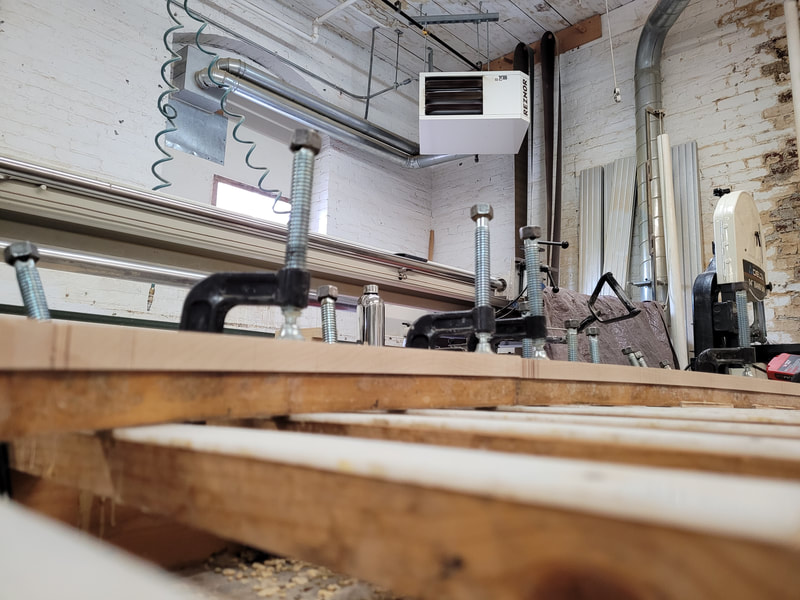
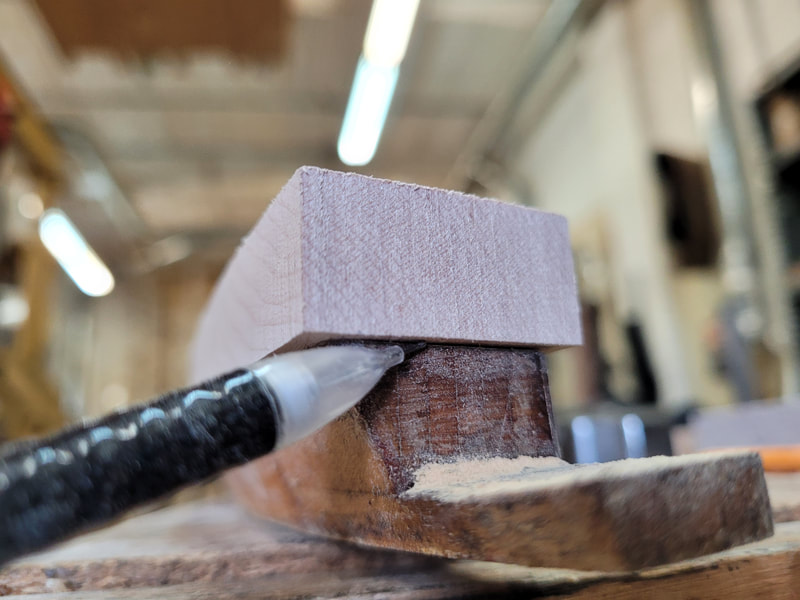
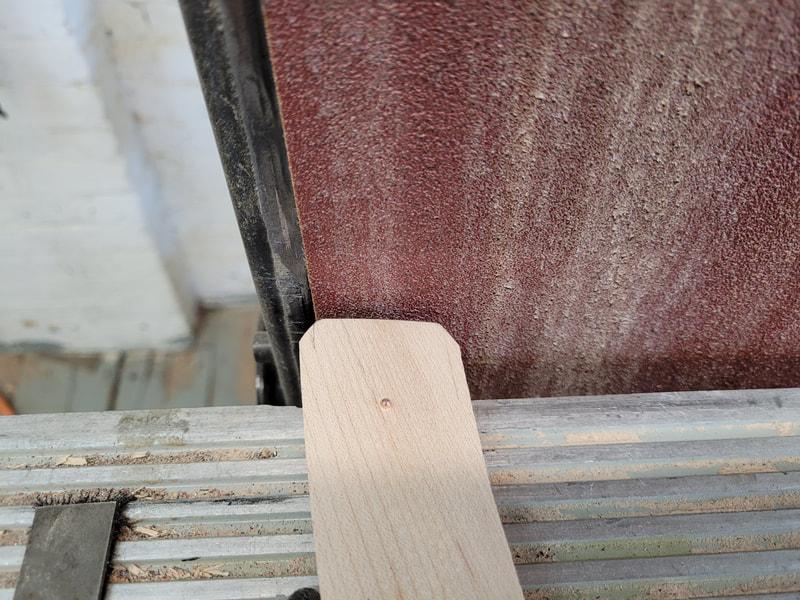
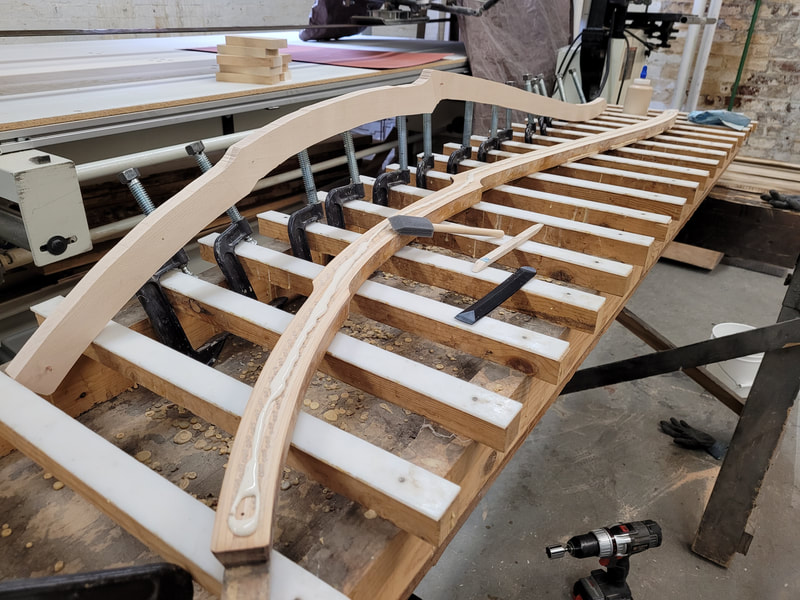
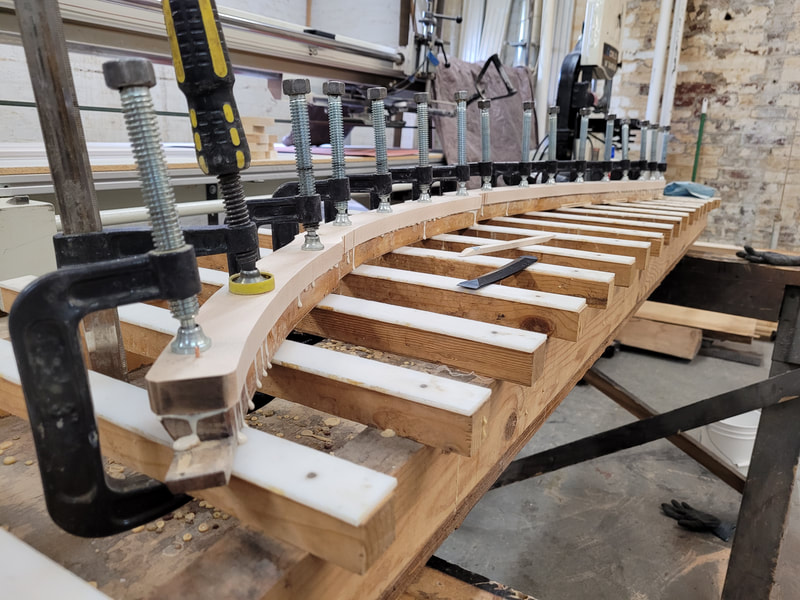
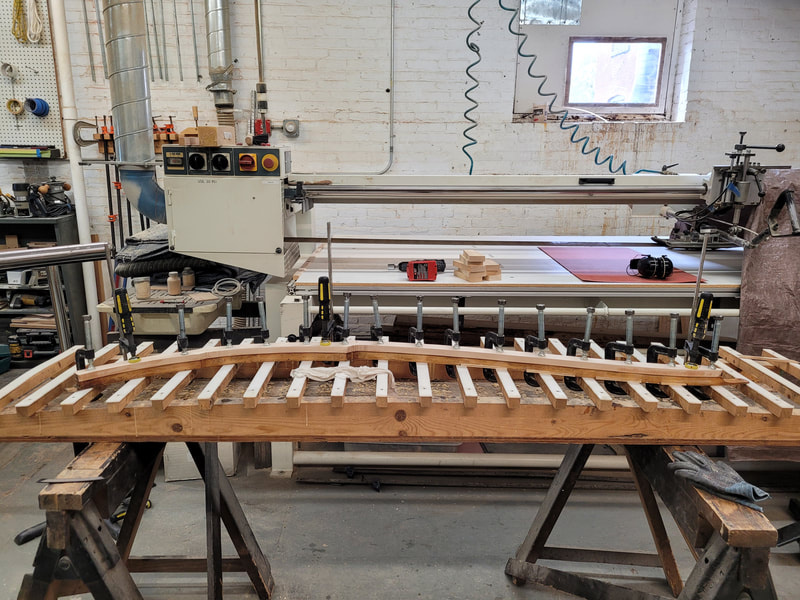
The method used here is based on guidance from shop owner and skills learned from North Bennet Street School. Each shop will have different ways to glue on bridge caps. Of course our method is not the best. At least it works. There are locator holes drilled for #6 bridge pins before bridge was removed from piano. The holes need to be transferred to new cap. put a #6 bridge pin in each locator hole on root, hammer them down till bottomed up. trim pin tops so there is just about 1/8" length of the pins sticking out over bridge root surface. Place new cap on root, flip upside down and clamp where the pins are to press the pins into cap and make marks. Pencil mark root shape on cap while clamps are on. You can see the marks on cap. Drill through the marks and saw cap to the shape of bridge root. When sawing, leave 1/8" room out of the pencil mark just to be safe. Remove bridge pins from root, make pencil lines everywhere on surface then sand until all lines disappear. This means the surface is mostly flat. Feel the surface with hands to make sure. Sandpaper used here is 80 grid out of personal preference. Bend a razor blade, scrape root surface to make smiling face (hollow in middle). This will allow glue to stay for a sturdy joint. Same sanding and scraping on cap. Wax some more #6 bridge pins, hammer them through those locator holes we just transferred. The pins will go through bridge cap into root. Put clamps on to dry fit, check if there is any gaps between root and cap. Adjust, dry fit again, and repeat the process till the joint looks gapless. Mark the overhang at the two ends then sand or saw to flush. Glue cap on the root now. The glue jig is crowned to replicate the crown of soundboard. Glue is SK-8 purchased from Mason and Hamlin piano factory in Haverhill, MA. tighten each clamp, then do another pass to make sure everybody is very tight. Clean glue squeeze-outs with hot water. Wait for 24 hours at least before unclamping.
Comments are closed.
|
Archives
May 2024
|
