|
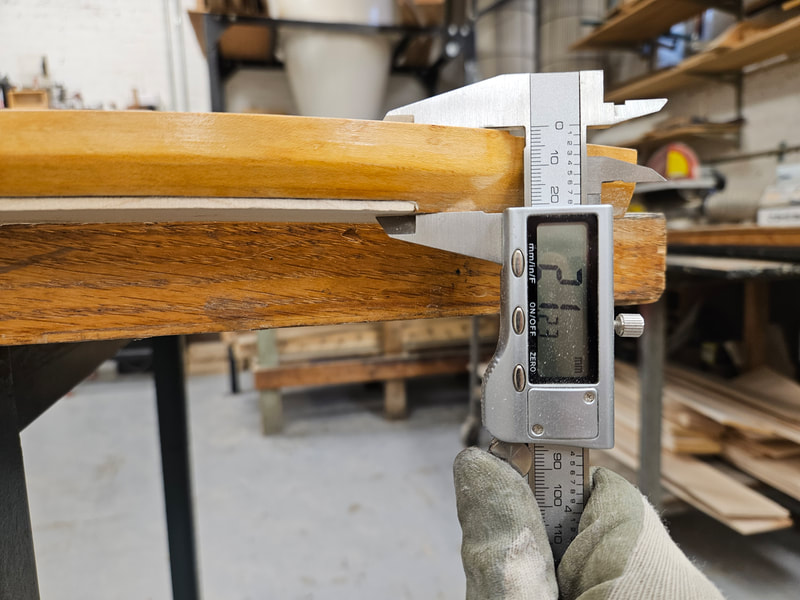
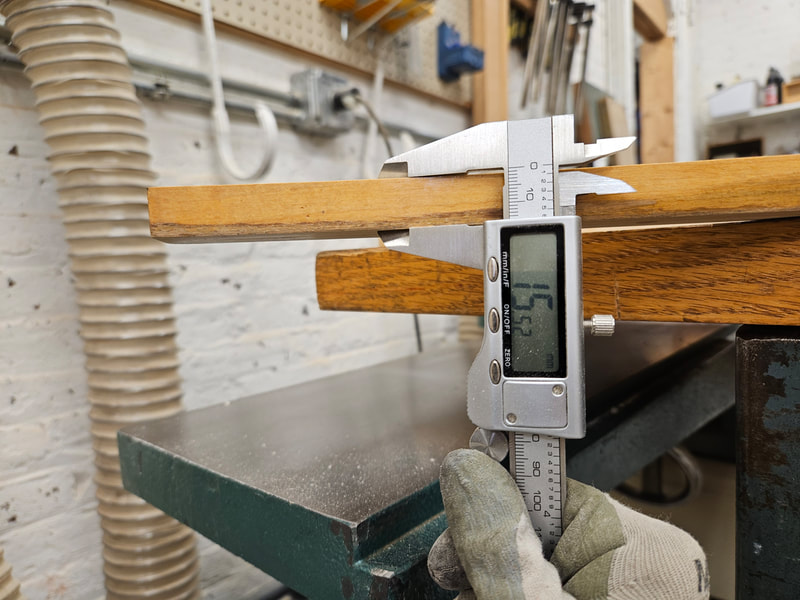
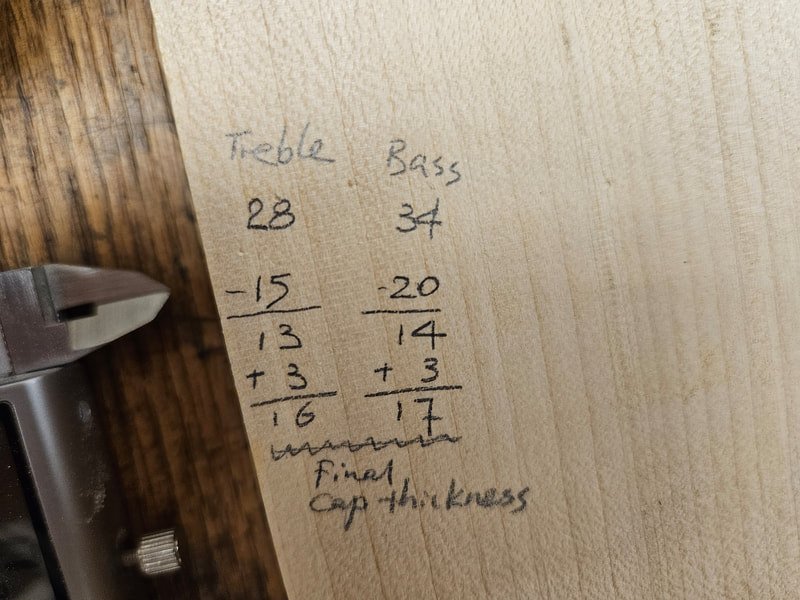
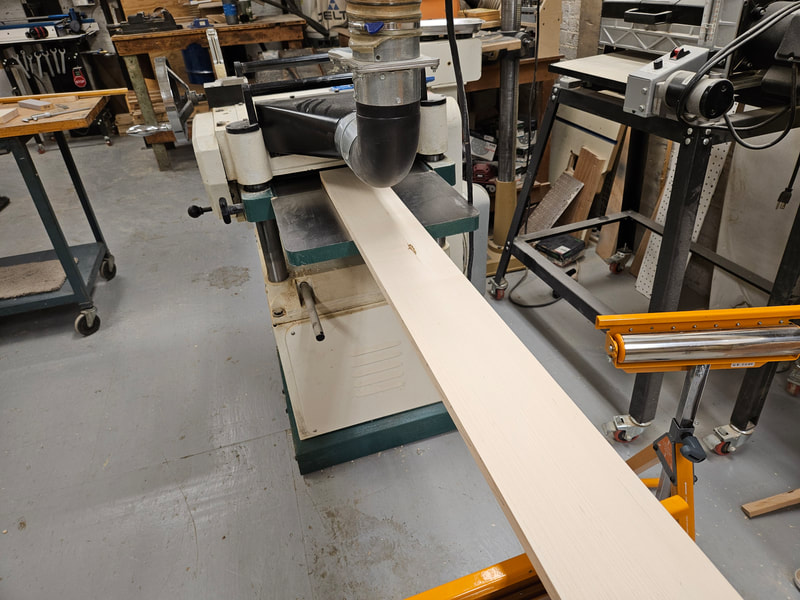
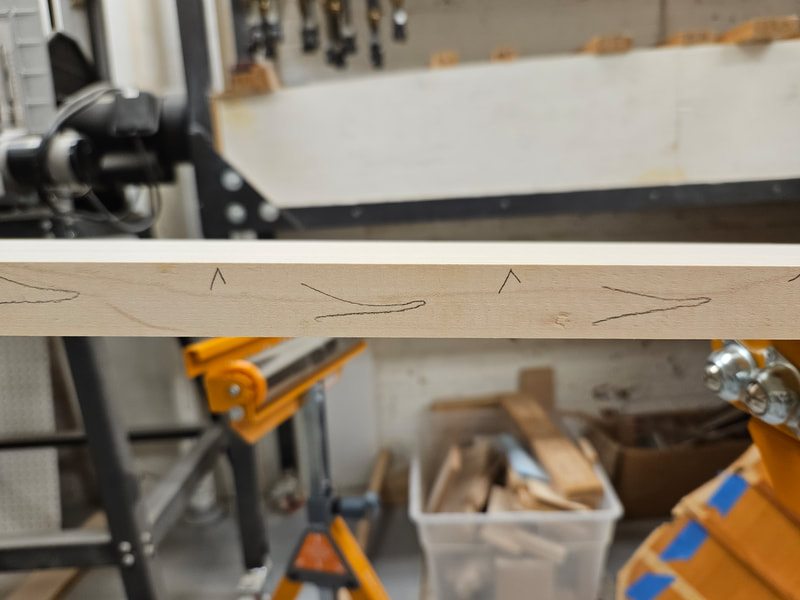
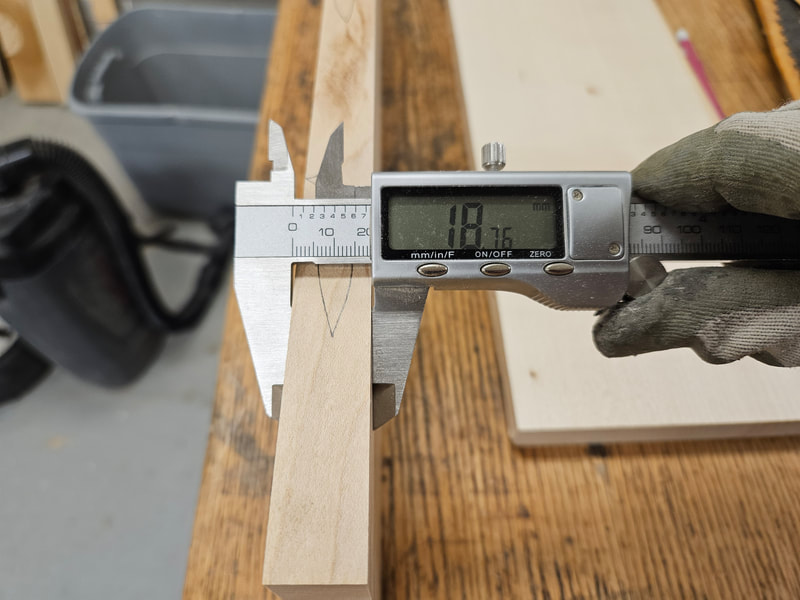
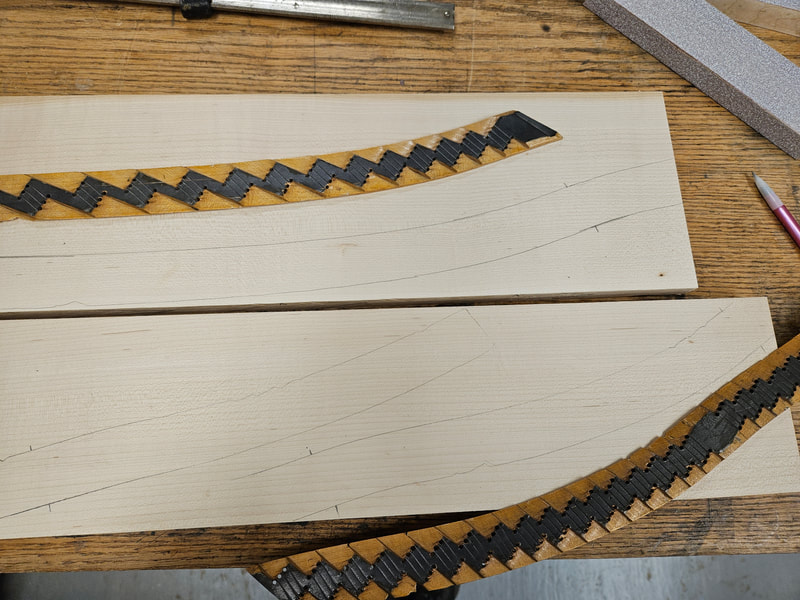
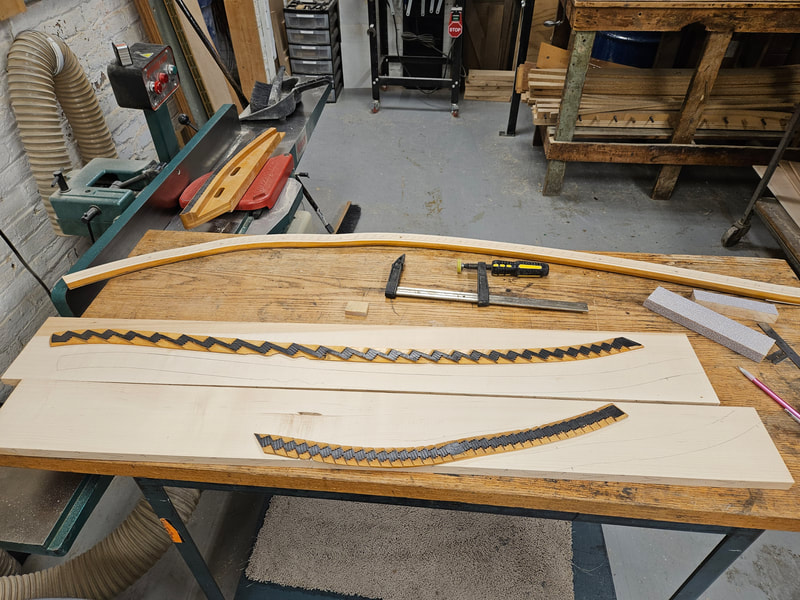
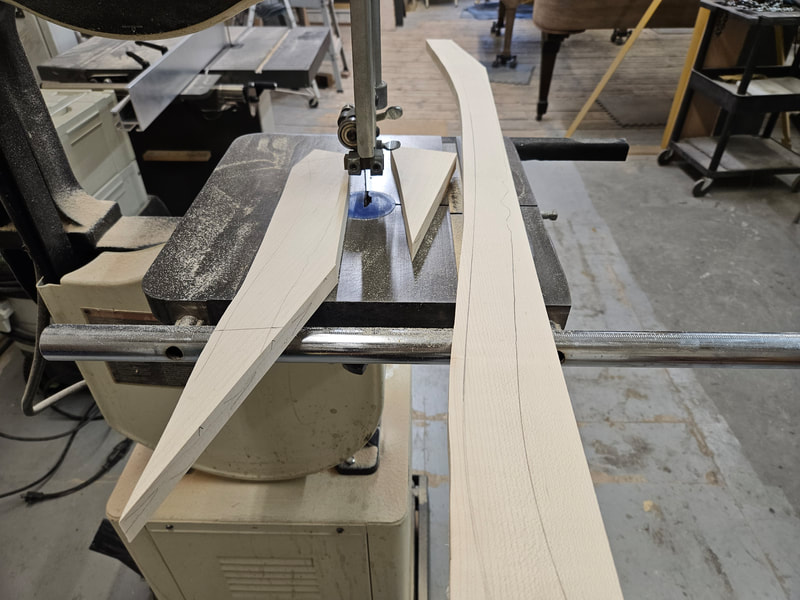
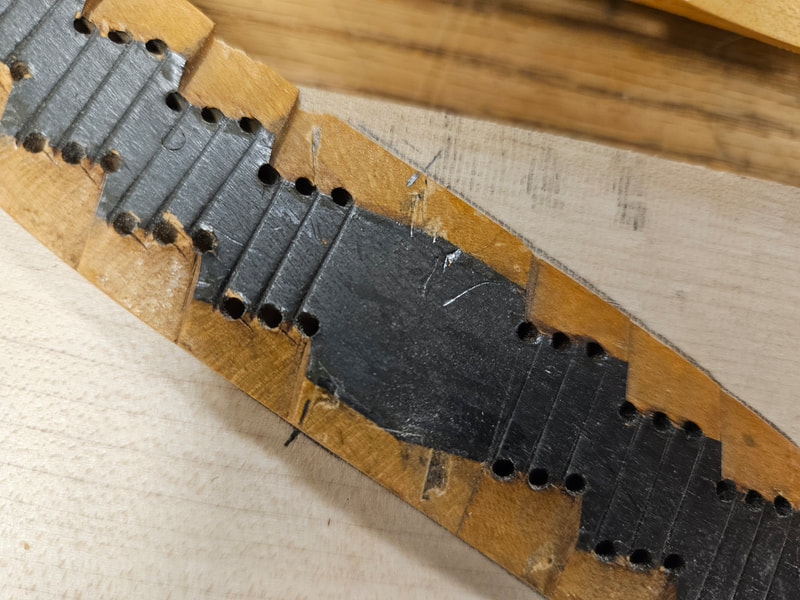
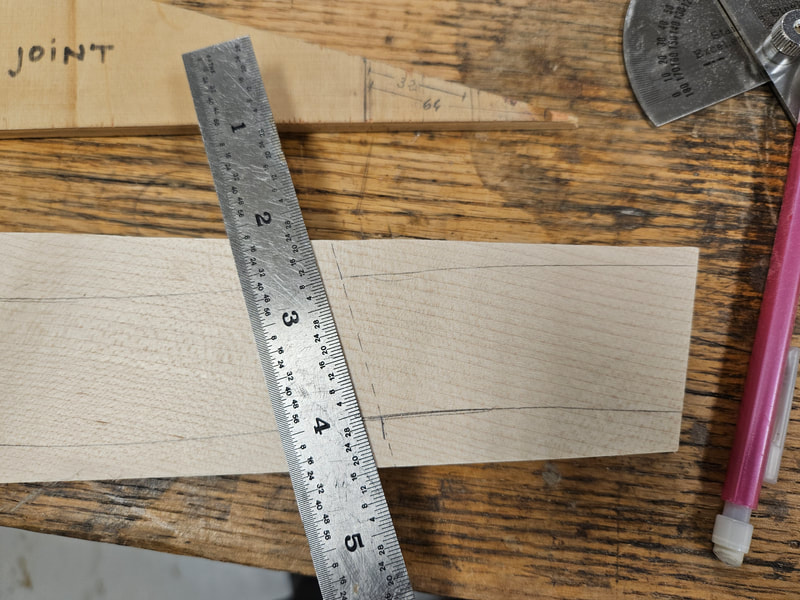
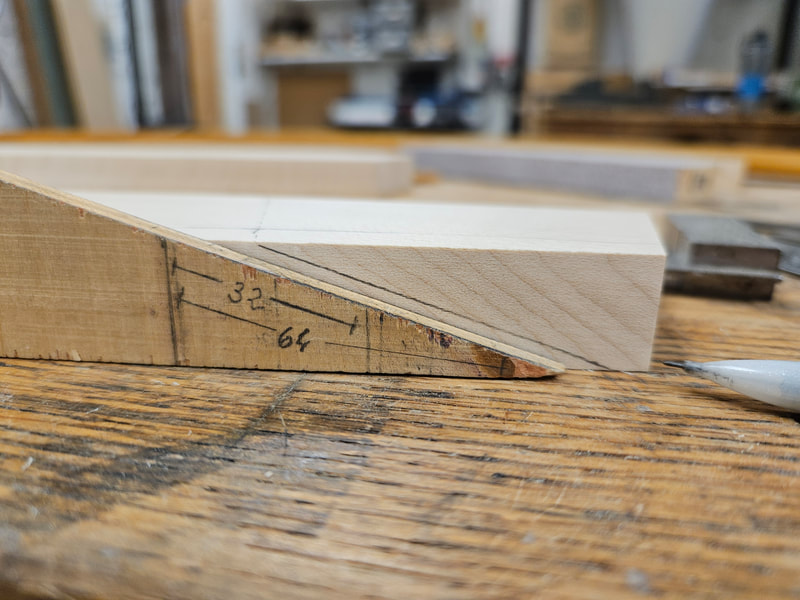
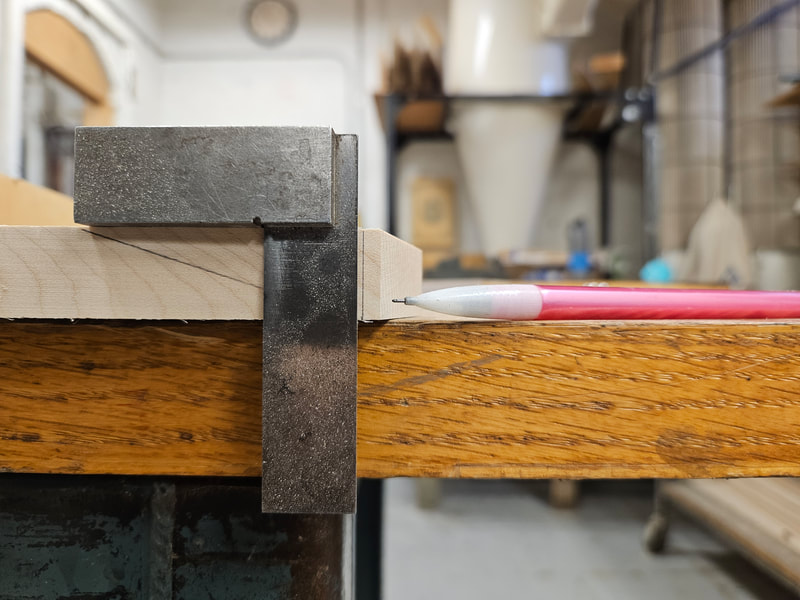
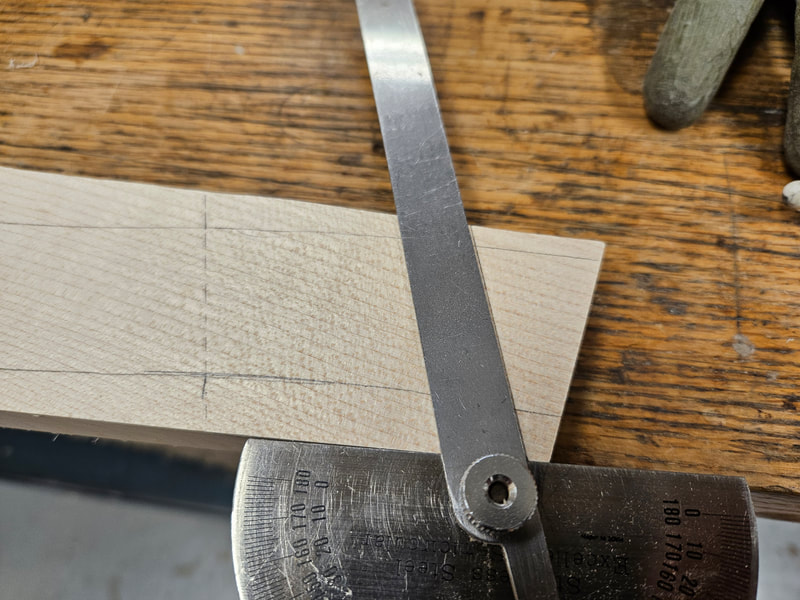
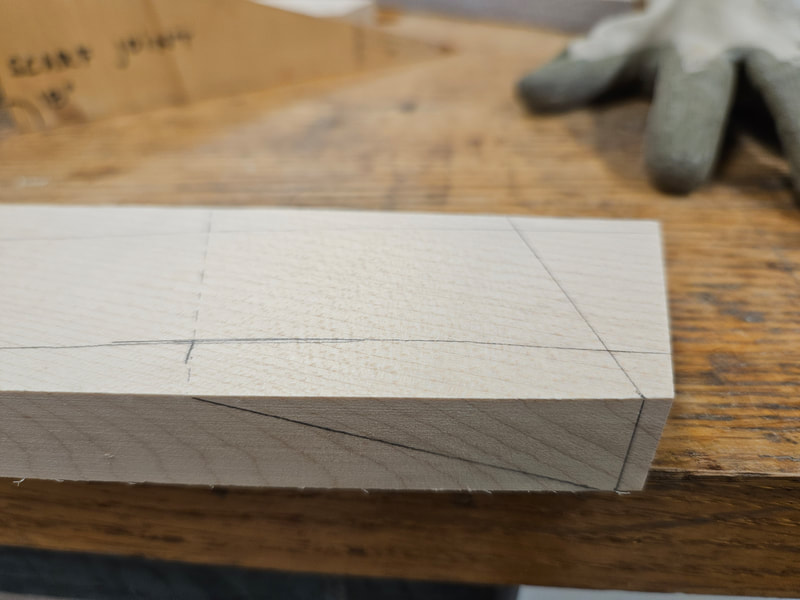
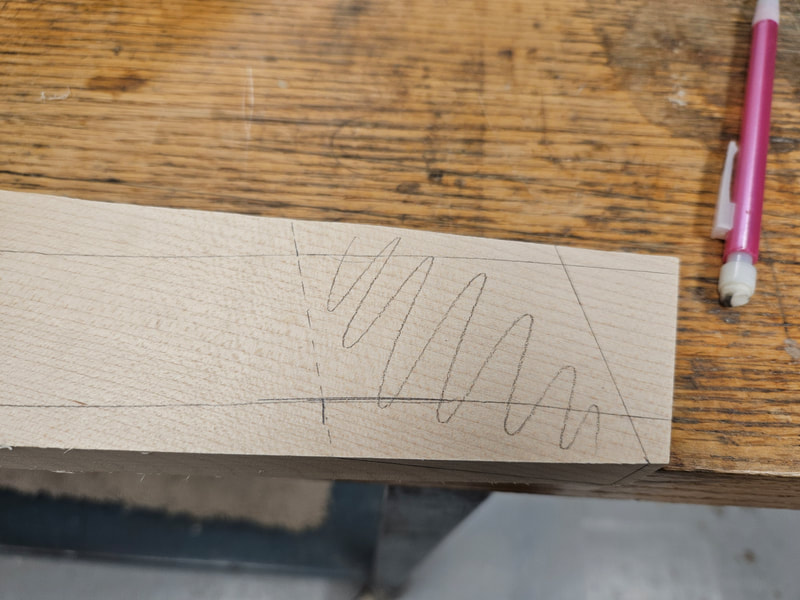
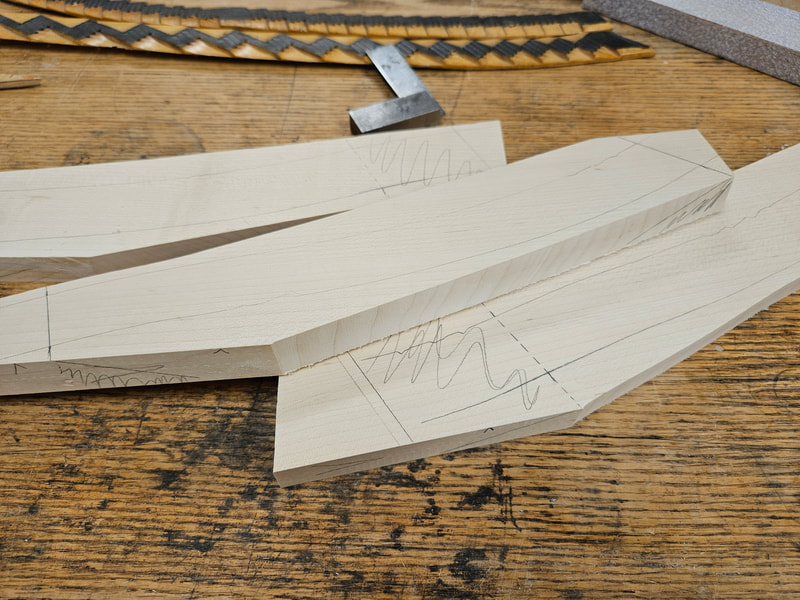
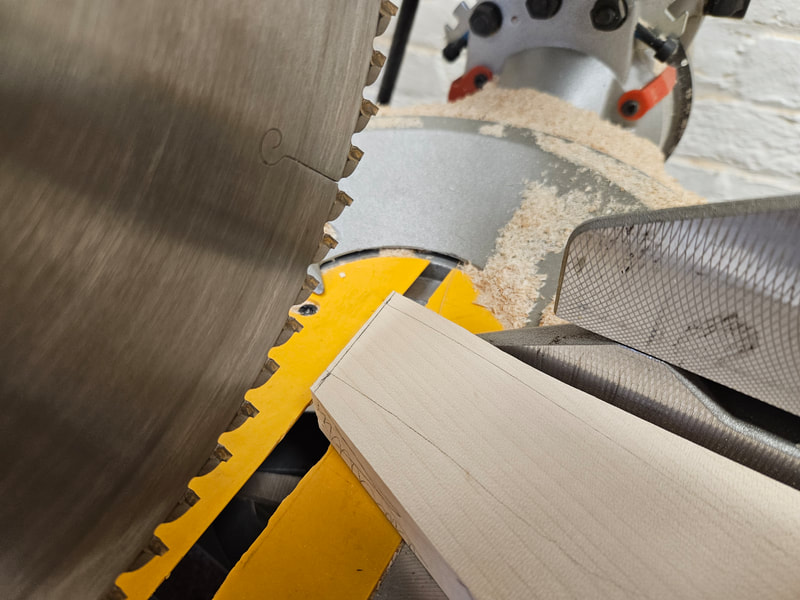
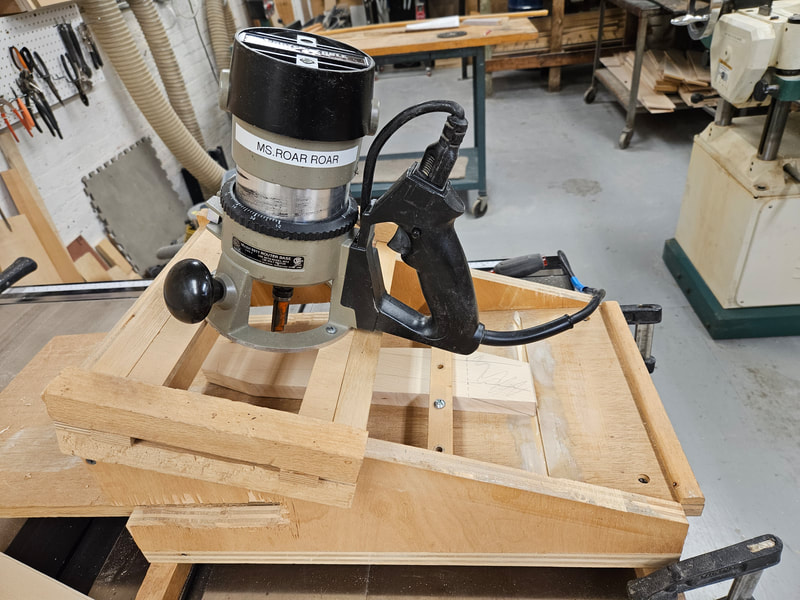
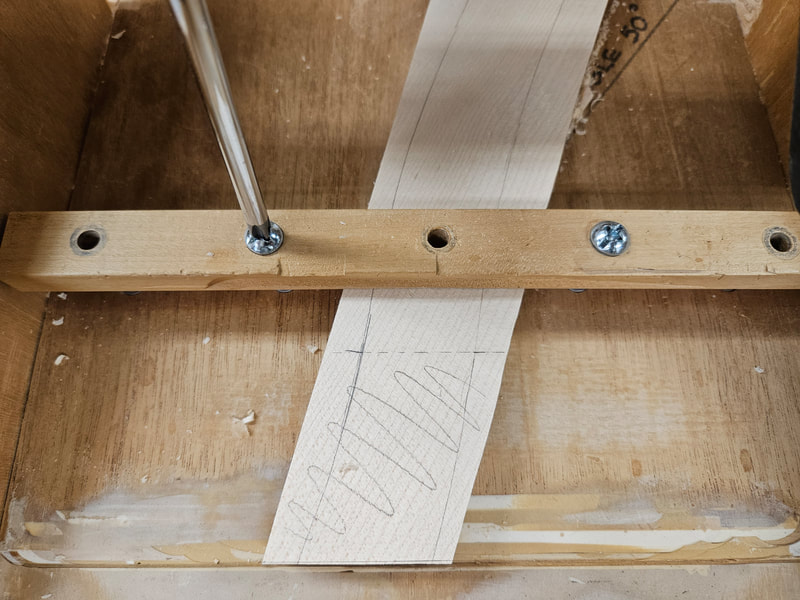
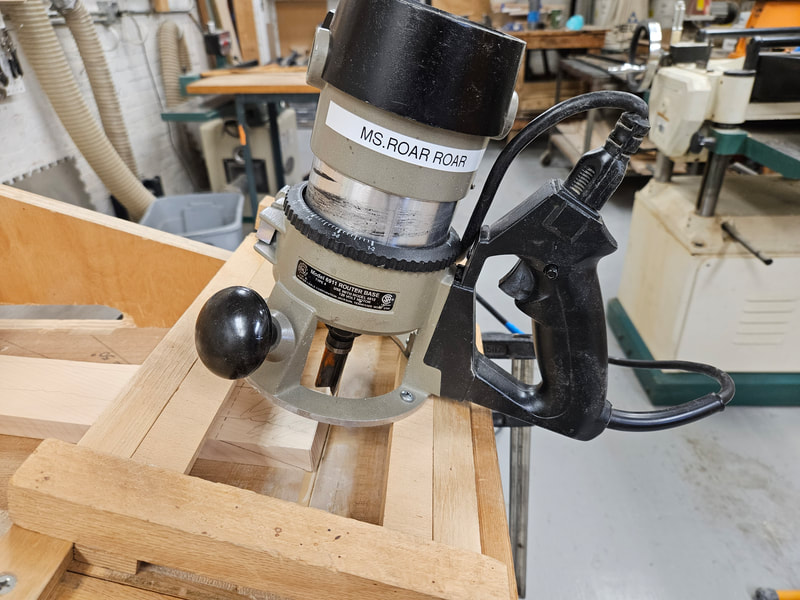
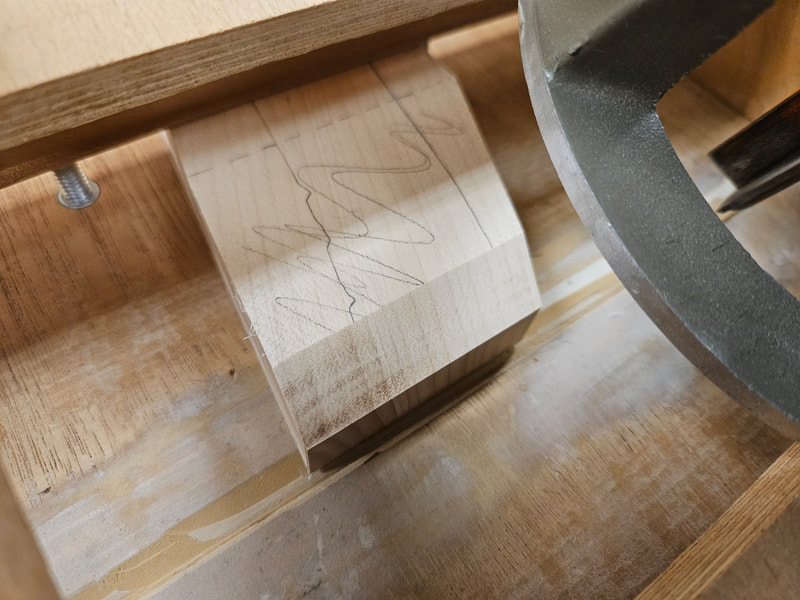
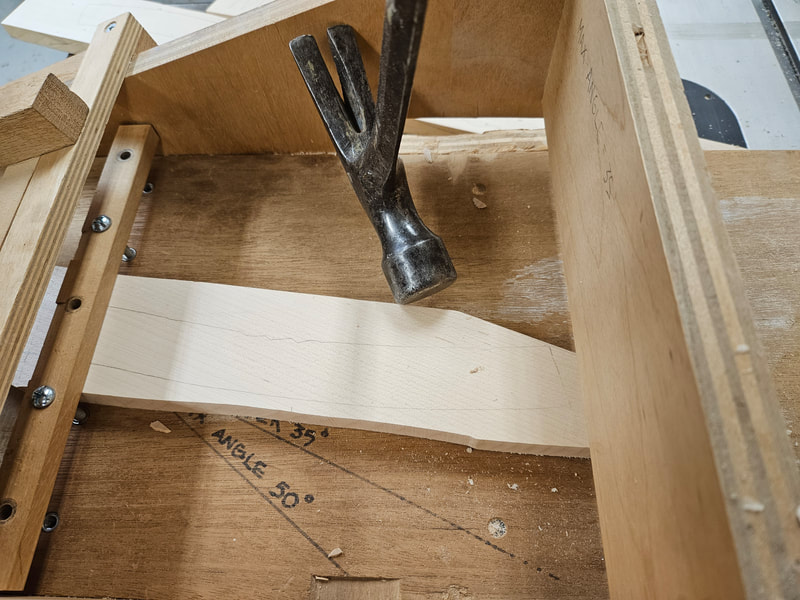
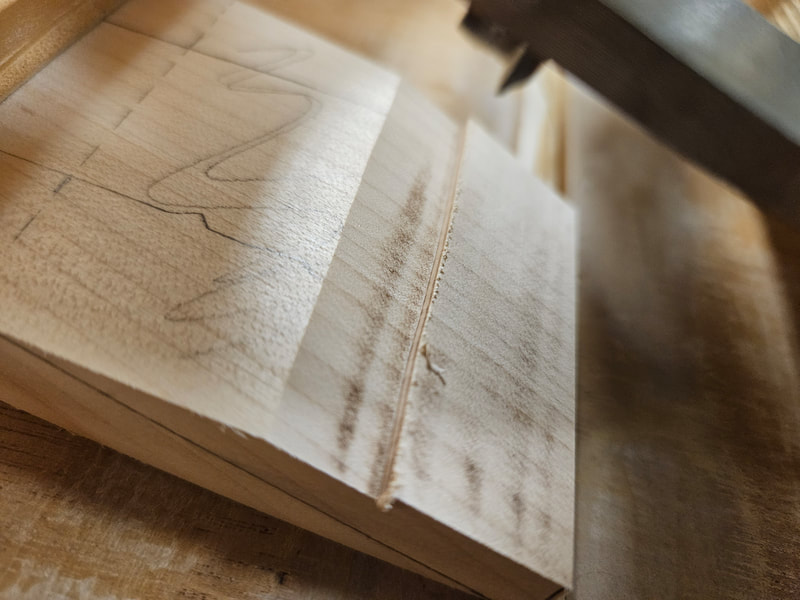
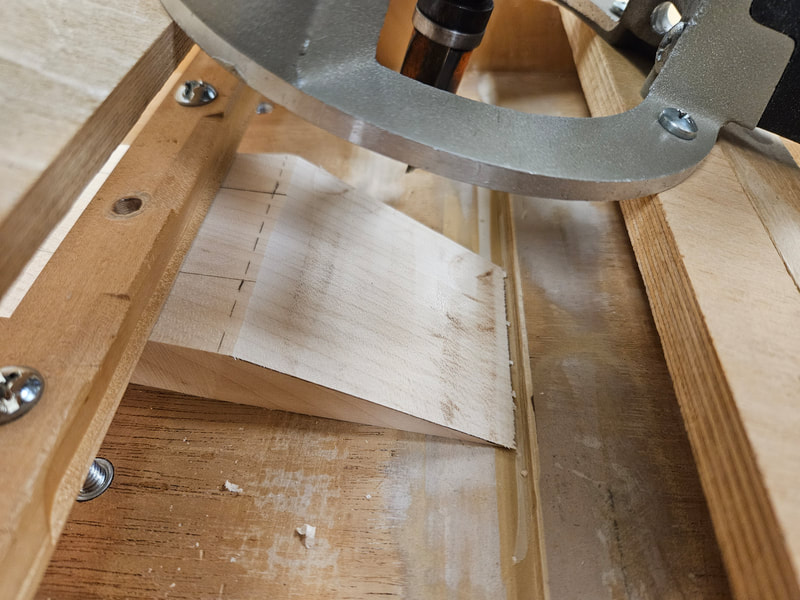
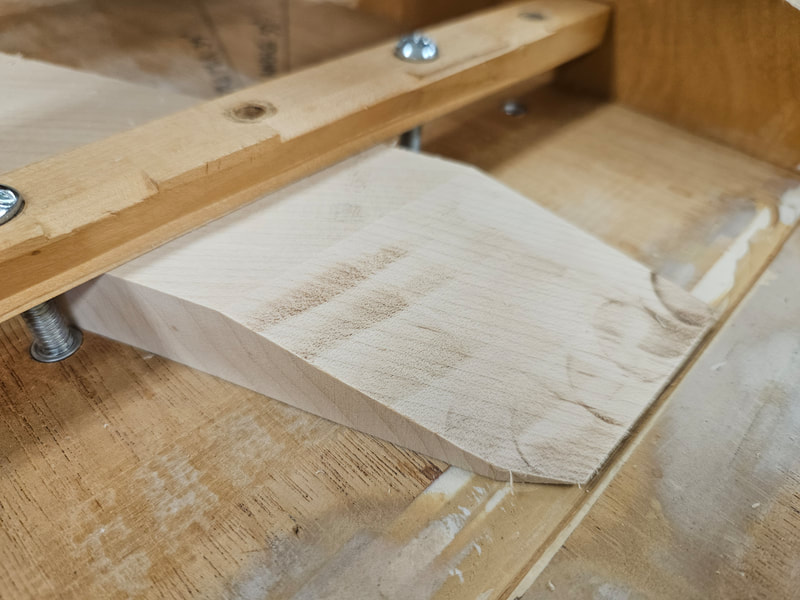
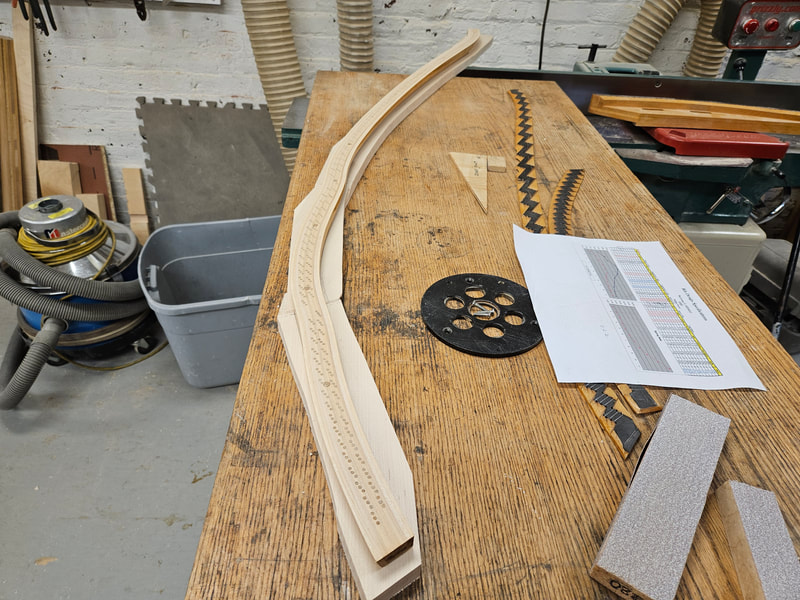
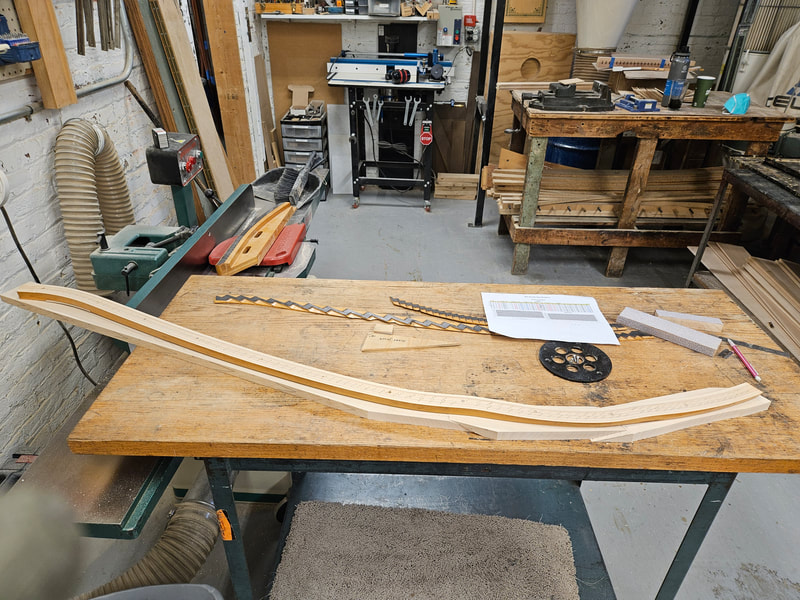
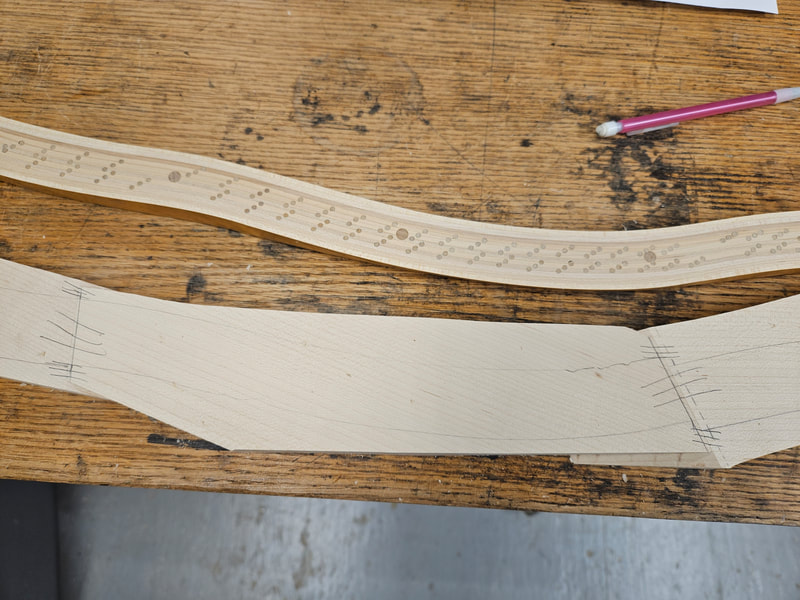
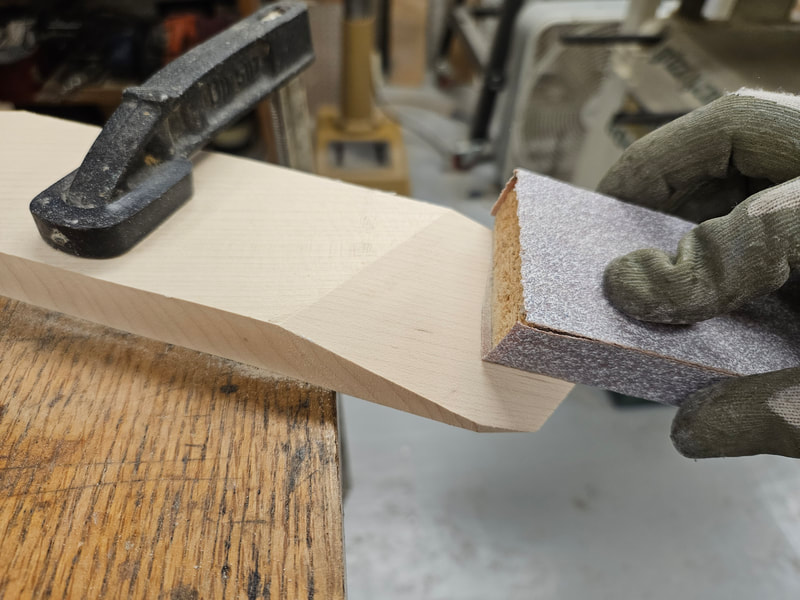
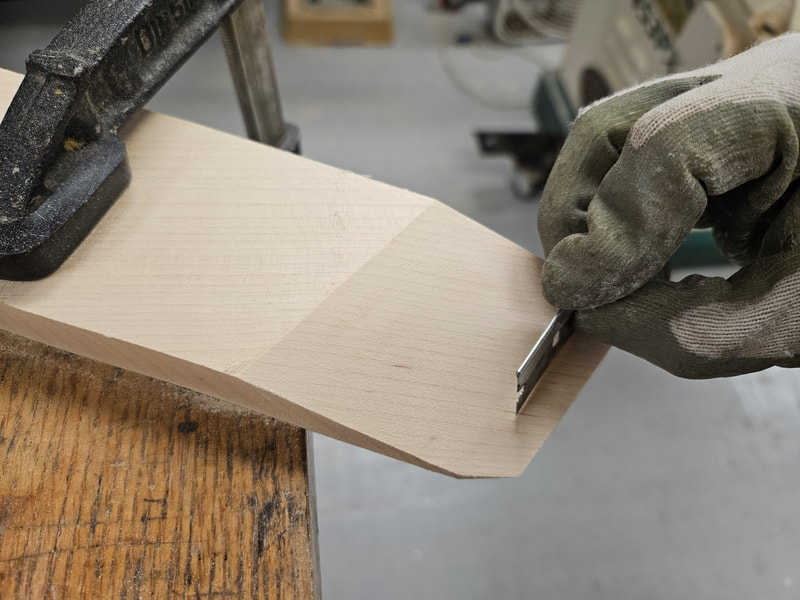
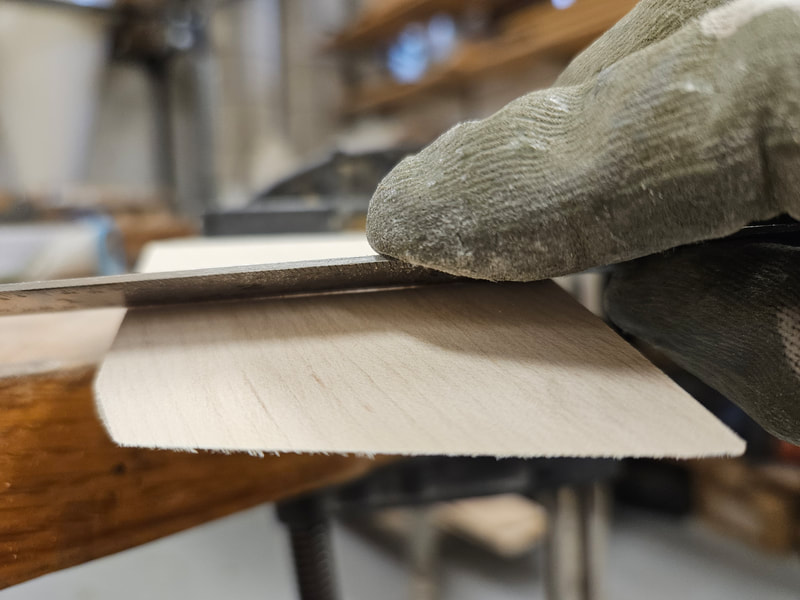
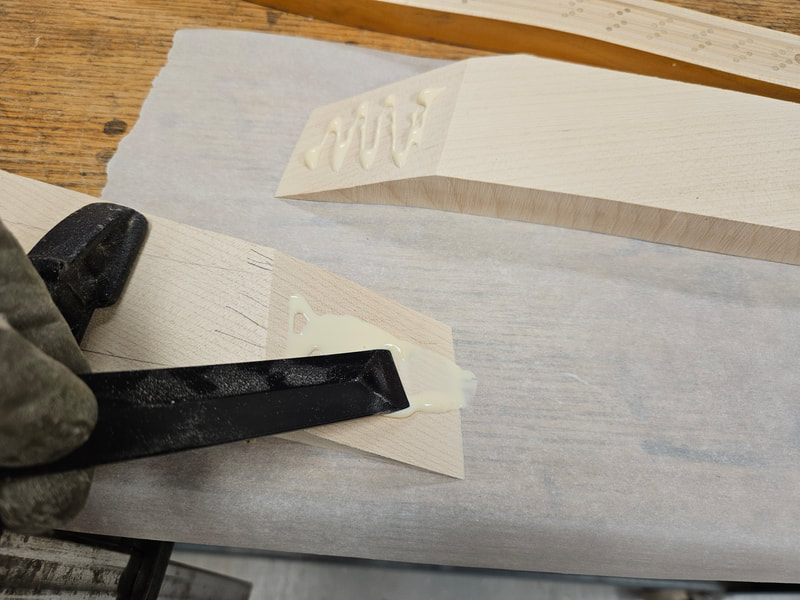
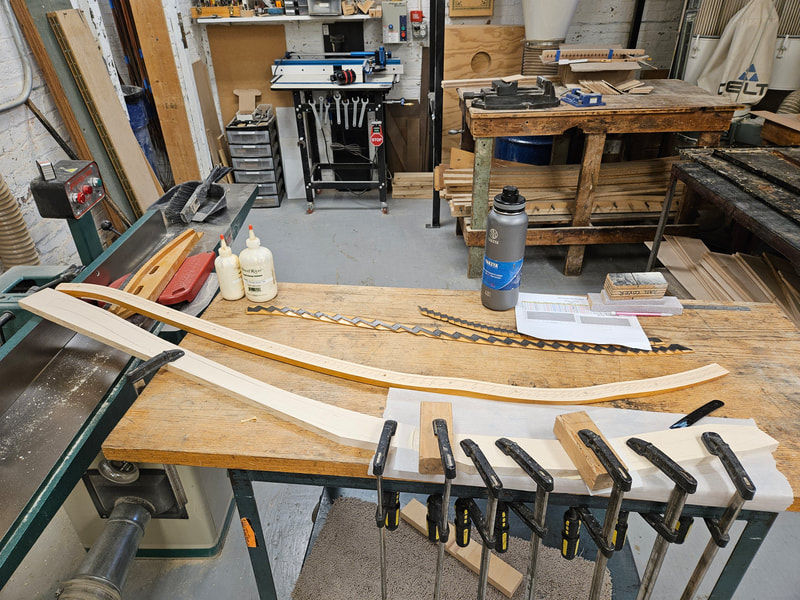
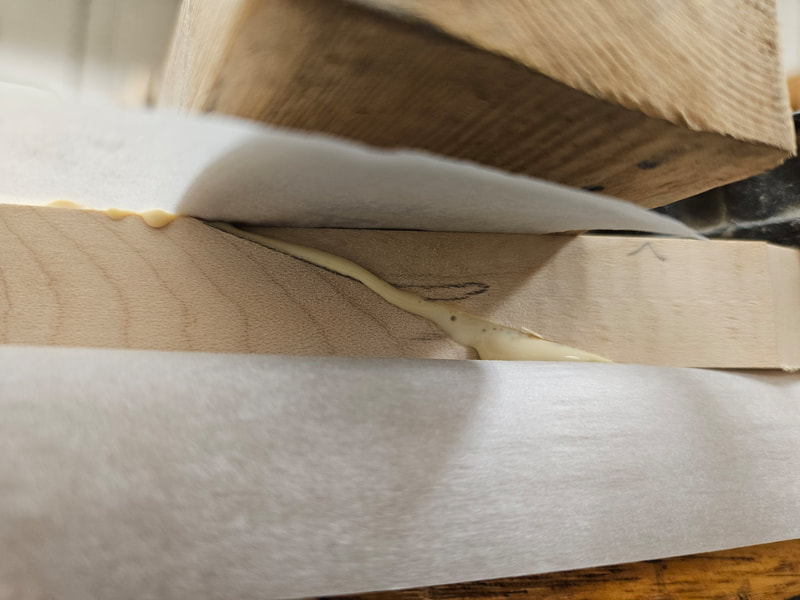
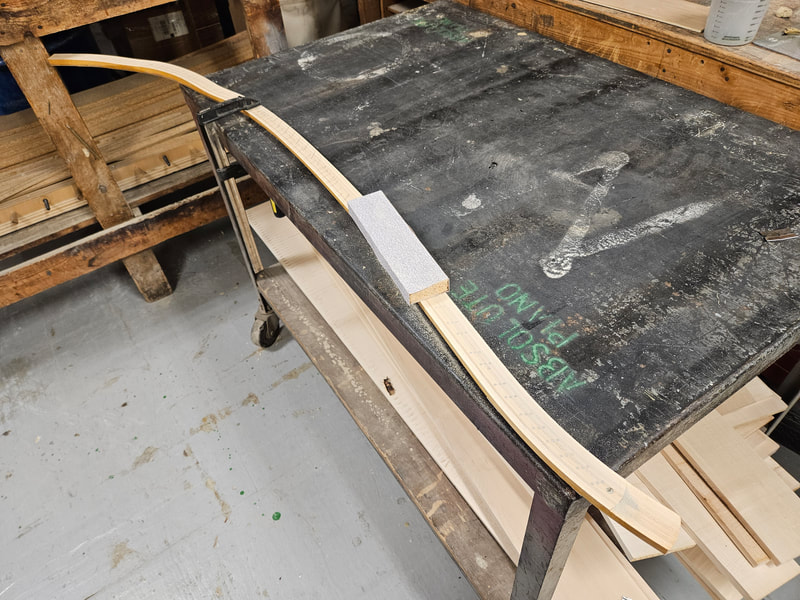
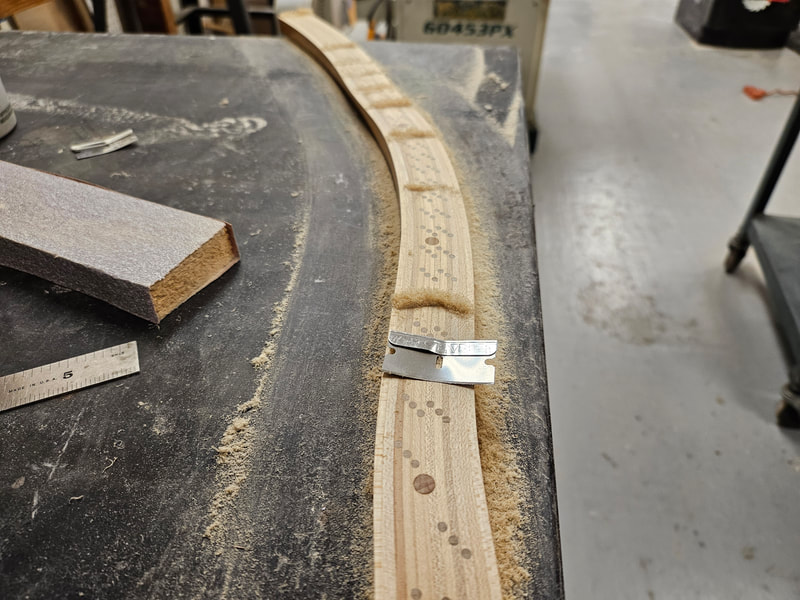
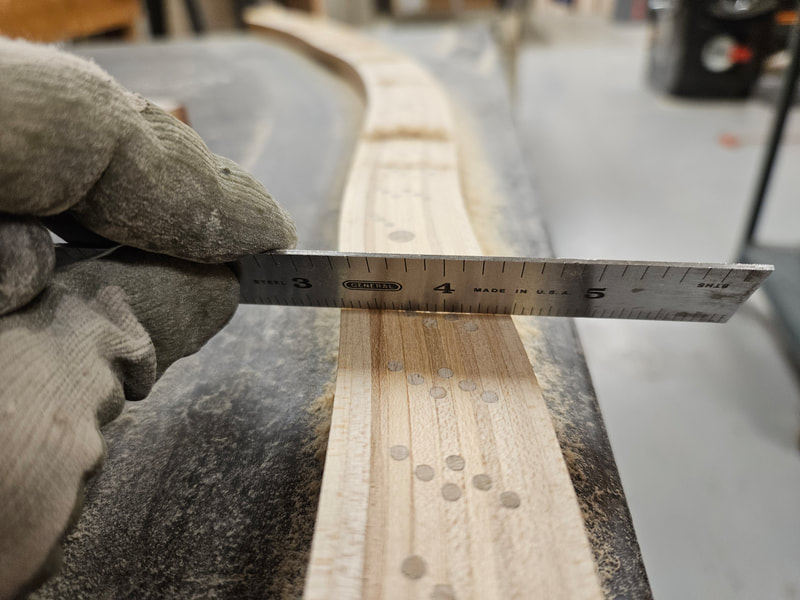
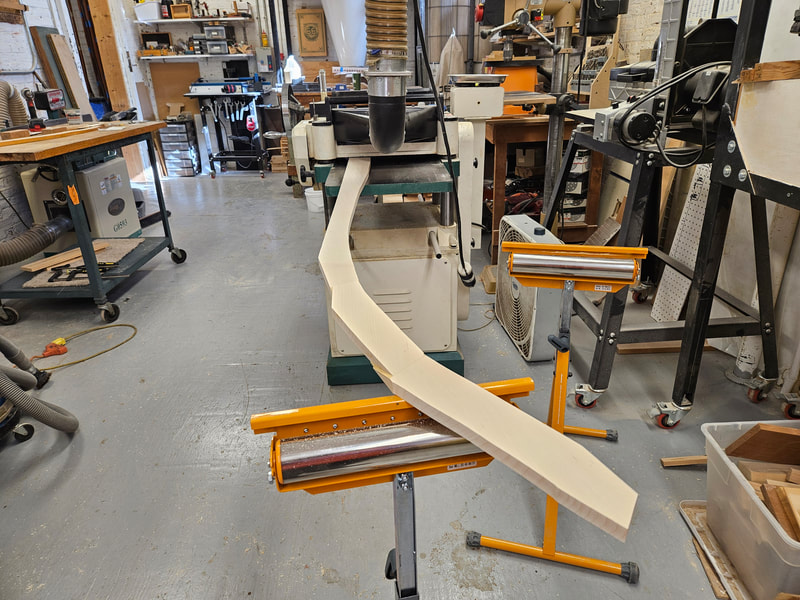
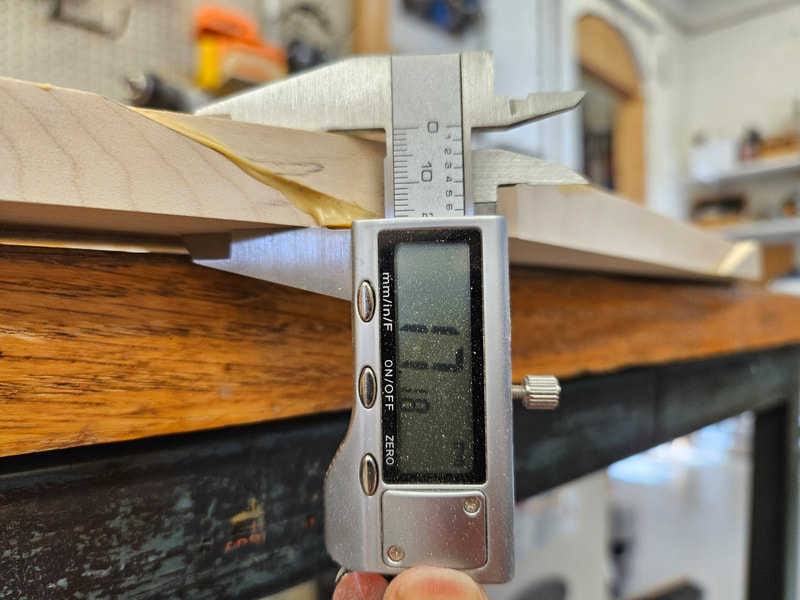
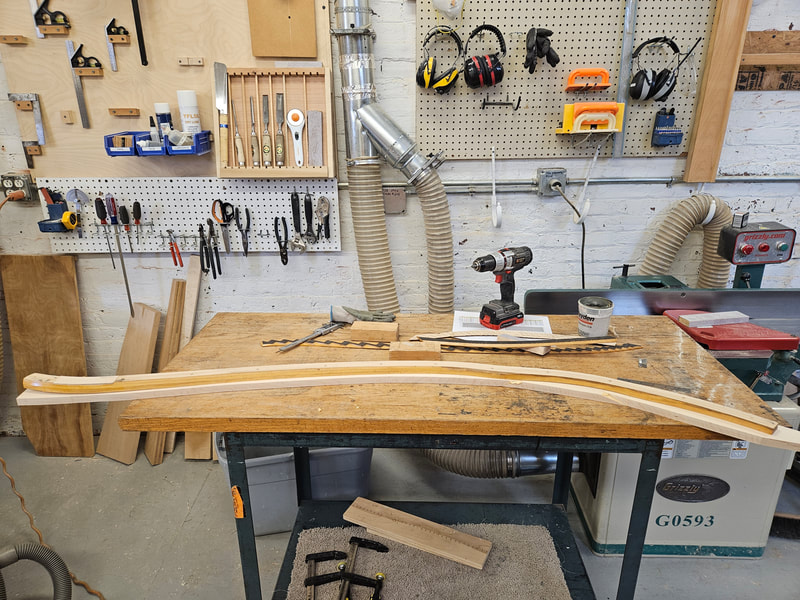
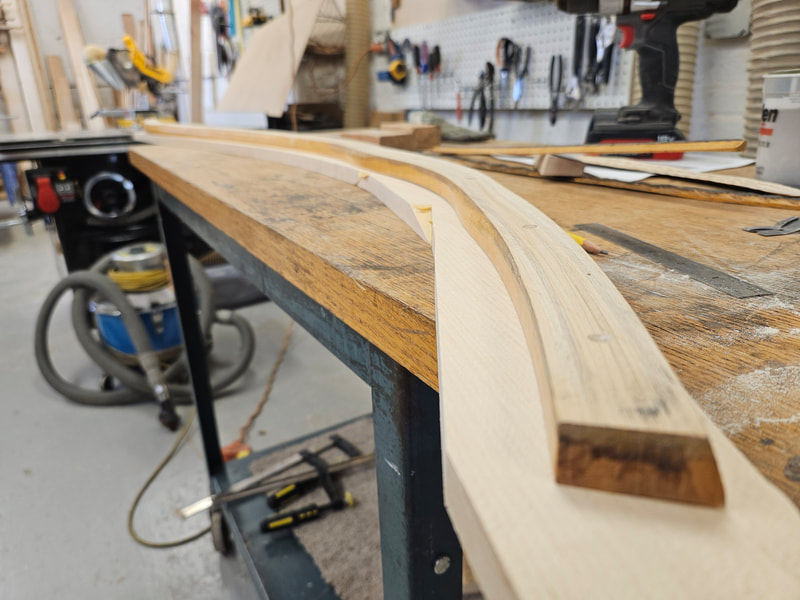
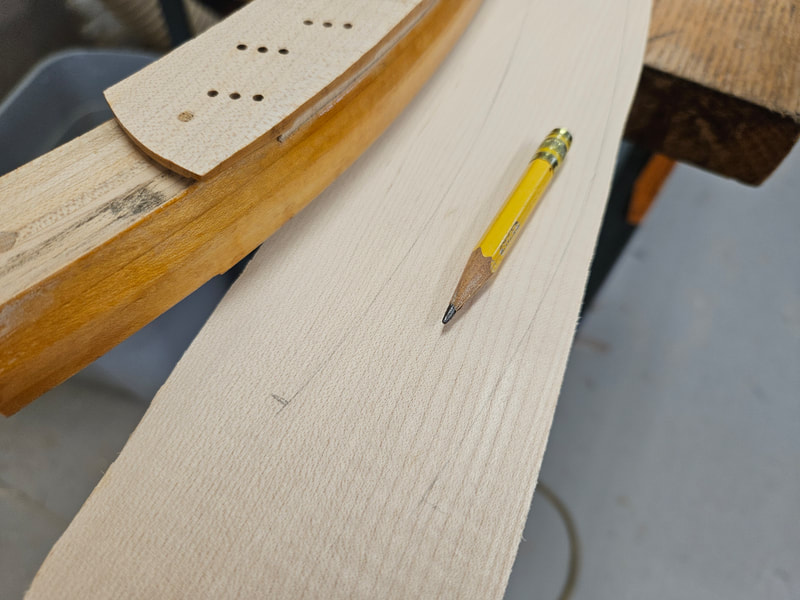
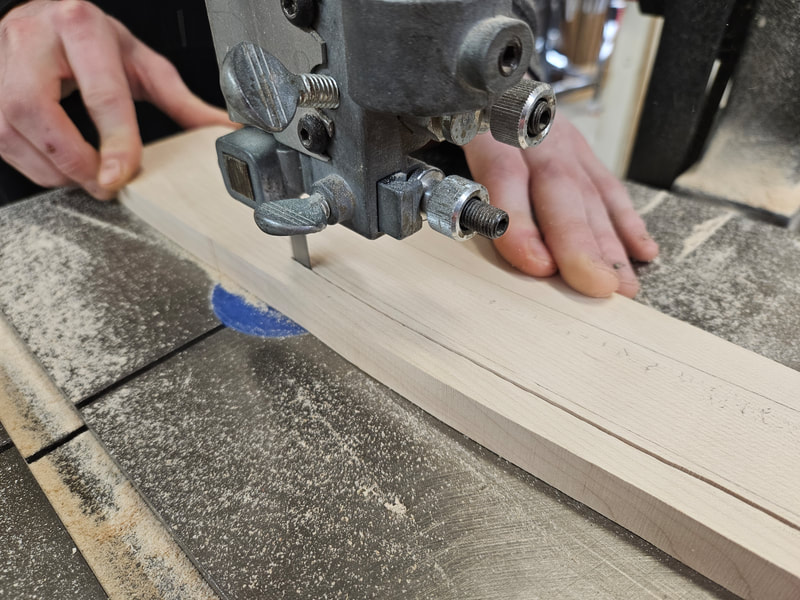
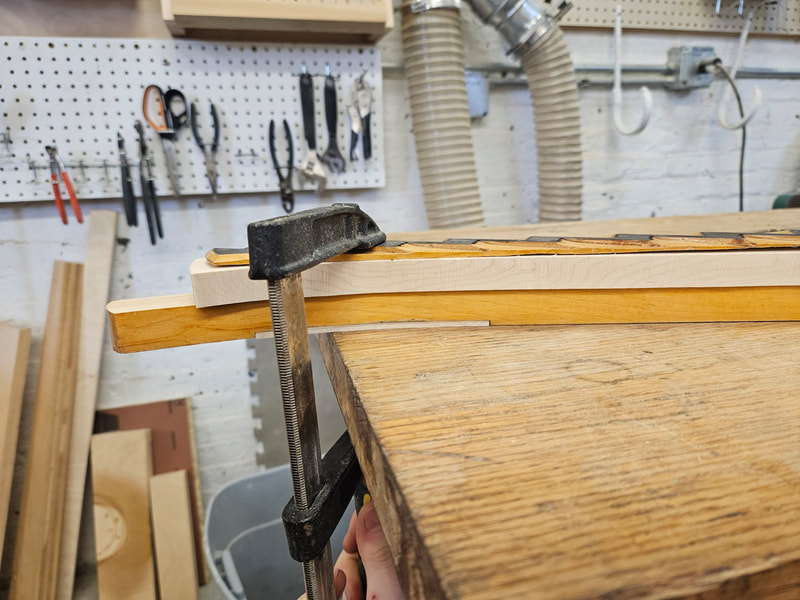
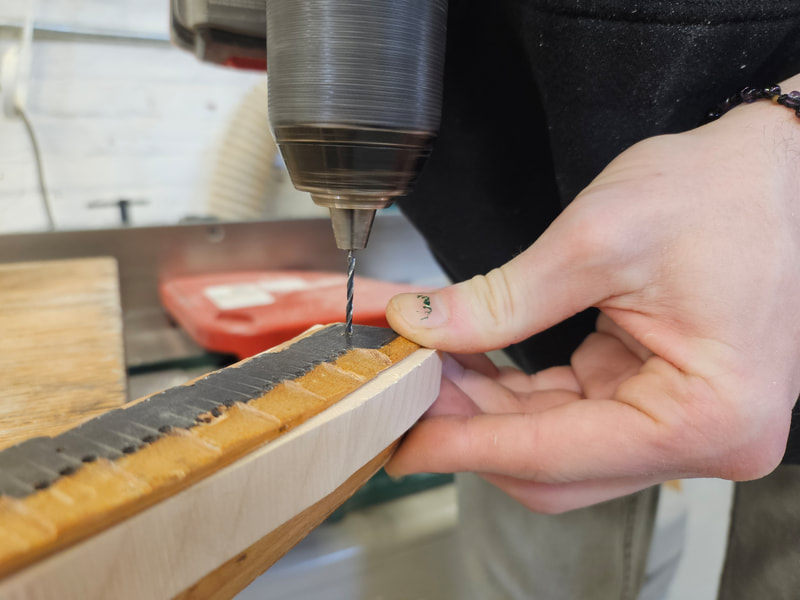
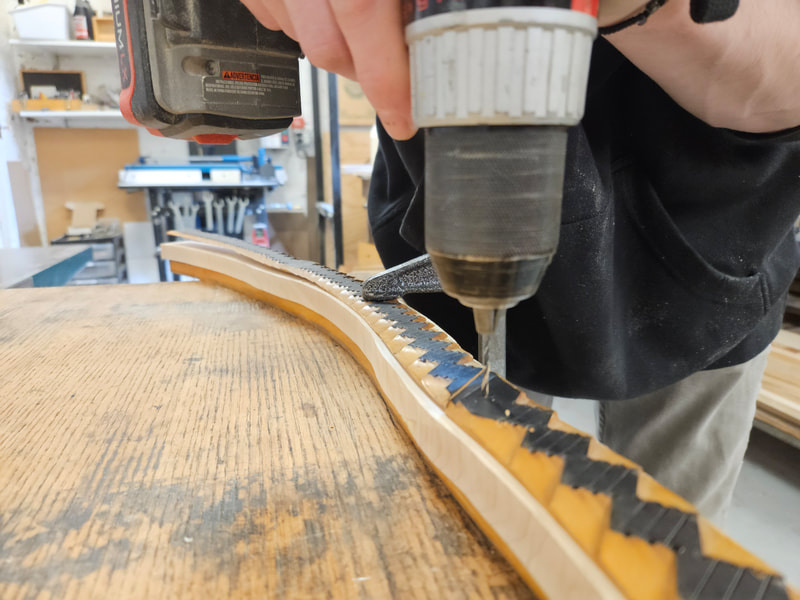
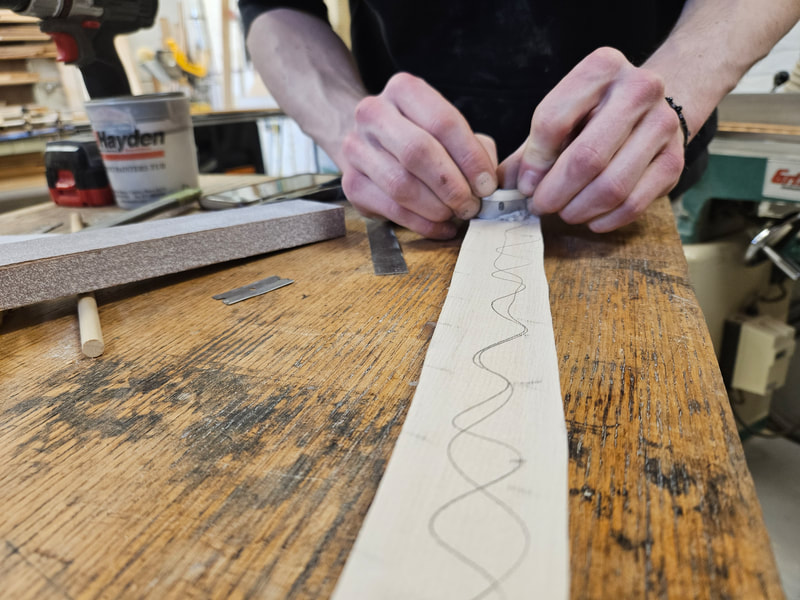
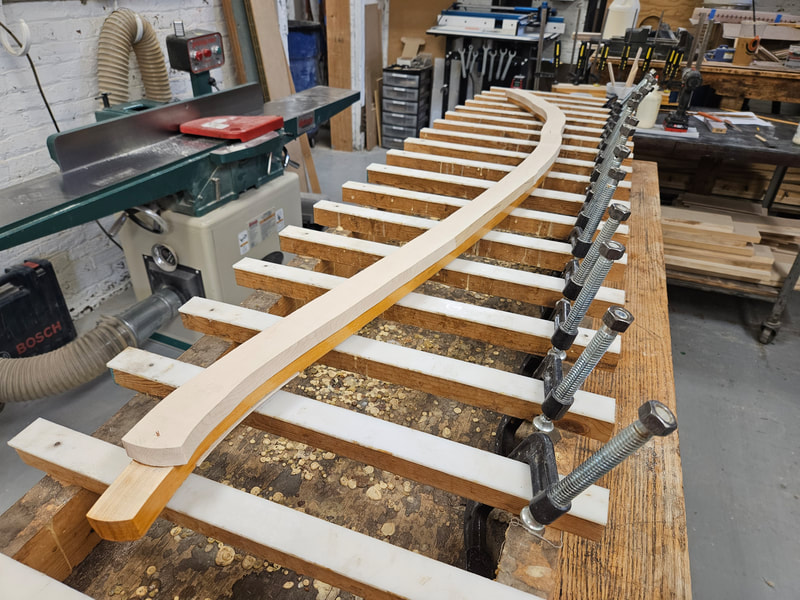
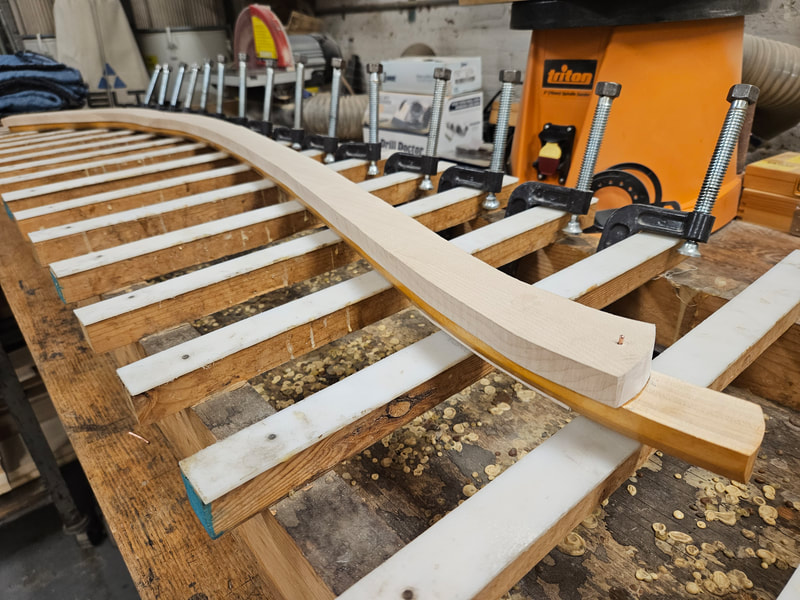
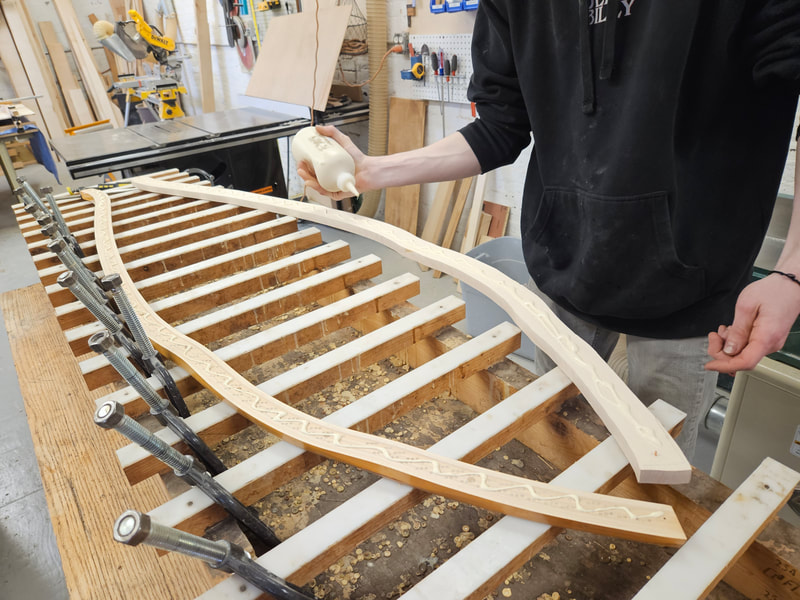
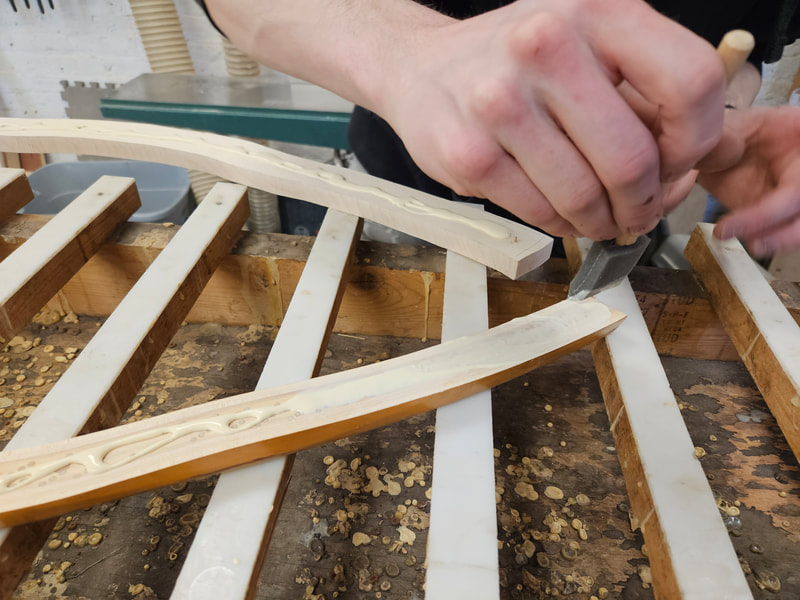
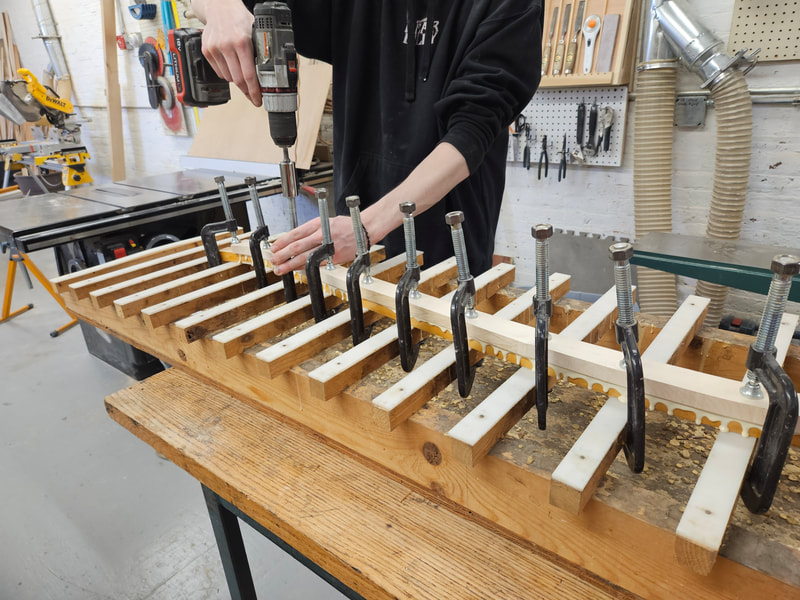
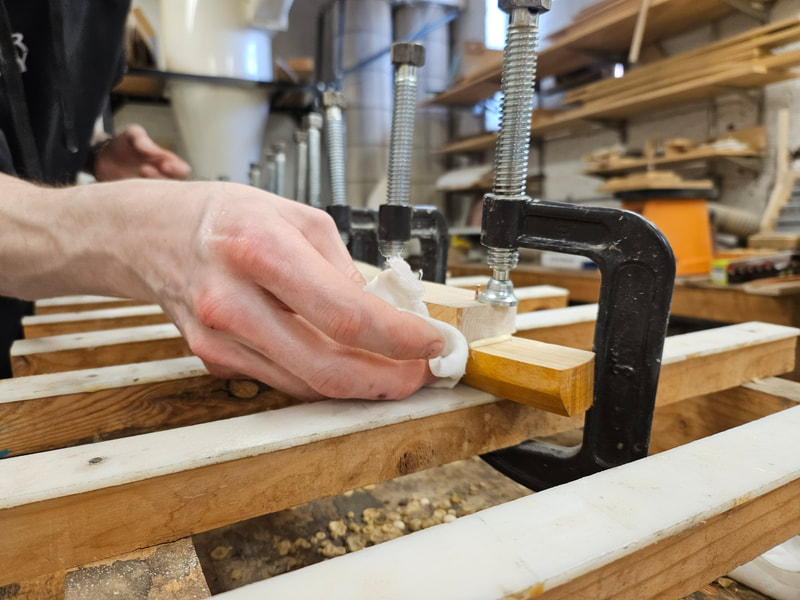
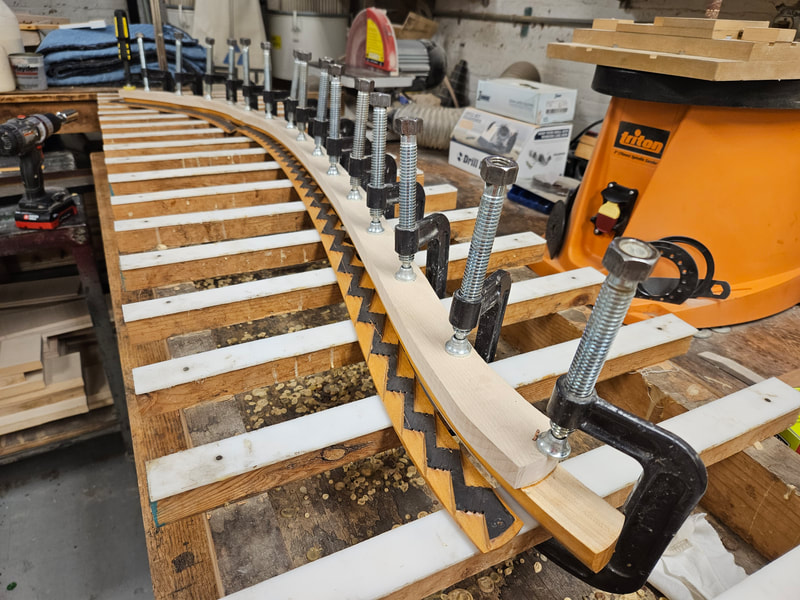
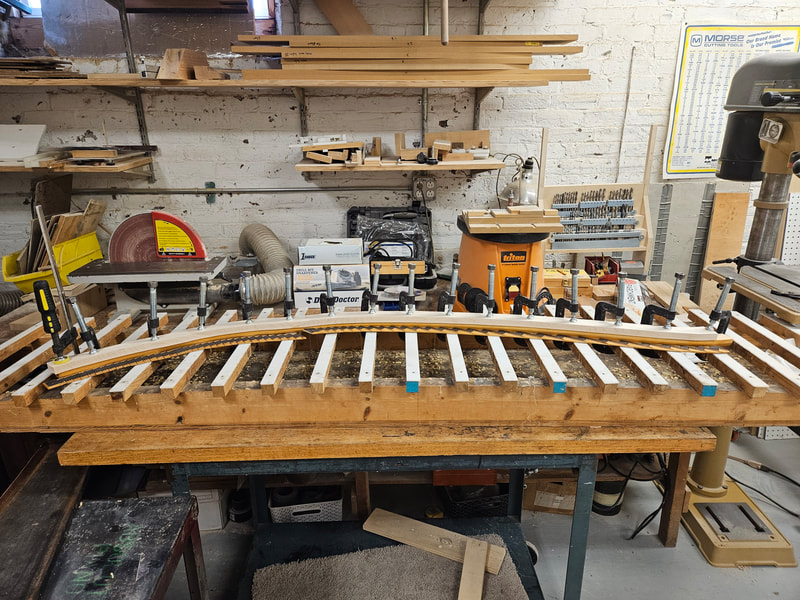
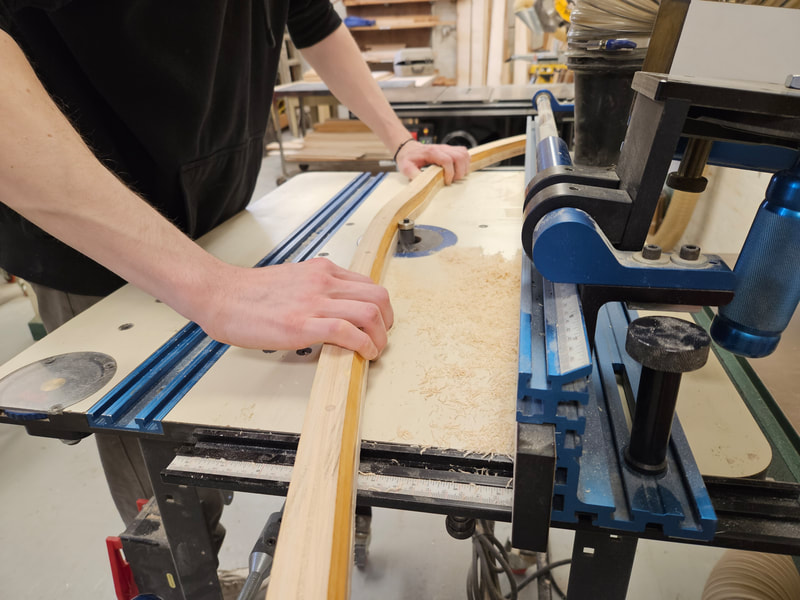
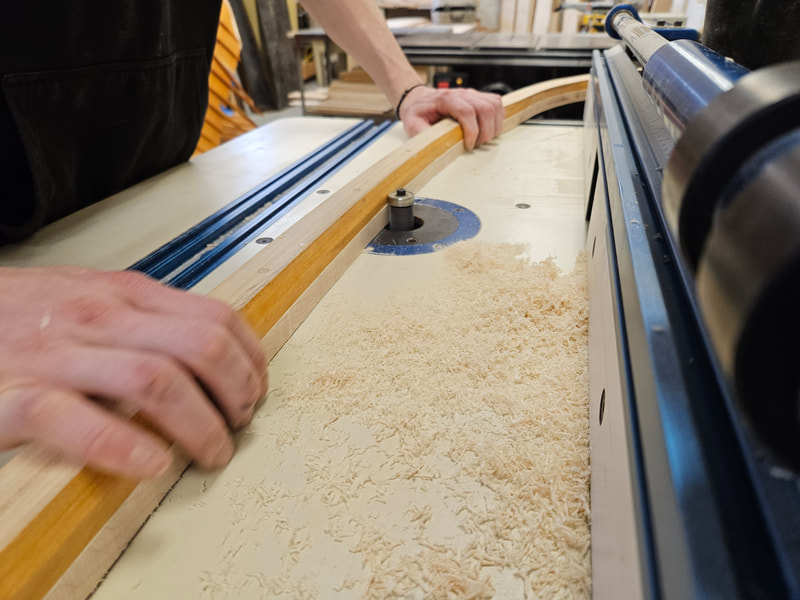
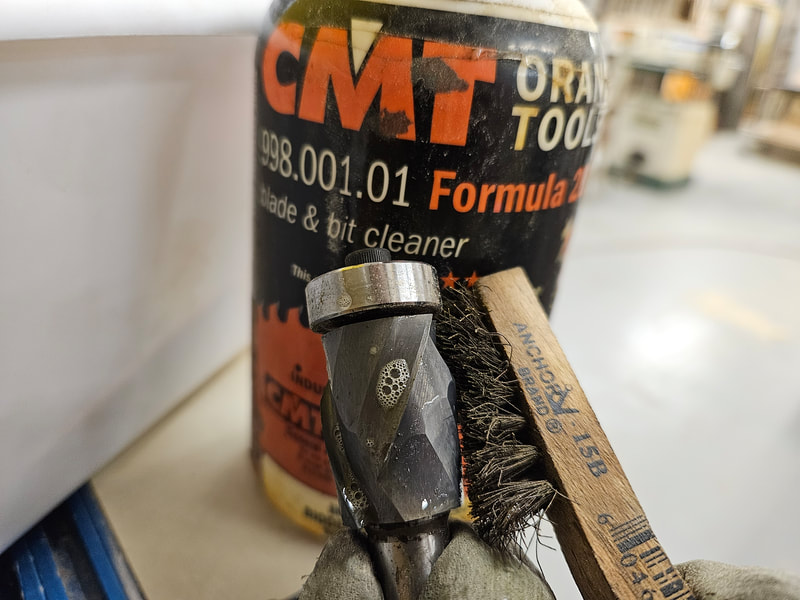
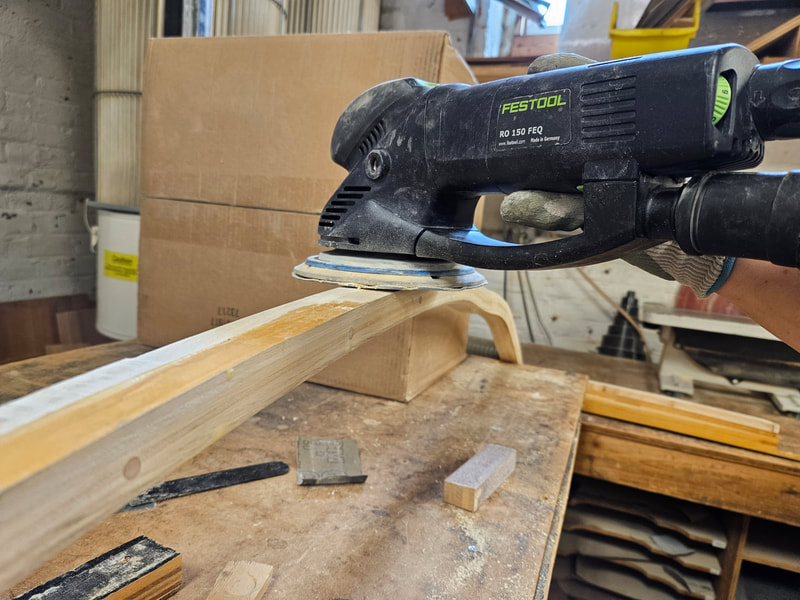
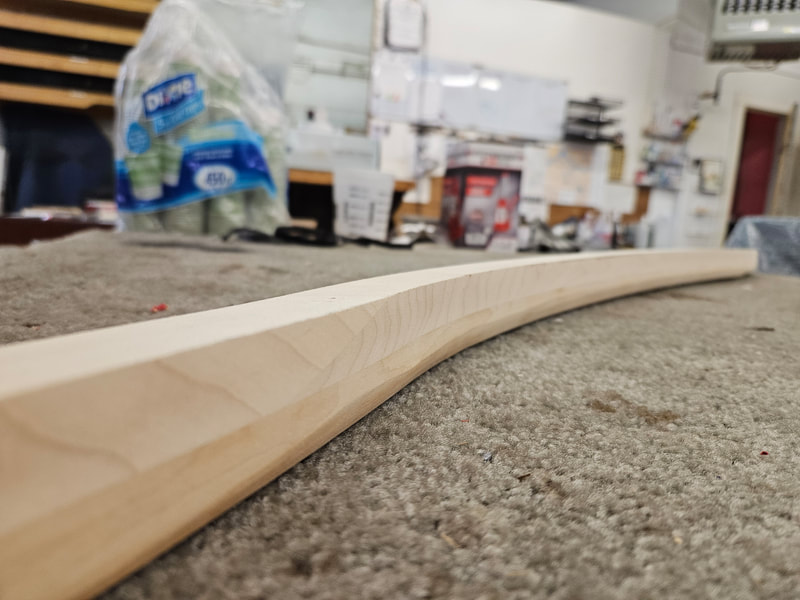
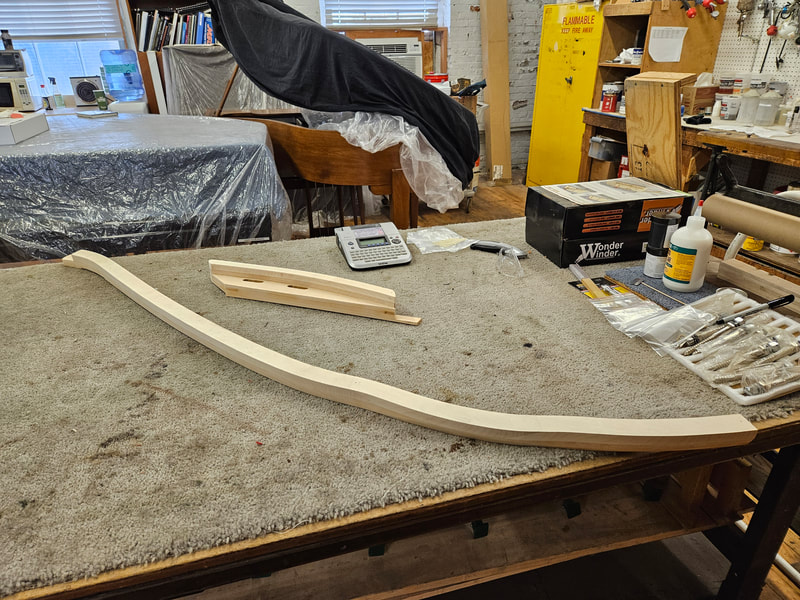
The old cap is sawn off and the root planed smooth. The original bridge height was 28mm at treble and 34mm at bass. We want to give the new cap 3mm extra height to play with. According to the current root height, we need the bridge cap to be at least 17mm in thickness. Find a piece or pieces of hard maple with tight grain, plane close to 17mm. We milled it to 18mm just to be safe. Mark the direction that the wood goes through planer with a smooth cut, as well as top surface. Through the whole bridge, the cap shall be installed at the same marked grain direction for easy milling and notching in the future. Plan for scarf joint. This bridge cap is made in three sections for the best grain direction along the bridge length. Trim off the marked pattern leaving 1/4" or 5-6mm room out side of the marked line. Mark where the scarf joint seam is on top of bridge cap. Use the 18° jig and a square to mark where the scarf joint will be milled. Transfer the seam angle to the cut off line with a protractor. Scratch the area to be milled so the worker is not confused during milling process. Chop off the excess piece on a chop saw. Watch both the cutting line and your fingers. This is a homemade jig for our 18° scarf joint. The cap is fastened by downward pressure from a piece of wood and screws. The router, Ms. Roar Roar, can move from left to right. Rout for the first pass. If the routed surface is narrow on one side and wide on the other, tap with a hammer to straighten it up. Repeat until the same width is achieved with one pass. Lower the router bit 2-3mm or 1/8" at a time. Cutting too much at once can damage the wood. After all joints are milled, put the three pieces together. Place the root upside down on the cap to find the best assembly position. Mark scratch lines at the ideal joint position. Sand the joint surface smooth and scrape a smiling face for the glue to stay. Apply glue, clamp the joints, and let dry over night. When the glue is drying, prepare the root surface. Sand smooth with 80 grit sandpaper, then scrape a smiling face through the length of the bridge. On the next day, the glue is dried. Mill the bridge cap to the 17mm thickness we decided the day before. Place the root to check fitness. Trace the shape of root onto the cap, saw the excess wood off leaving 1/8" or 2-3mm room outside of the line. The hands here belong to our coworker Joe Harrison. In order for the cap not to slide on the root during gluing process, we put three locator pins through the cap into the root. Joe is drilling the locator pins at the treble end, middle, and bass end. He uses the original cap to find locator pin spots without bridge pins. Prepare the cap surface the same way with the root. Carve a smiling face for glue to stay. Dry fit before applying glue. Spread glue evenly on both the cap and the root. Clamp firmly. Clean glue squeeze out with a warm wet rag. Let dry over night. On day three, set up the router table, place the bridge upside down, ride the router bit bearing on bridge root, rout the cap flush to the root. Clean and grease the router bit after usage. With a 80 grit sanding disk on a Festool or random orbital sander, sand the old finish off the root and bridge side surface smooth. Increase the grit from 80 to 120 or 180, then to 220. The bass bridge cap is done the same way with treble bridge (the long one).
Thanks to Joe and his hard work through the whole process. Thanks to Mr. David Betts standing by us invisibly watching and mumbling. Comments are closed.
|
Archives
May 2024
|
