|
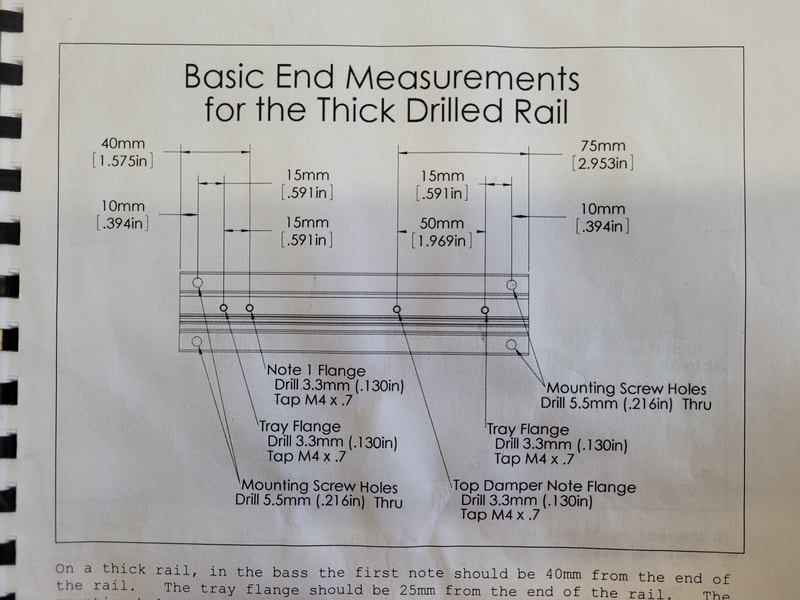
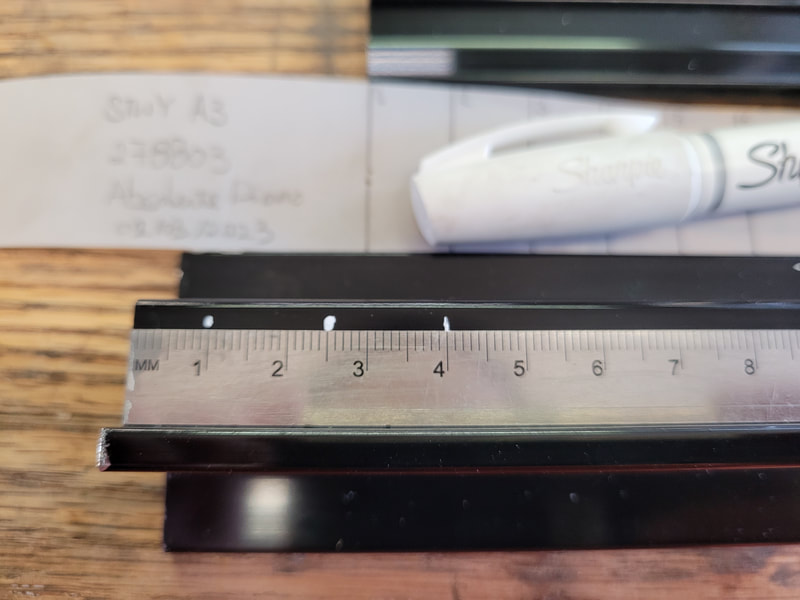
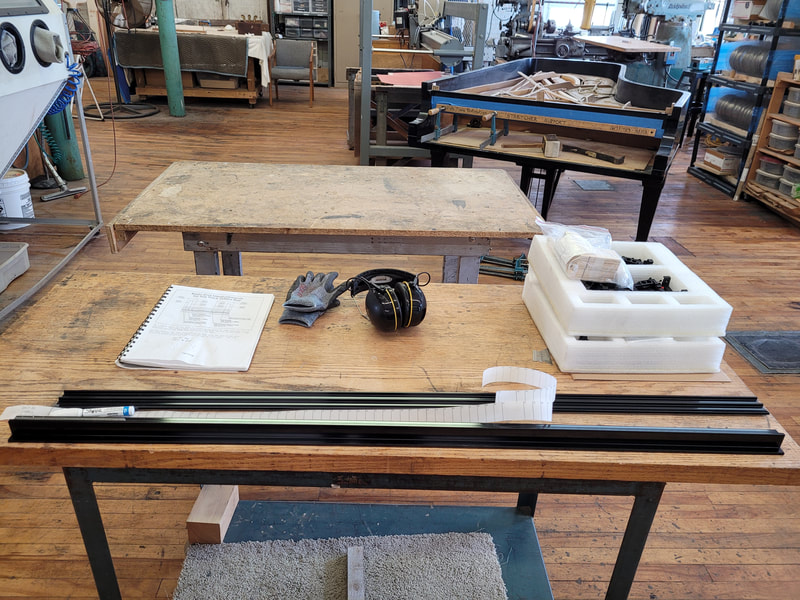
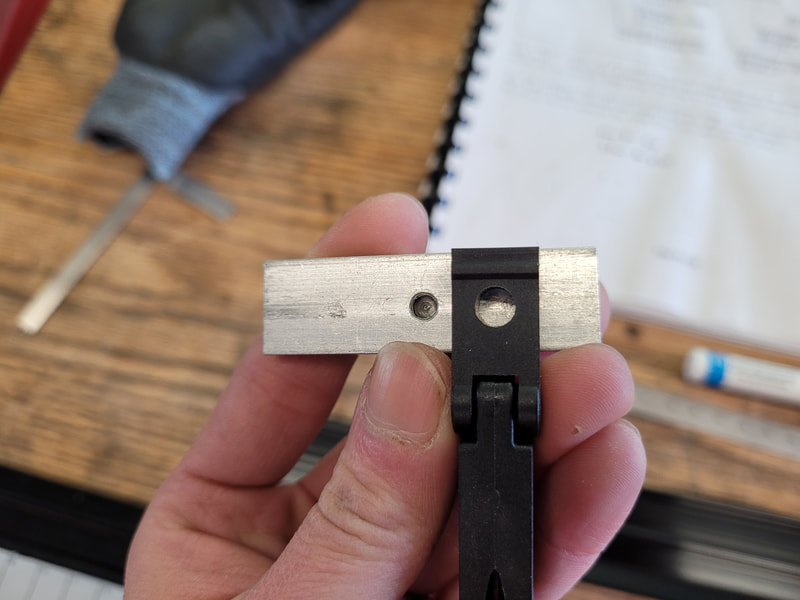
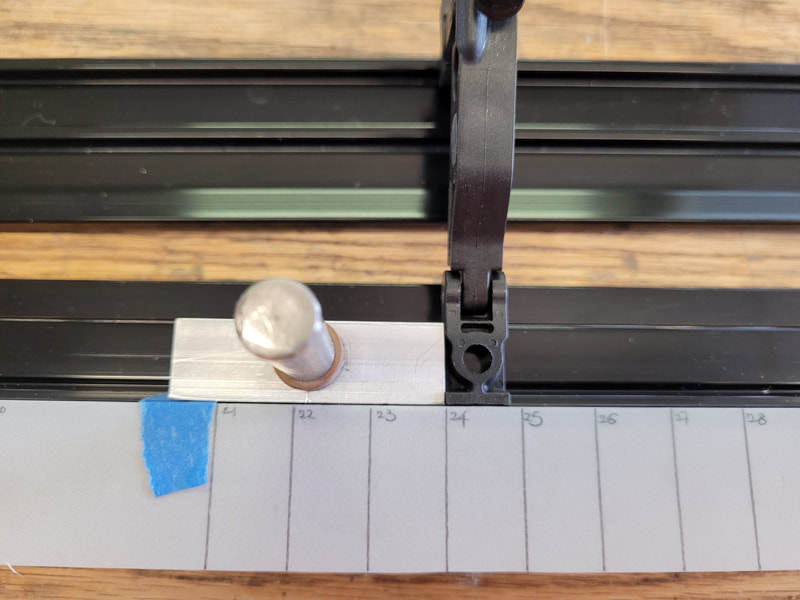
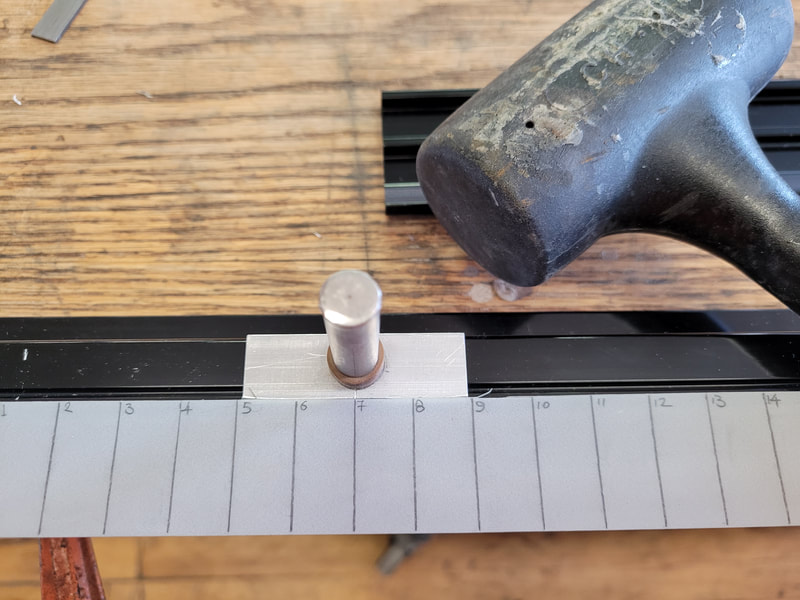
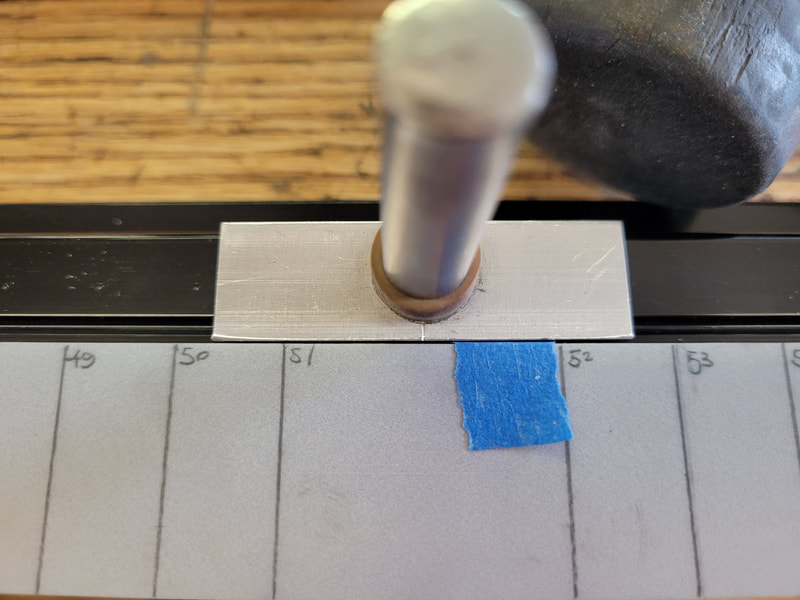
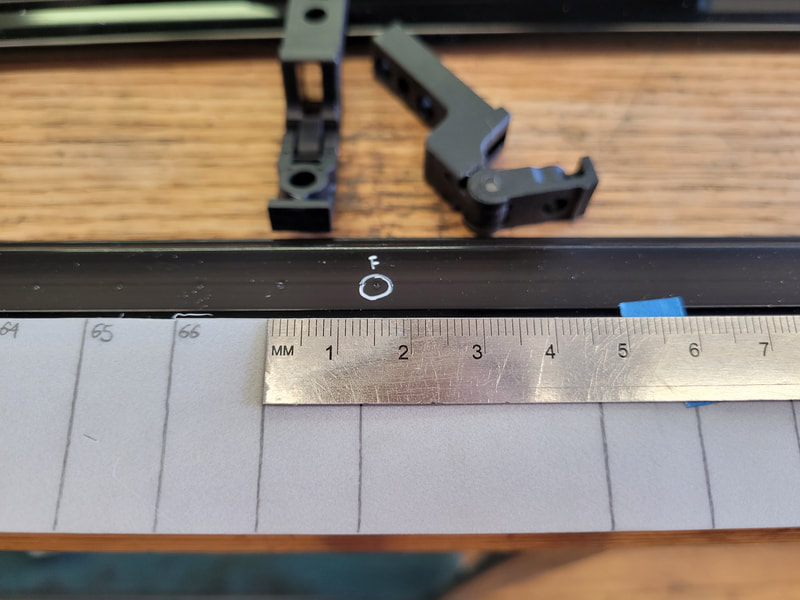
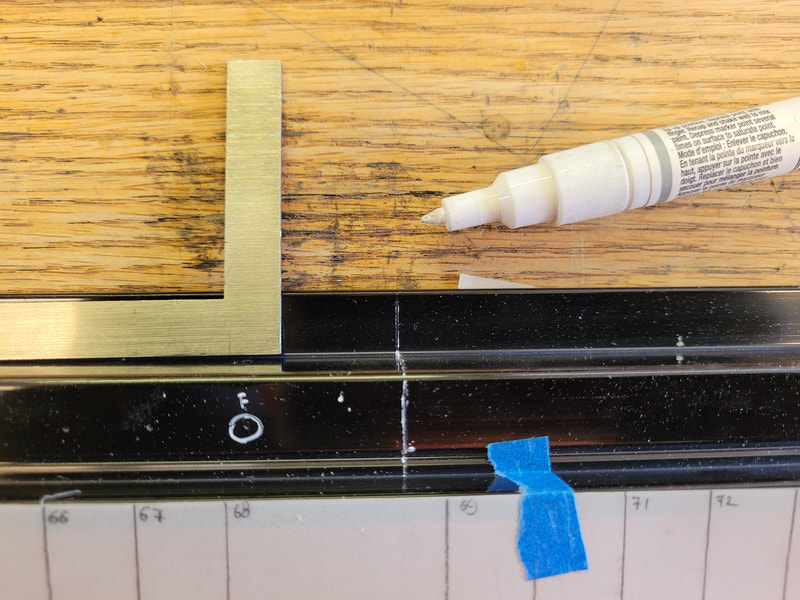
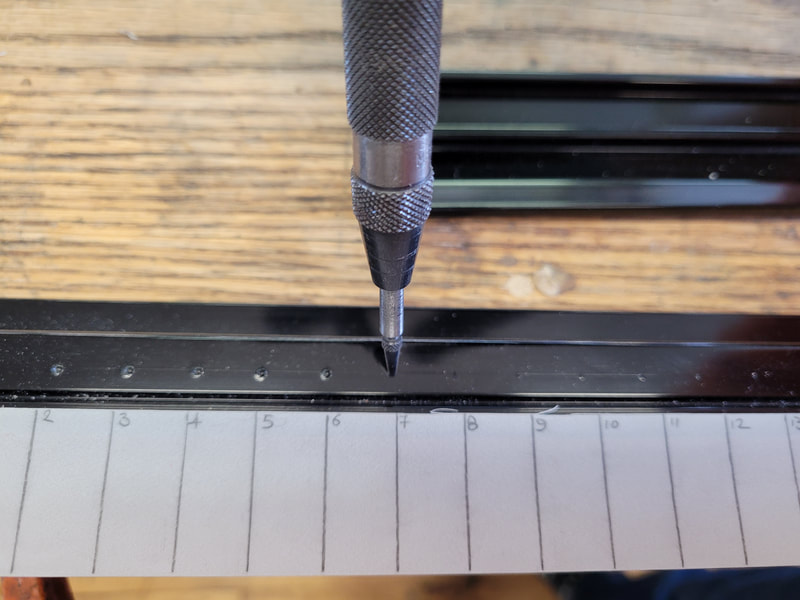
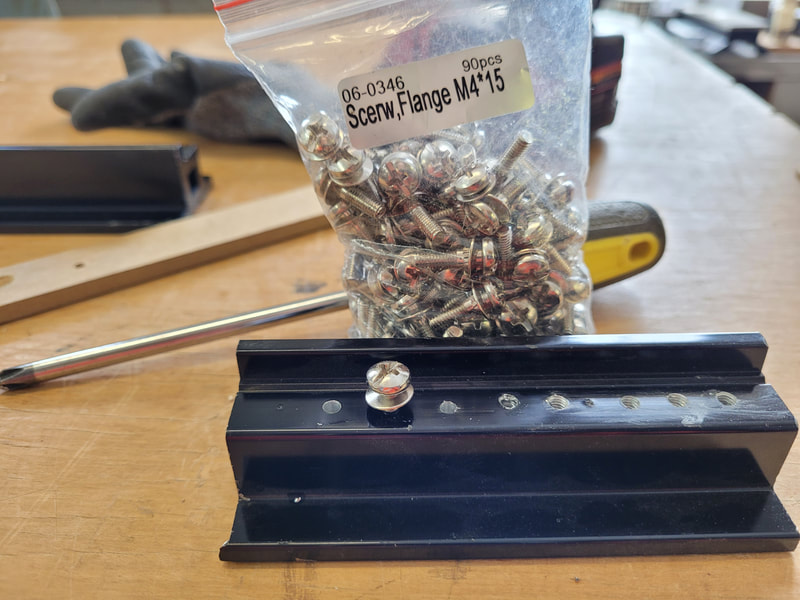
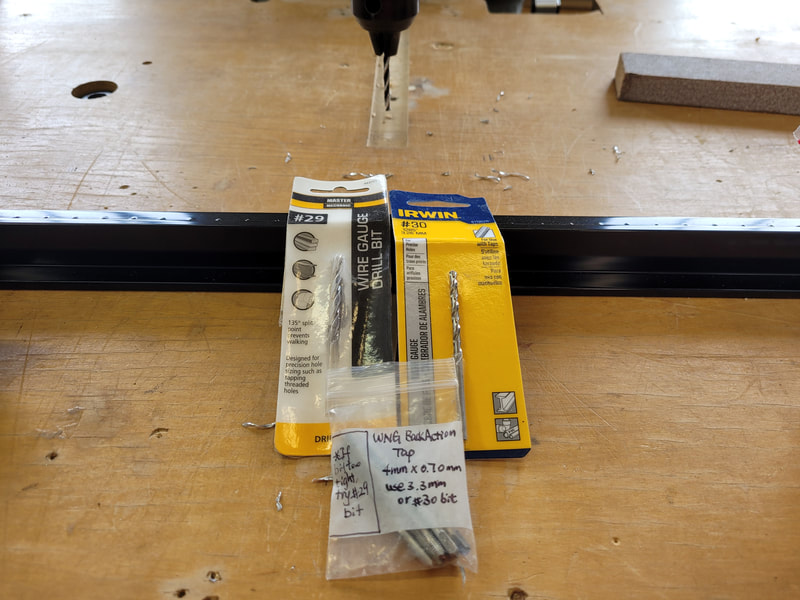
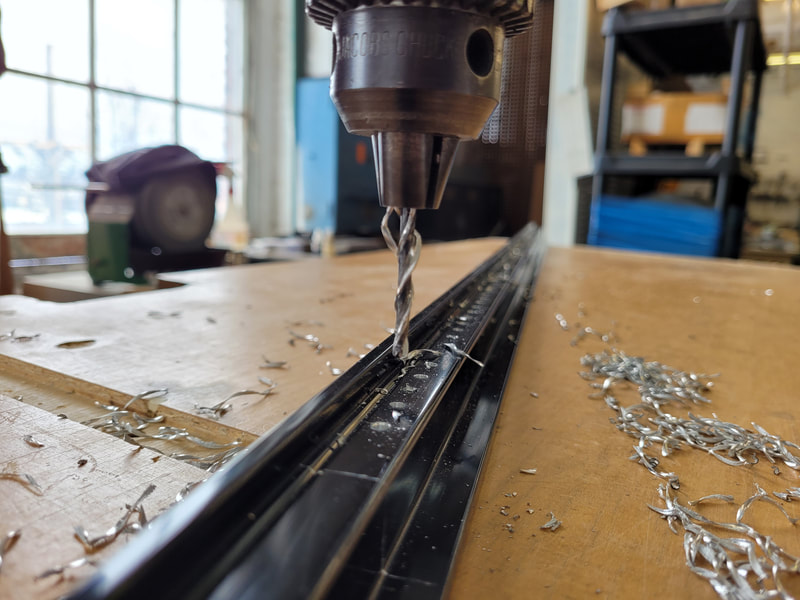
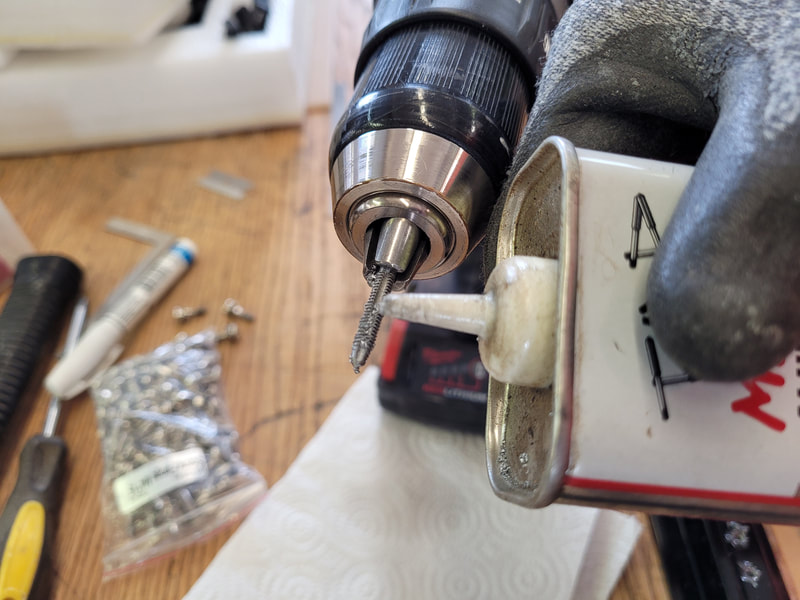
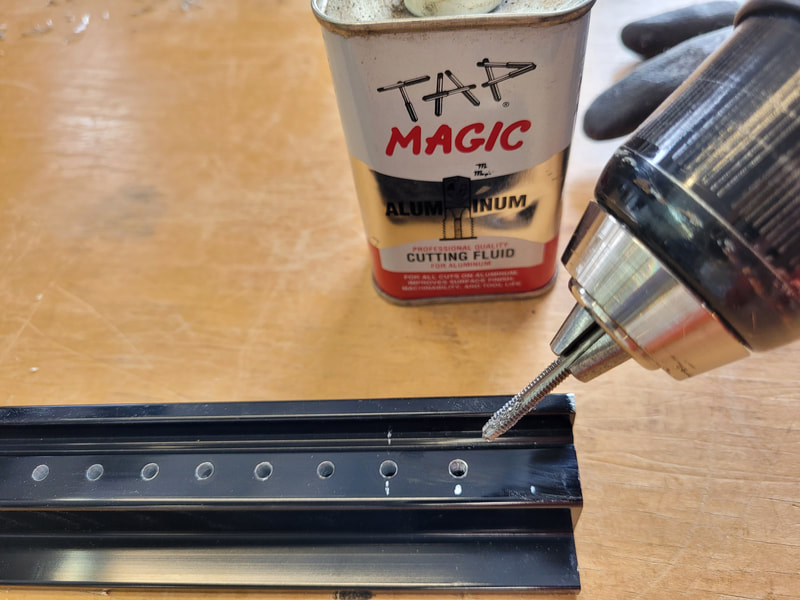
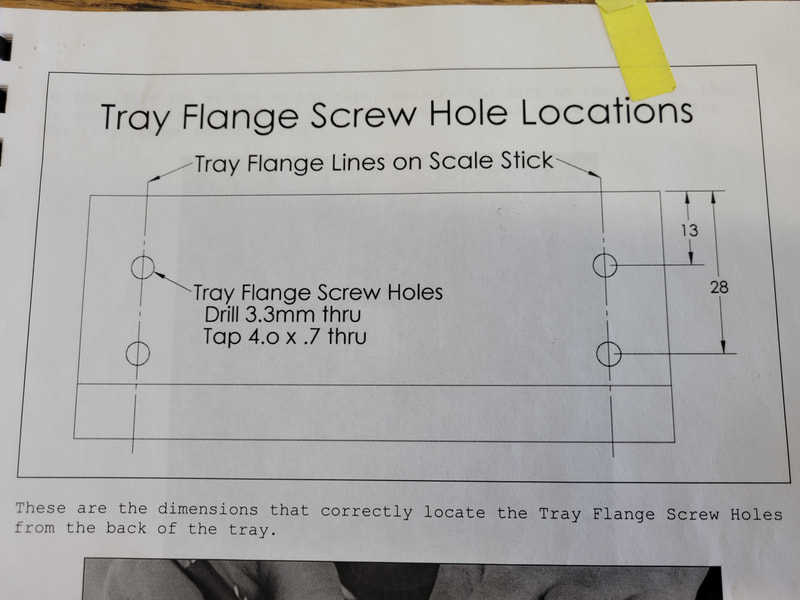
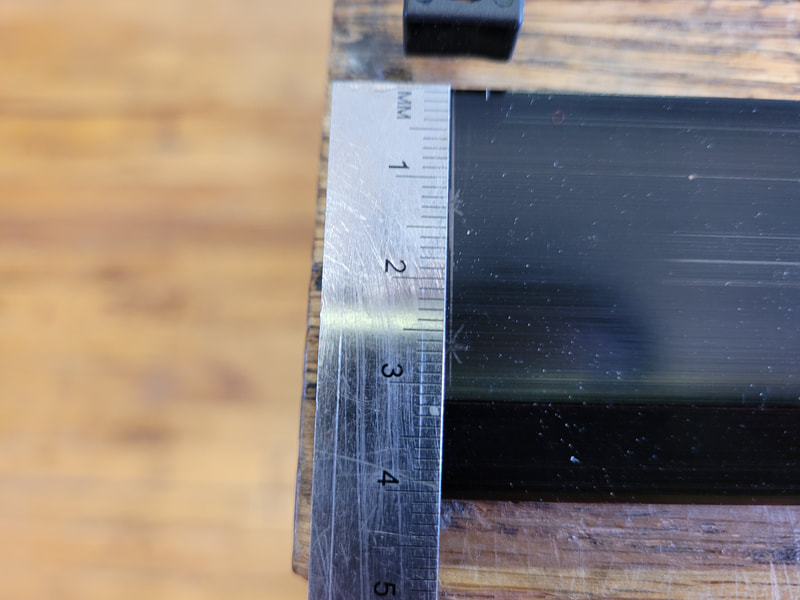
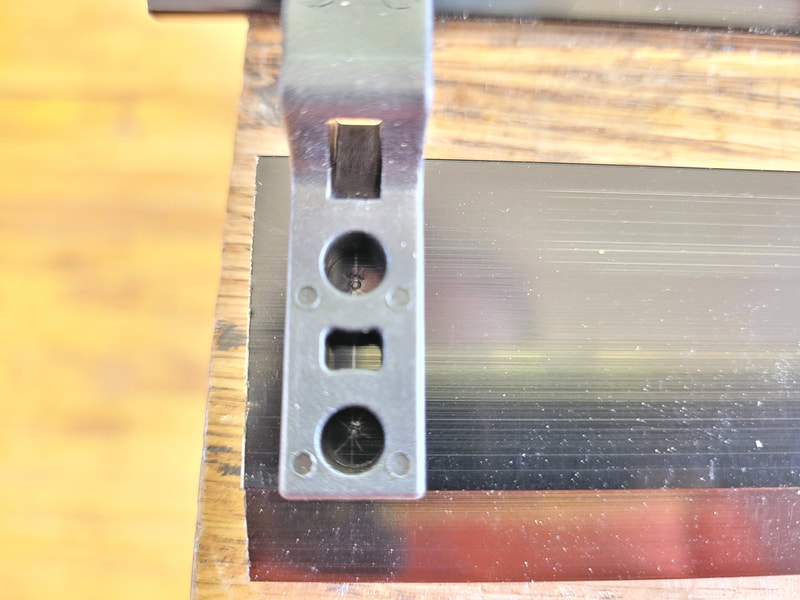
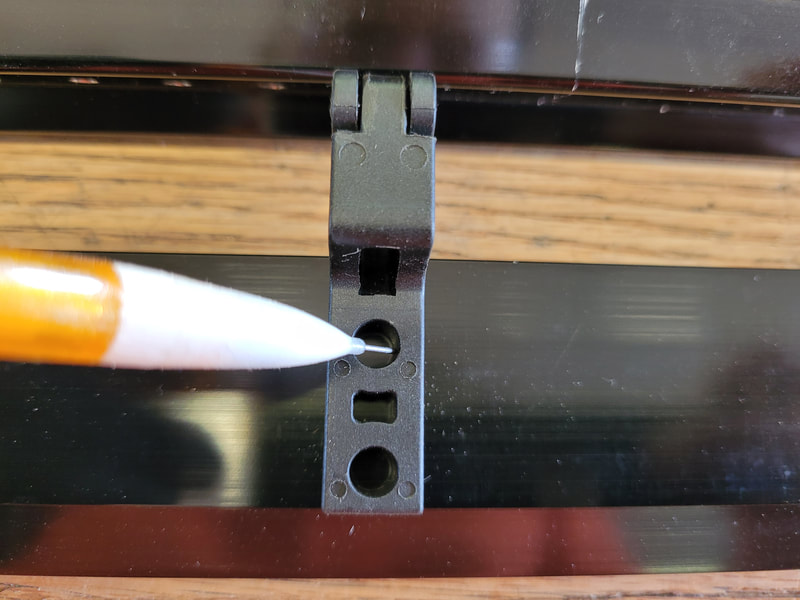
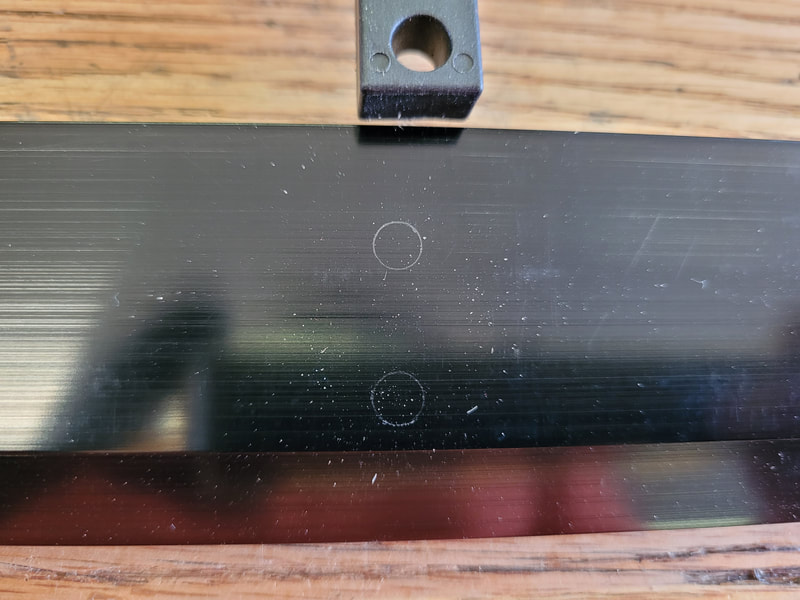
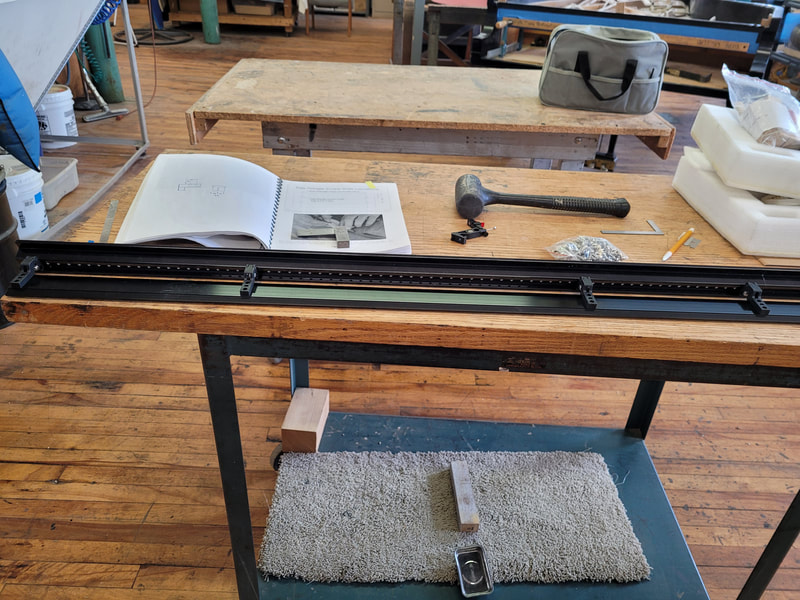
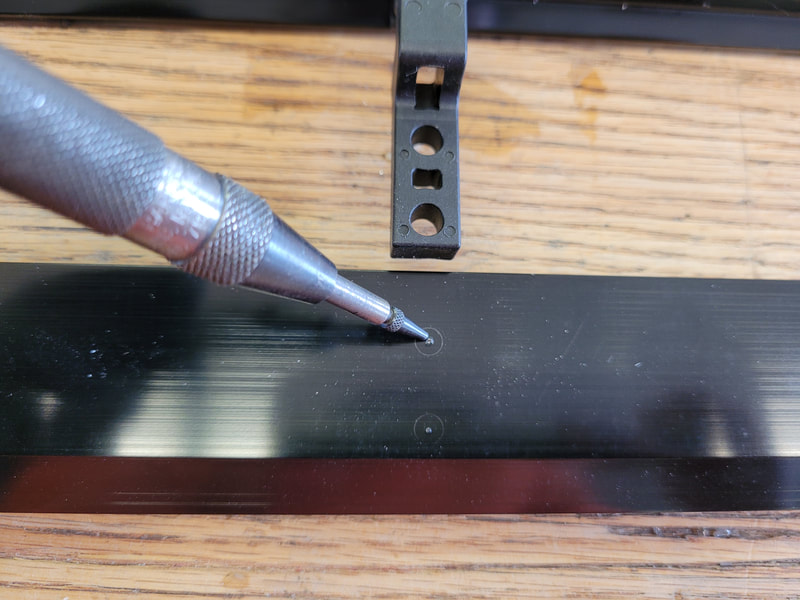
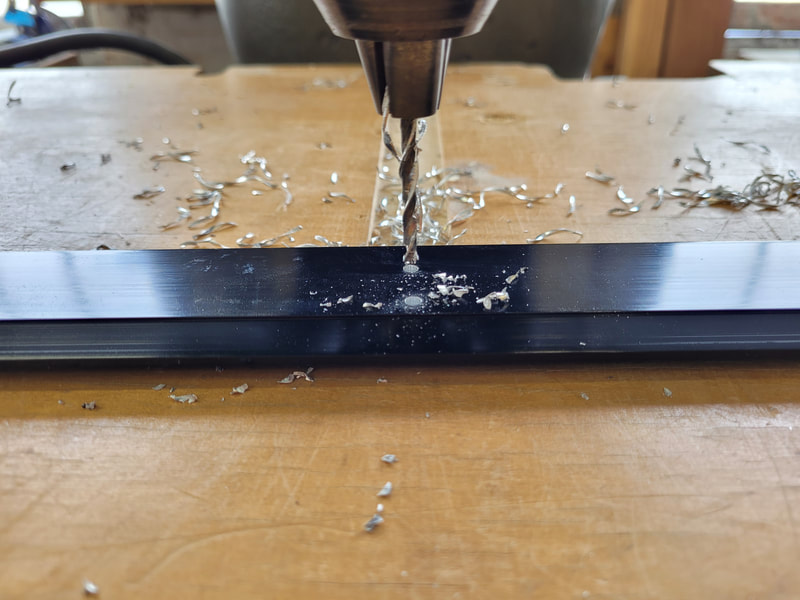
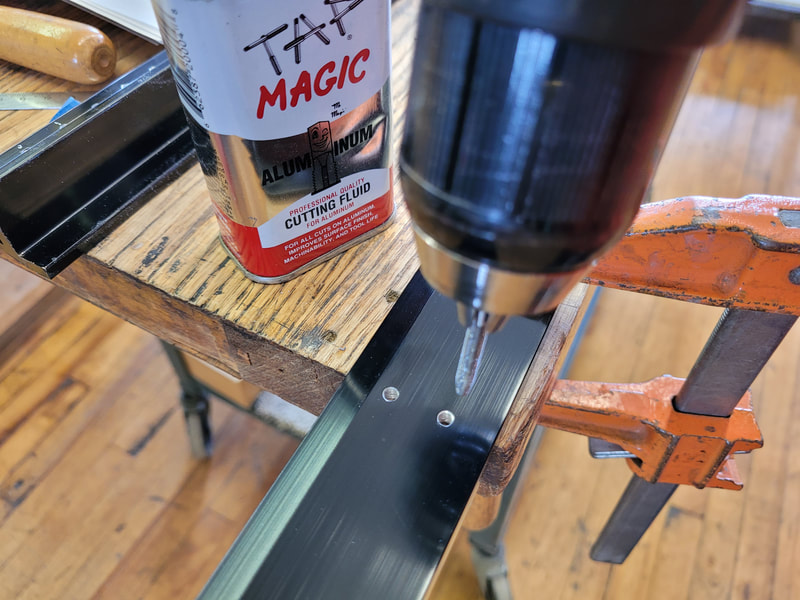
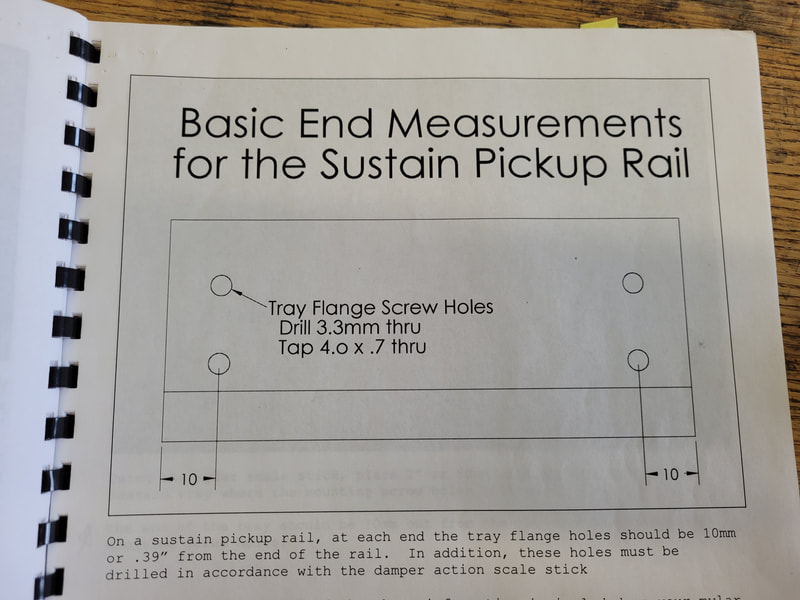
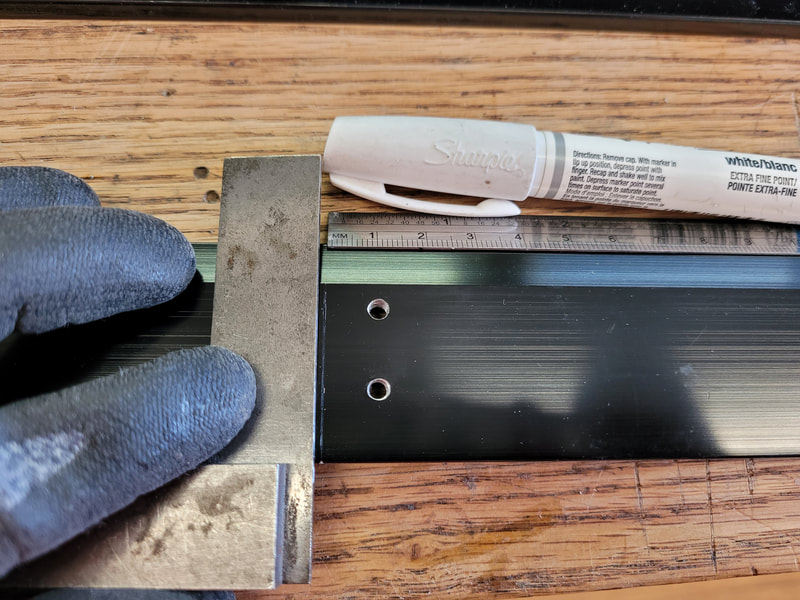
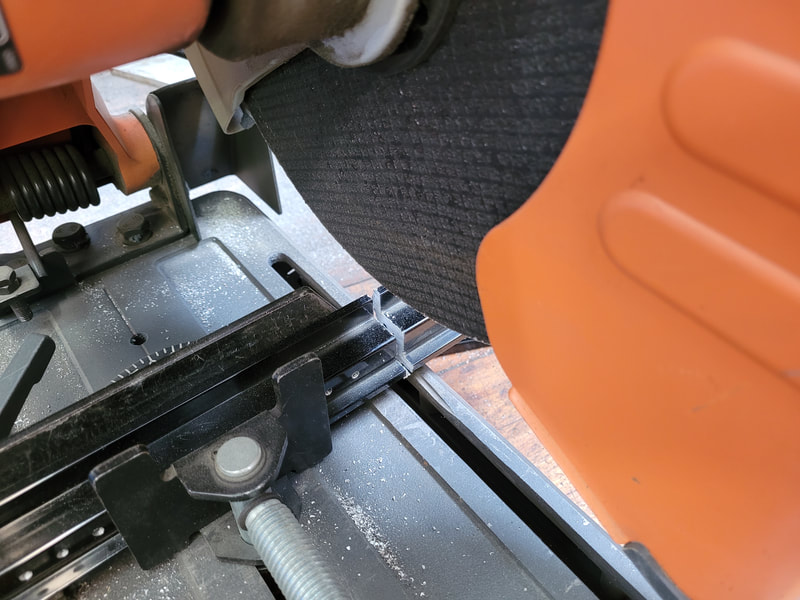
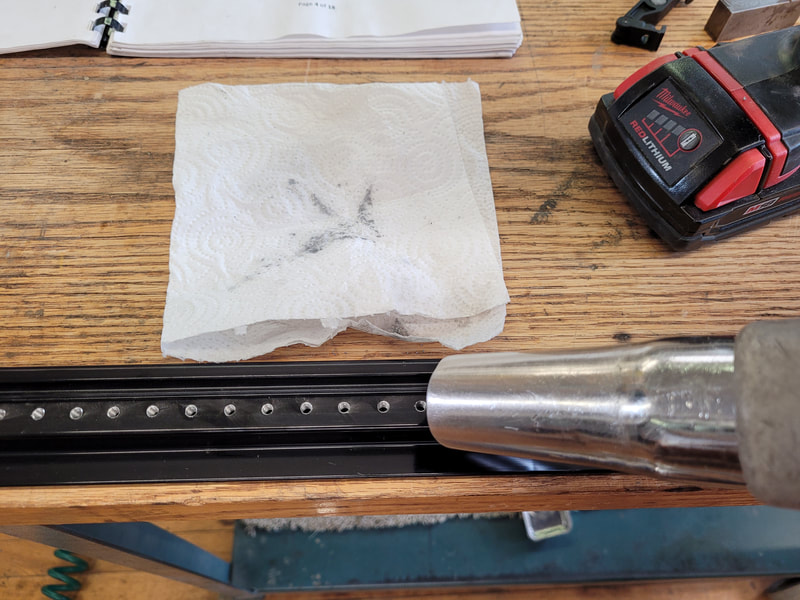
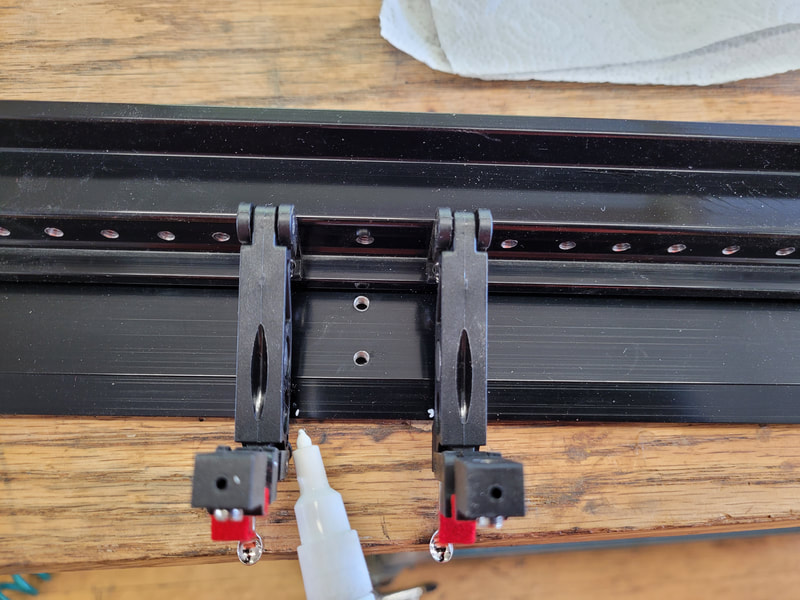
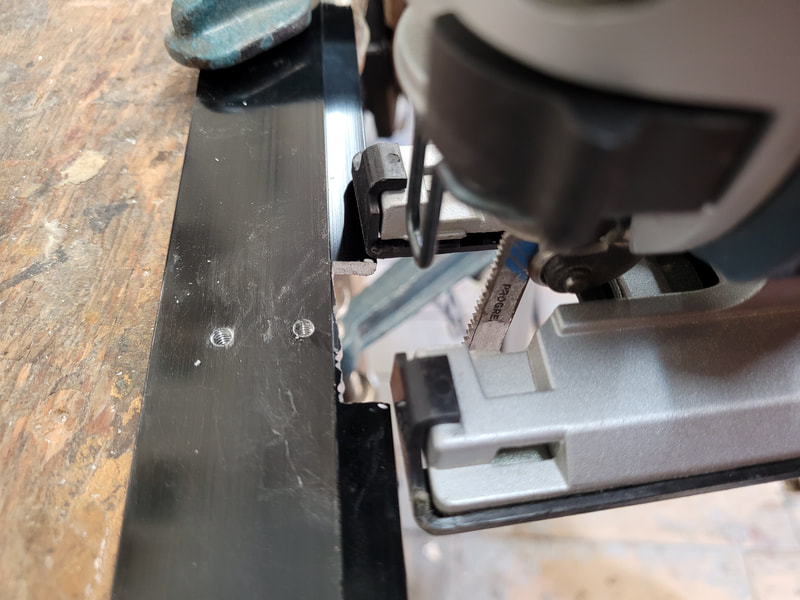
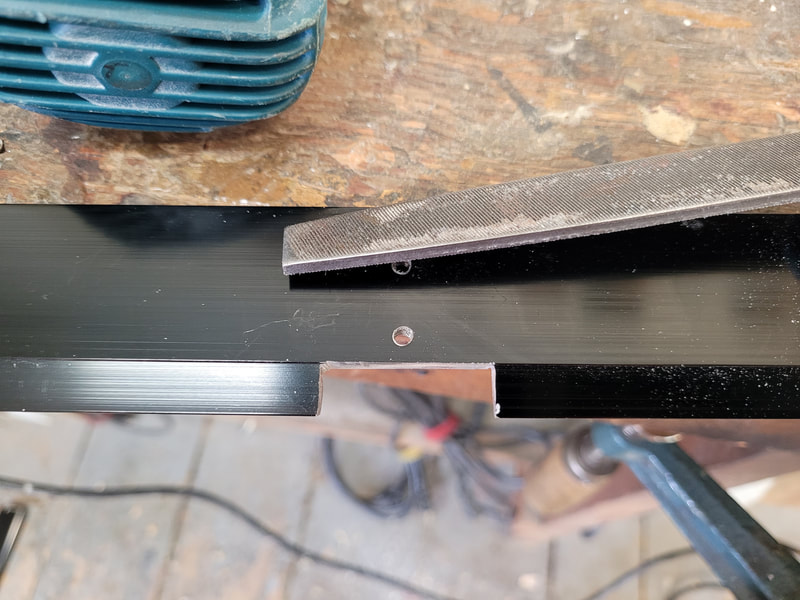
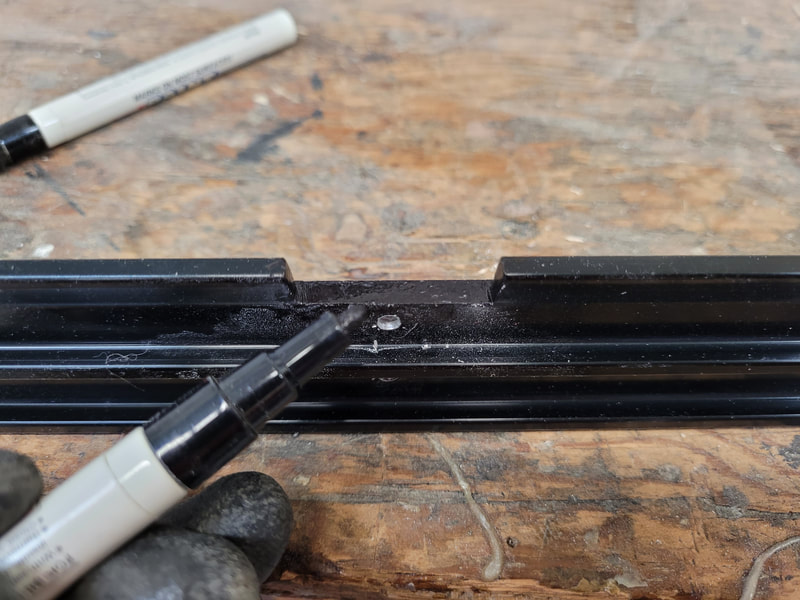
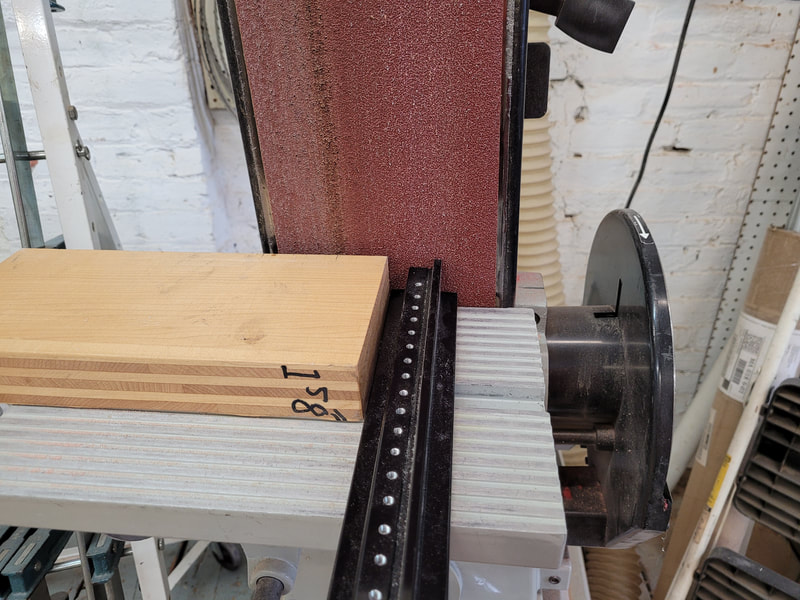
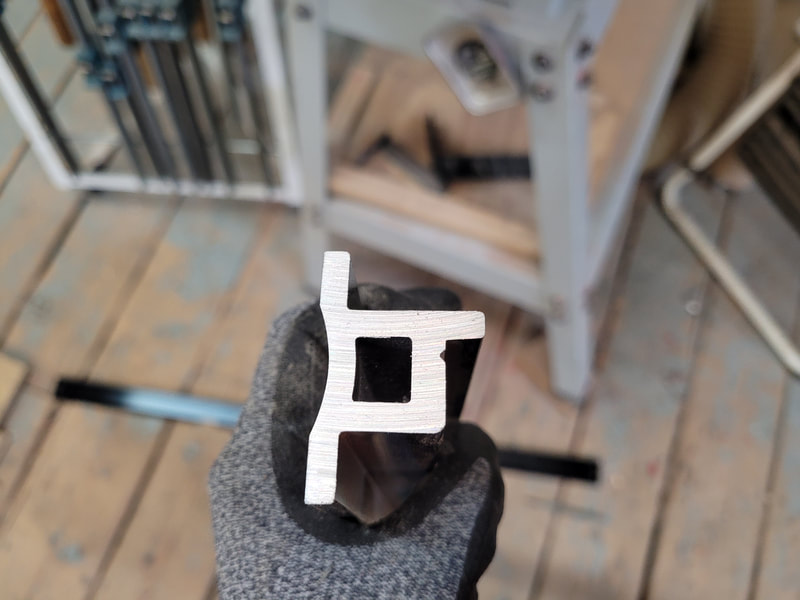
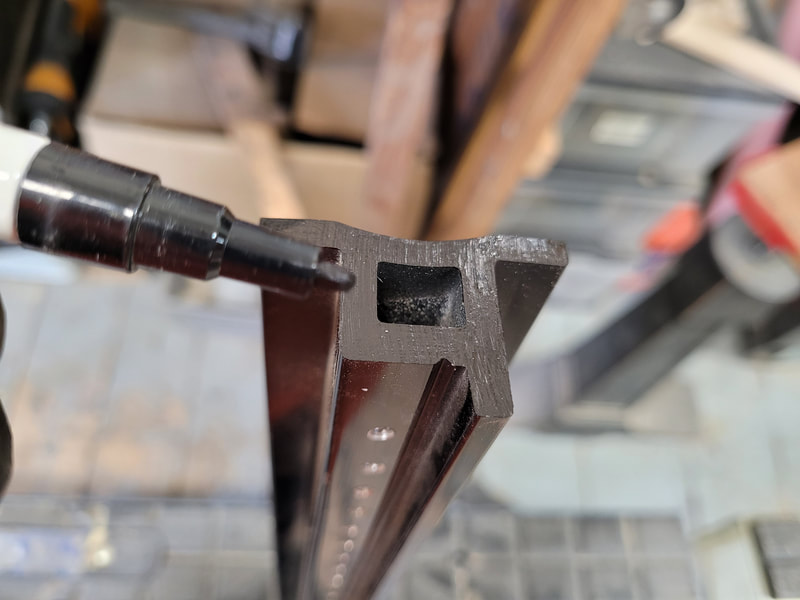
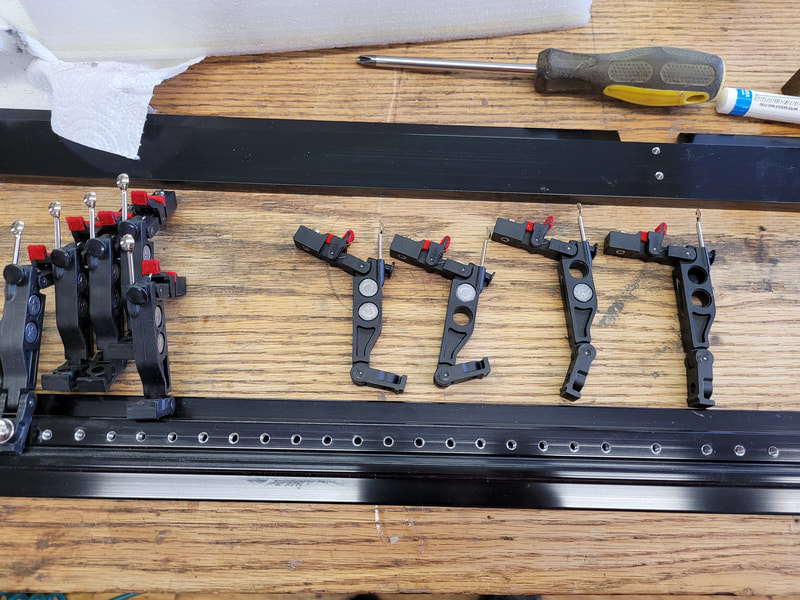
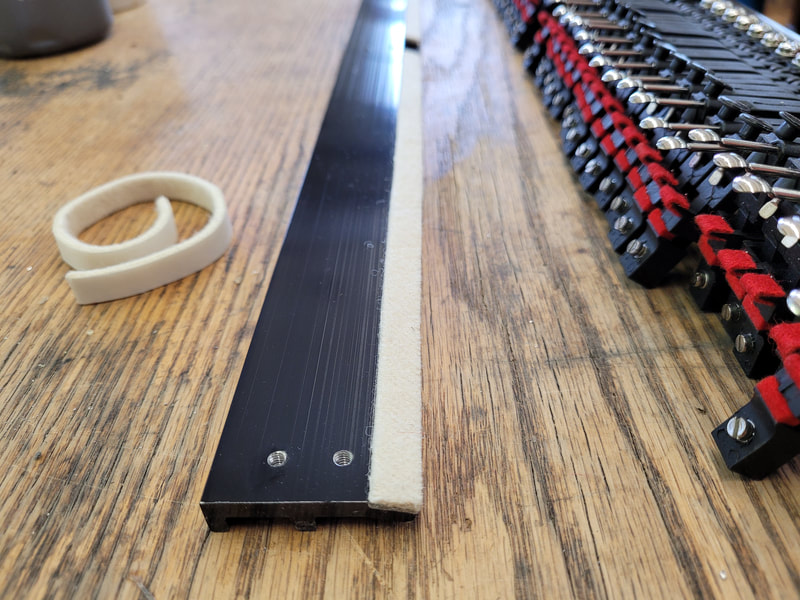
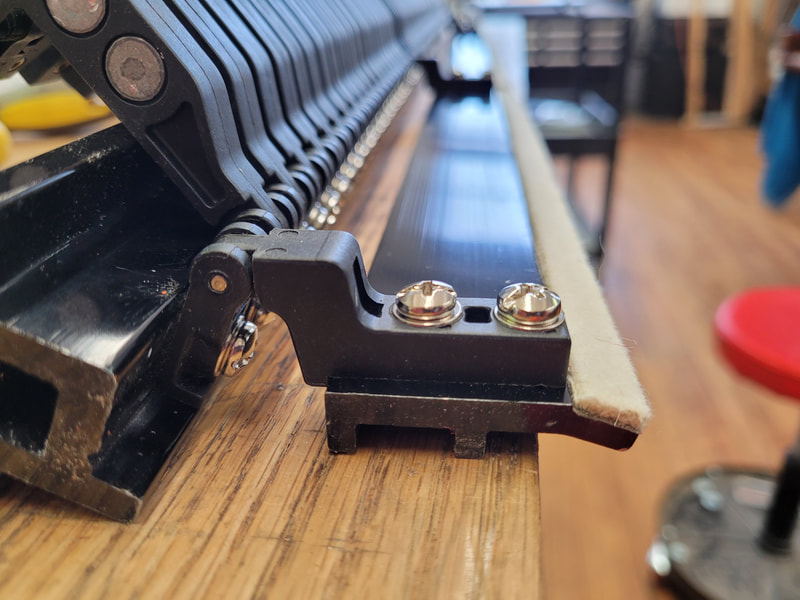
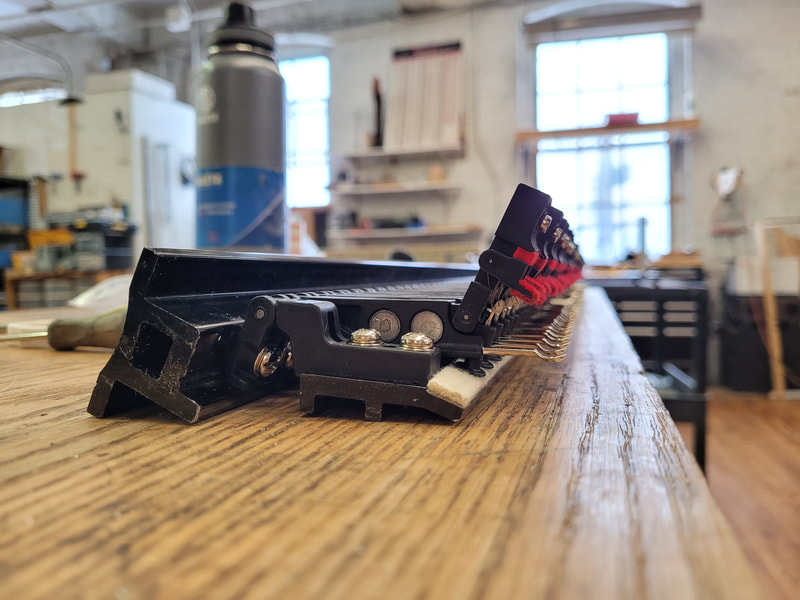
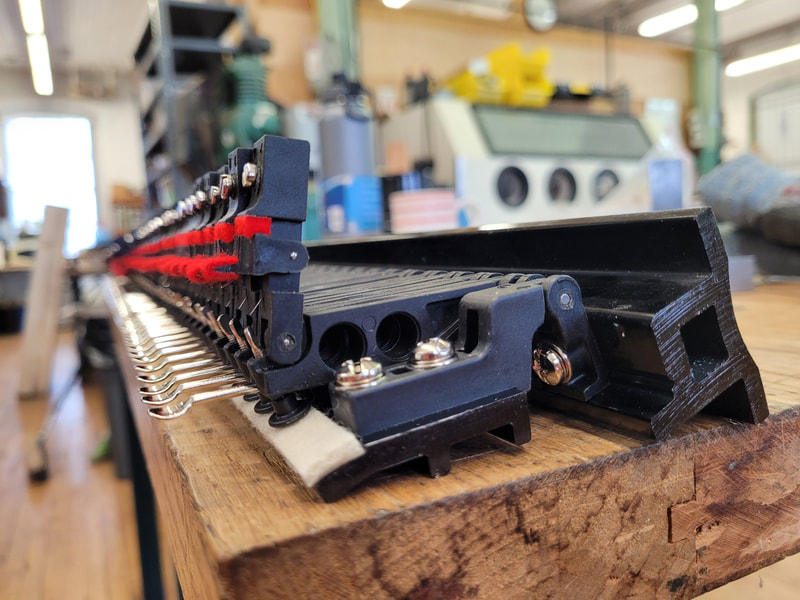
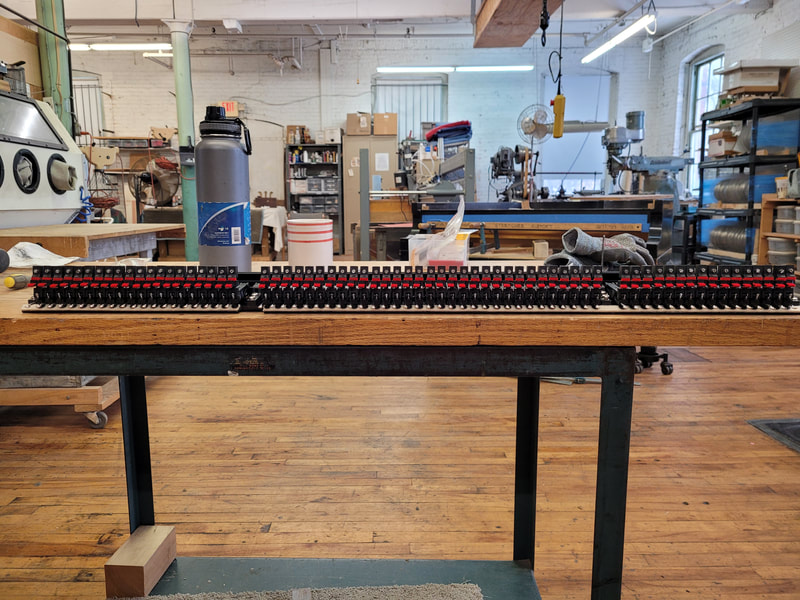
Read WNG manual carefully, draw a plan on the aluminum rail including mounting location, first flange screw hole, and first underlever screw hole. Take out the scale stick and tape on the main rail. Use the punch provided by WNG, triple check the position of the punching point, not to place it backwards. Point the single line mark on the punch to accurately located scale stick. Punch with a rubber mallet. Don't forget to mark the flange screw holes for the damper tray. mark the end of main rail according to WNG instruction. Deepen the punch marks with a spring punch, drill, tap, and test screws on a scrap piece of rail. The WNG instruction calls for #30 drill bit. We found it too tight, yet our #29 bit works better. Maybe every set or brand of drill bits are slightly different. Drill and tap all screw holes. The drilling speed is set to about 1000 RPM for aluminum. Usually for wood, the speed is at 1700 RPM. When tapping, apply tapping oil after every 3 to 4 holes, or something will break, it could be the worker's arm. Now, work on the damper tray. Mark first flange screw holes closest to the bass end according to instruction. For the flange screws after the flange on edge, we didn't follow the instruction by WNG. Instead, the flanges are installed on main rail, position the damper tray accurately. Then circle the screw hole with a pencil, punch in the middle of circle, then drill and tap. Mark where the rail ends, cut two rails on a metal cutter. Vacuum clean the tapping oil and metal chips left on rail. Mark where sostenuto monkey will be, then saw open a clearance for monkey. Clean cut surface with a file, then paint black for cosmetic purpose. Use a sander or file to smooth the cutting surface at end of main rail and damper tray, paint black for cosmetic purpose. Install all underlevers following lead pattern shown on the left picture from bass to treble, from heaviest downward weight to lightest. Tape on damper tray felt and screw flanges tightly to the tray.
Comments are closed.
|
Archives
May 2024
|
